An exciting Triumph TR6
project with high-end components
No expense has been spared on this frame-off restoration project.
Frame & Chassis
Frame was professional Straightened and structural components were media-blasted and professionally powder coated. Performance springs, Koni shocks, Wilwood disc brakes.
Engine & Transmission
A full professional rebuild with mild performance cam, hardened valve seals, and Moss SuperCharger. Toyota 5-Speed, Custom drive shaft, Lexus LSD + Upgraded CV Axle/Hubs.
Interior & Bodywork
Ready-to-go with new carpets, new seats, rubber seals, wood steering wheel, hard-top, media blasted body panels, and much more!


Introduction
This 1971 Laurel Green Triumph TR6 originally belonged to my father-in-law, and he gave it to me about 15 years ago as a project we could work on together when he moved out to Colorado. I trailered it out to my home in Golden, Colorado from Clearwater, Florida where it was being stored under tarps in a shed. I moved it into straight into my climate-controlled workshop where it sat until about 2010 before we got around to the initial restoration. Most of the replacement parts for this restoration project were purchased at Moss Motors, The Roadster Factory, GoodParts and Victoria British. Based on the commission plate, this car had a build date of JAN 1971 with a comm number of CC 61316 LO with paint code of 55 and Trim of 33.
Chassis & Powder-coating
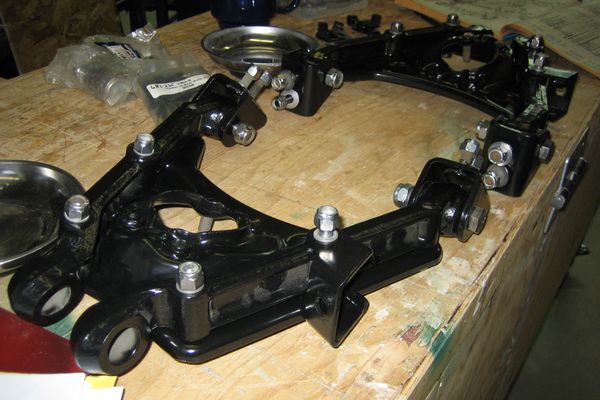
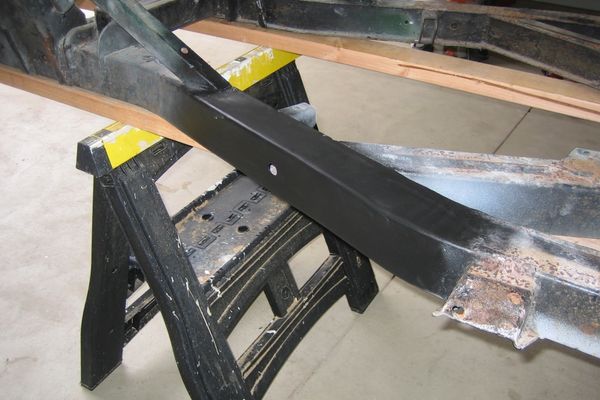
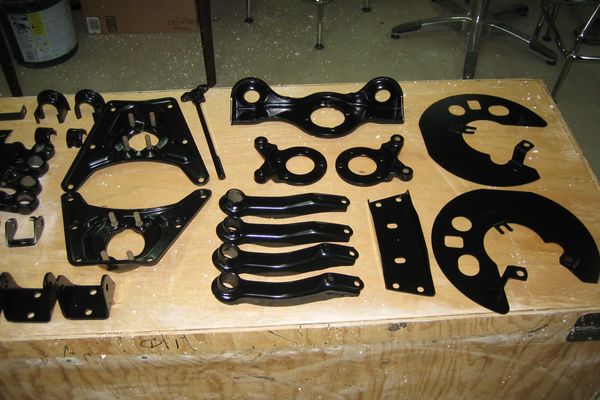
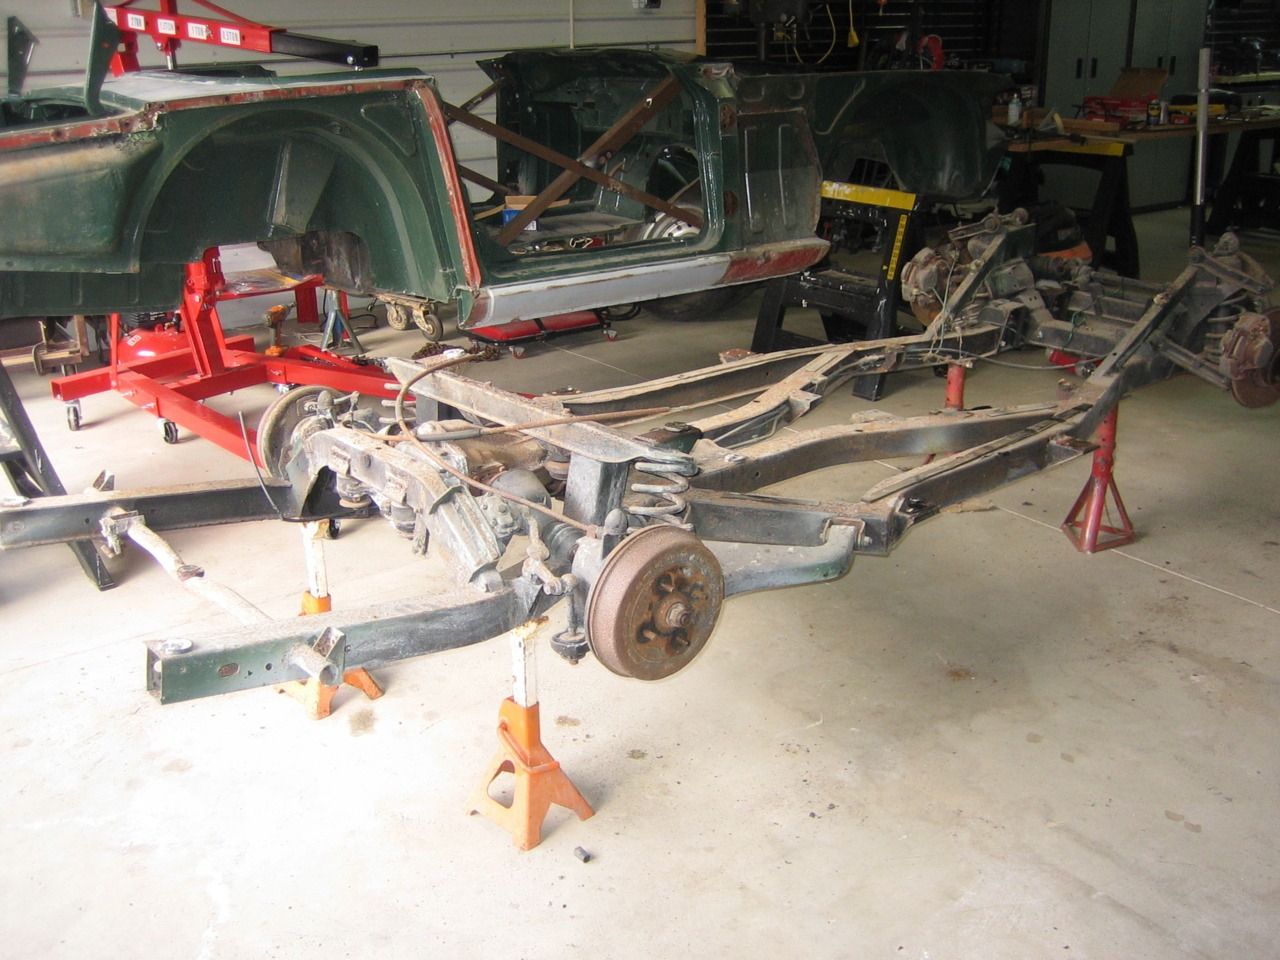
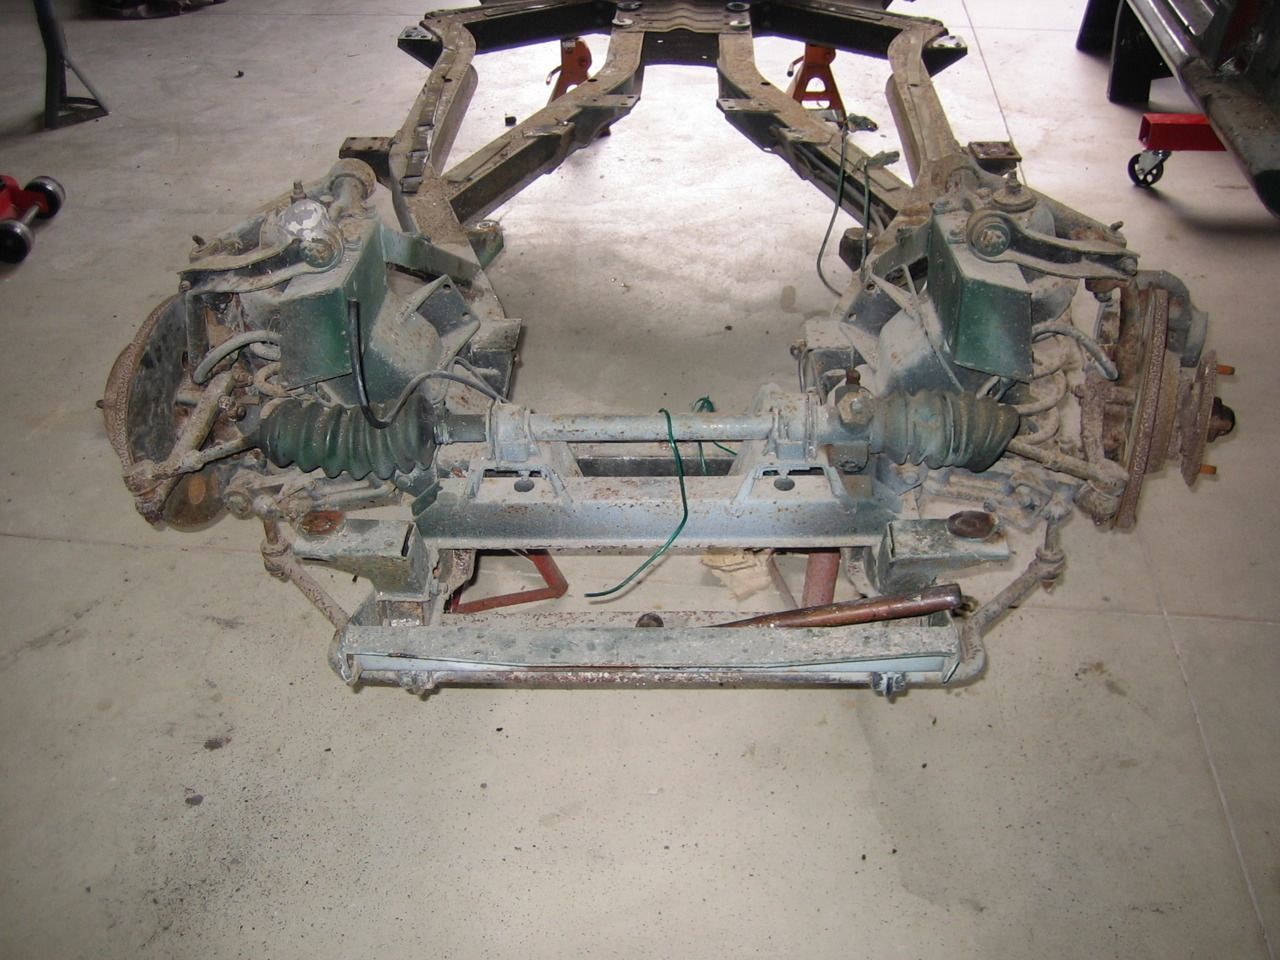
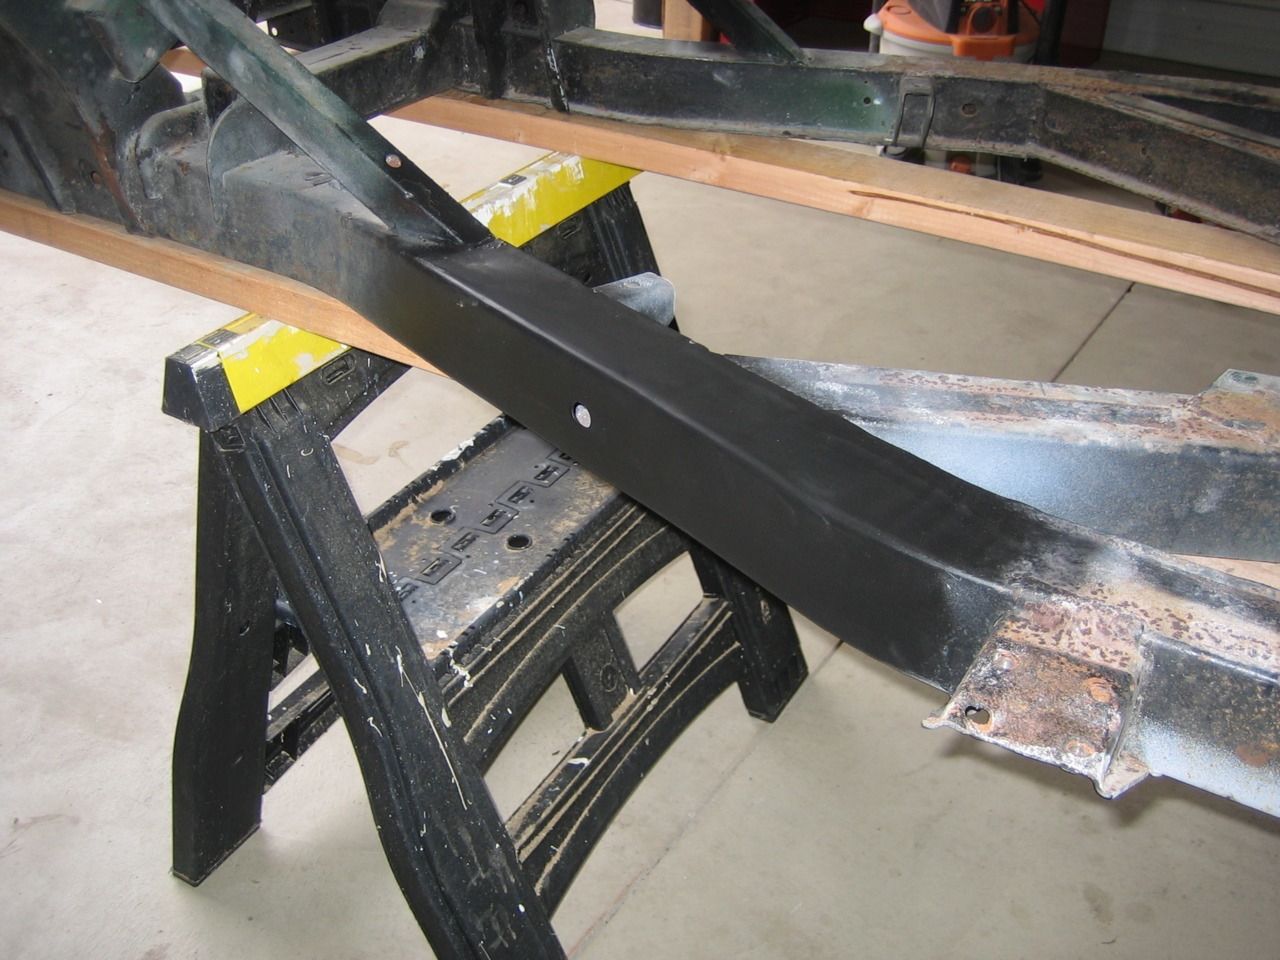
I first stripped down the whole car to the bare chassis when I realized that the frame was not 100% straight. I took it to a local collision center, where it was straightened using laser optical measuring, so that after it was done, it was straighter than any stock TR6! I then media blasted and cleaned up all the chassis and suspension components and took them to Paul at Sports Car Craftsman in Arvada, CO, who specialize in classic british sports cars. They added some welds and some other strengthening braces to known weak points of the frame. After that, they powder coated everything in black for a super-clean look.
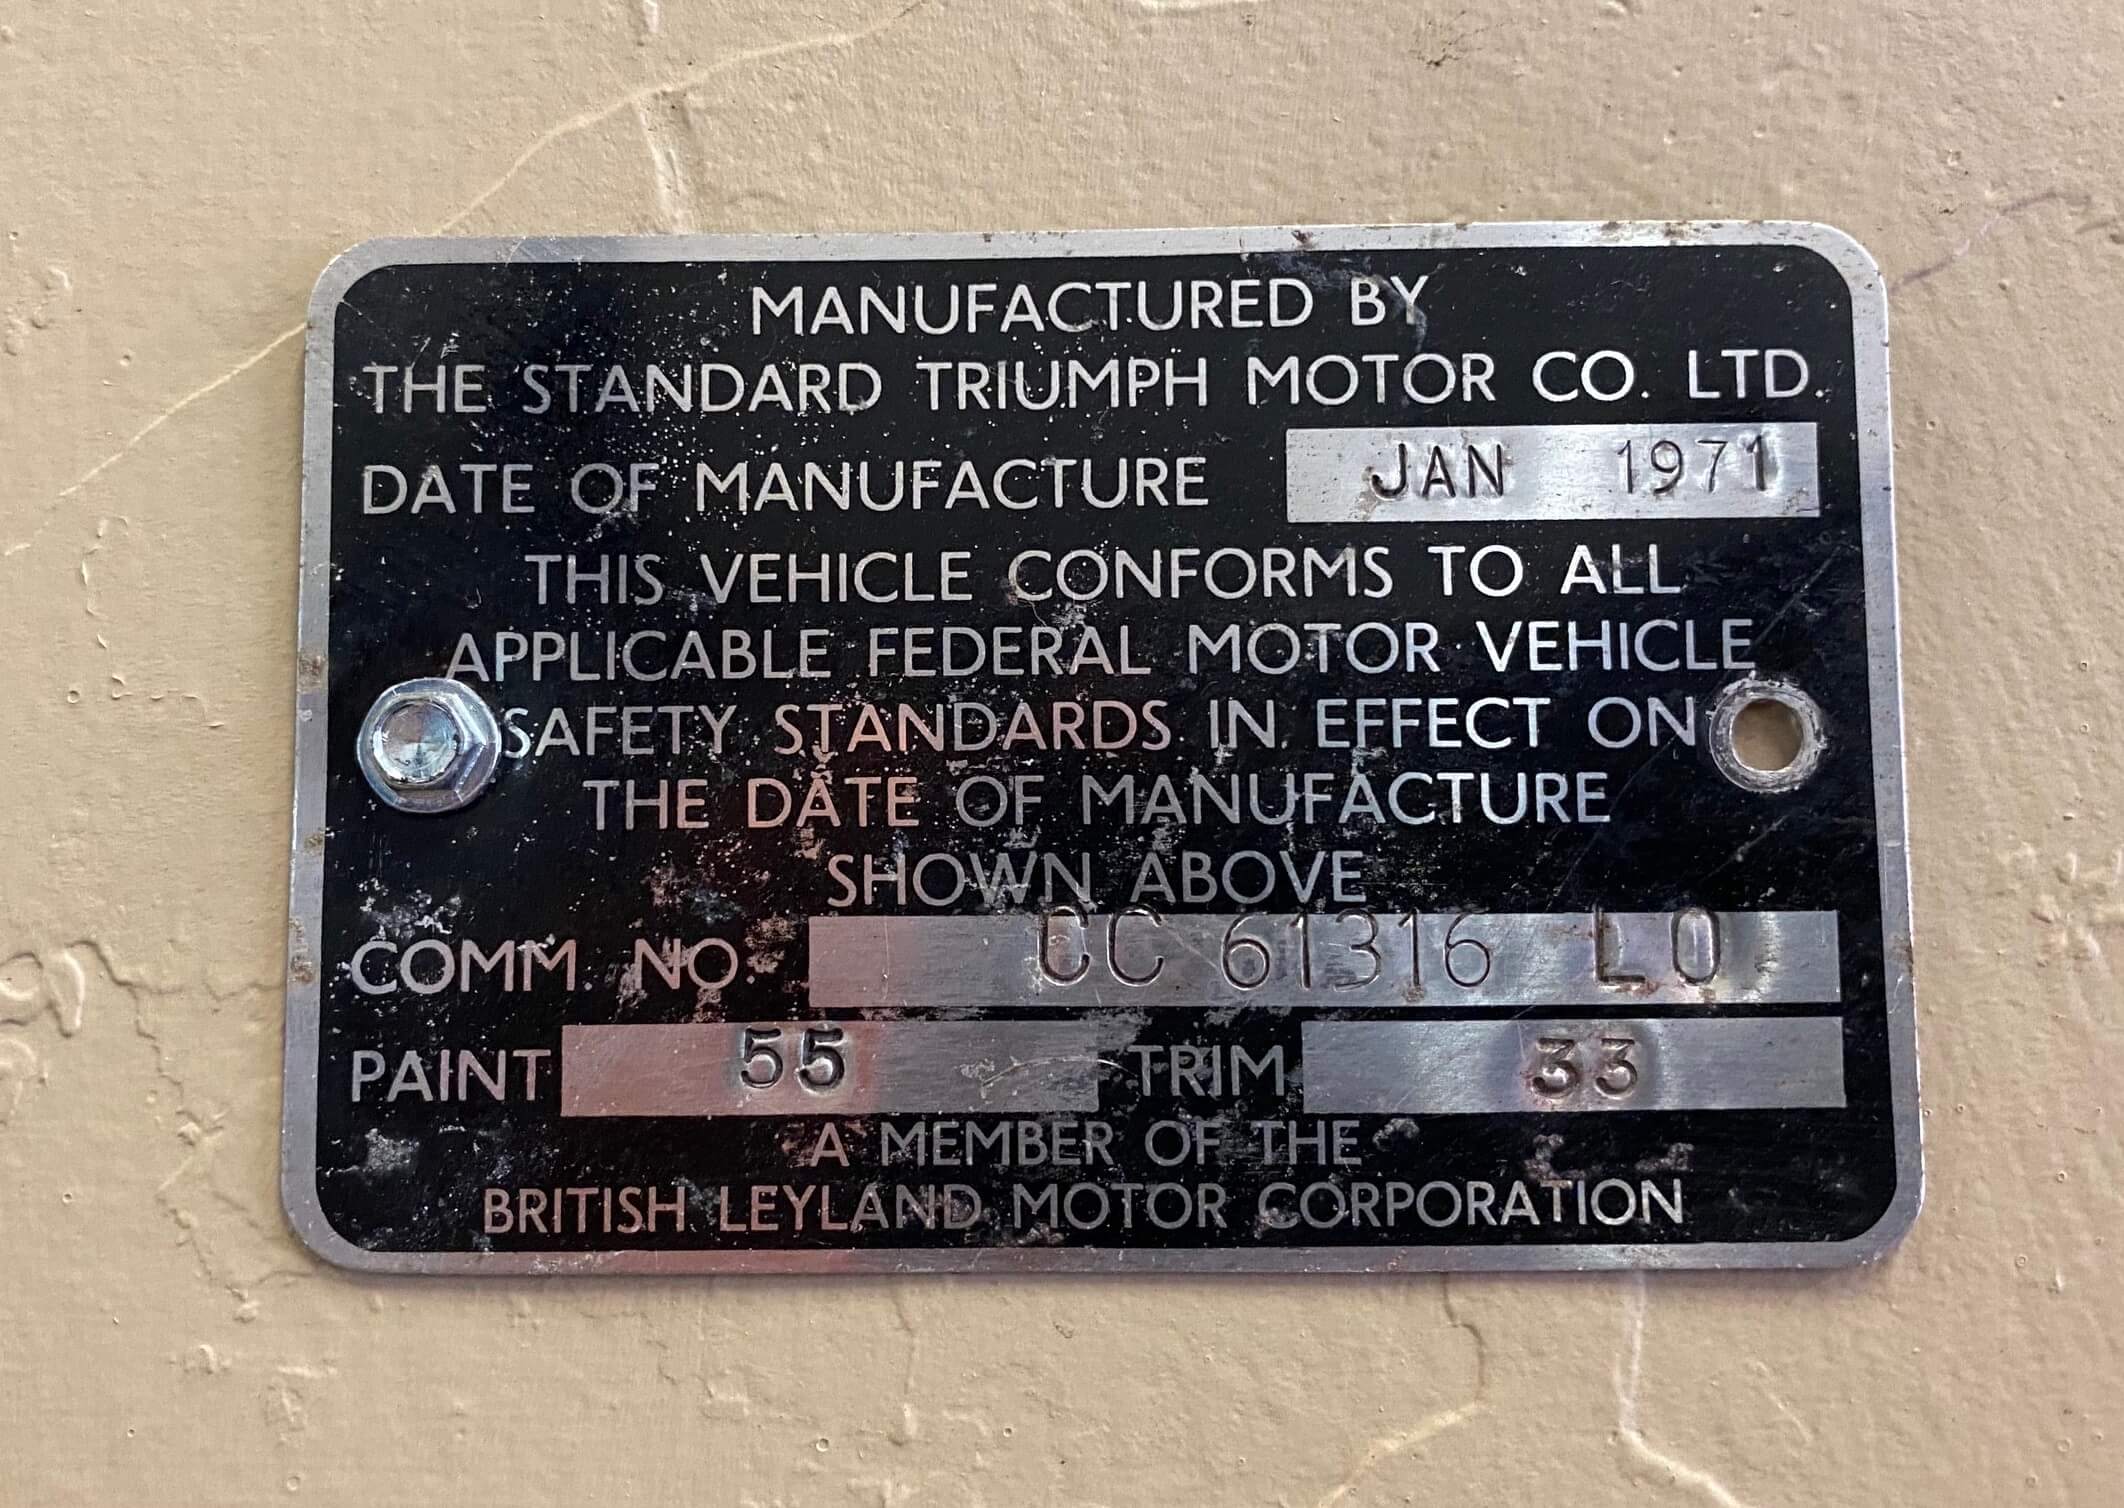


The commission plate for this car, showing a build date of JAN 1971 manufacture and 'COMM. NO.' of CC 61316 LO with paint code of 55 and Trim of 33.
Chassis getting stripped down
Chassis being stripped to start the restoration process
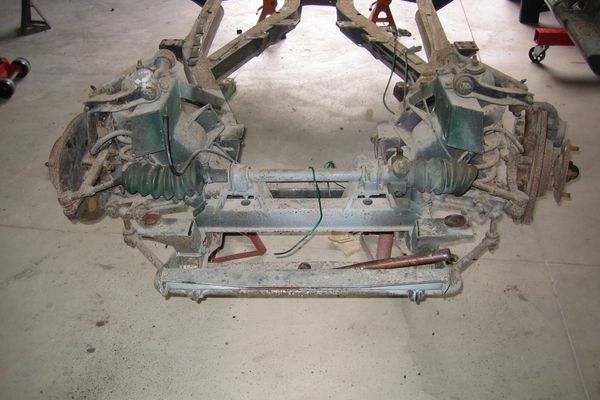
Chassis straightened and repaired, ready to send out to be media blasted, strengthened and powder coated
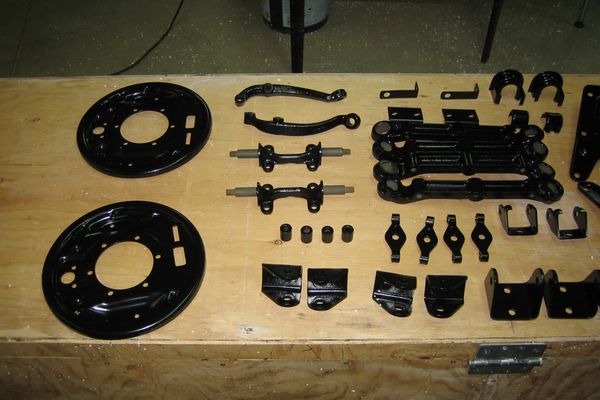
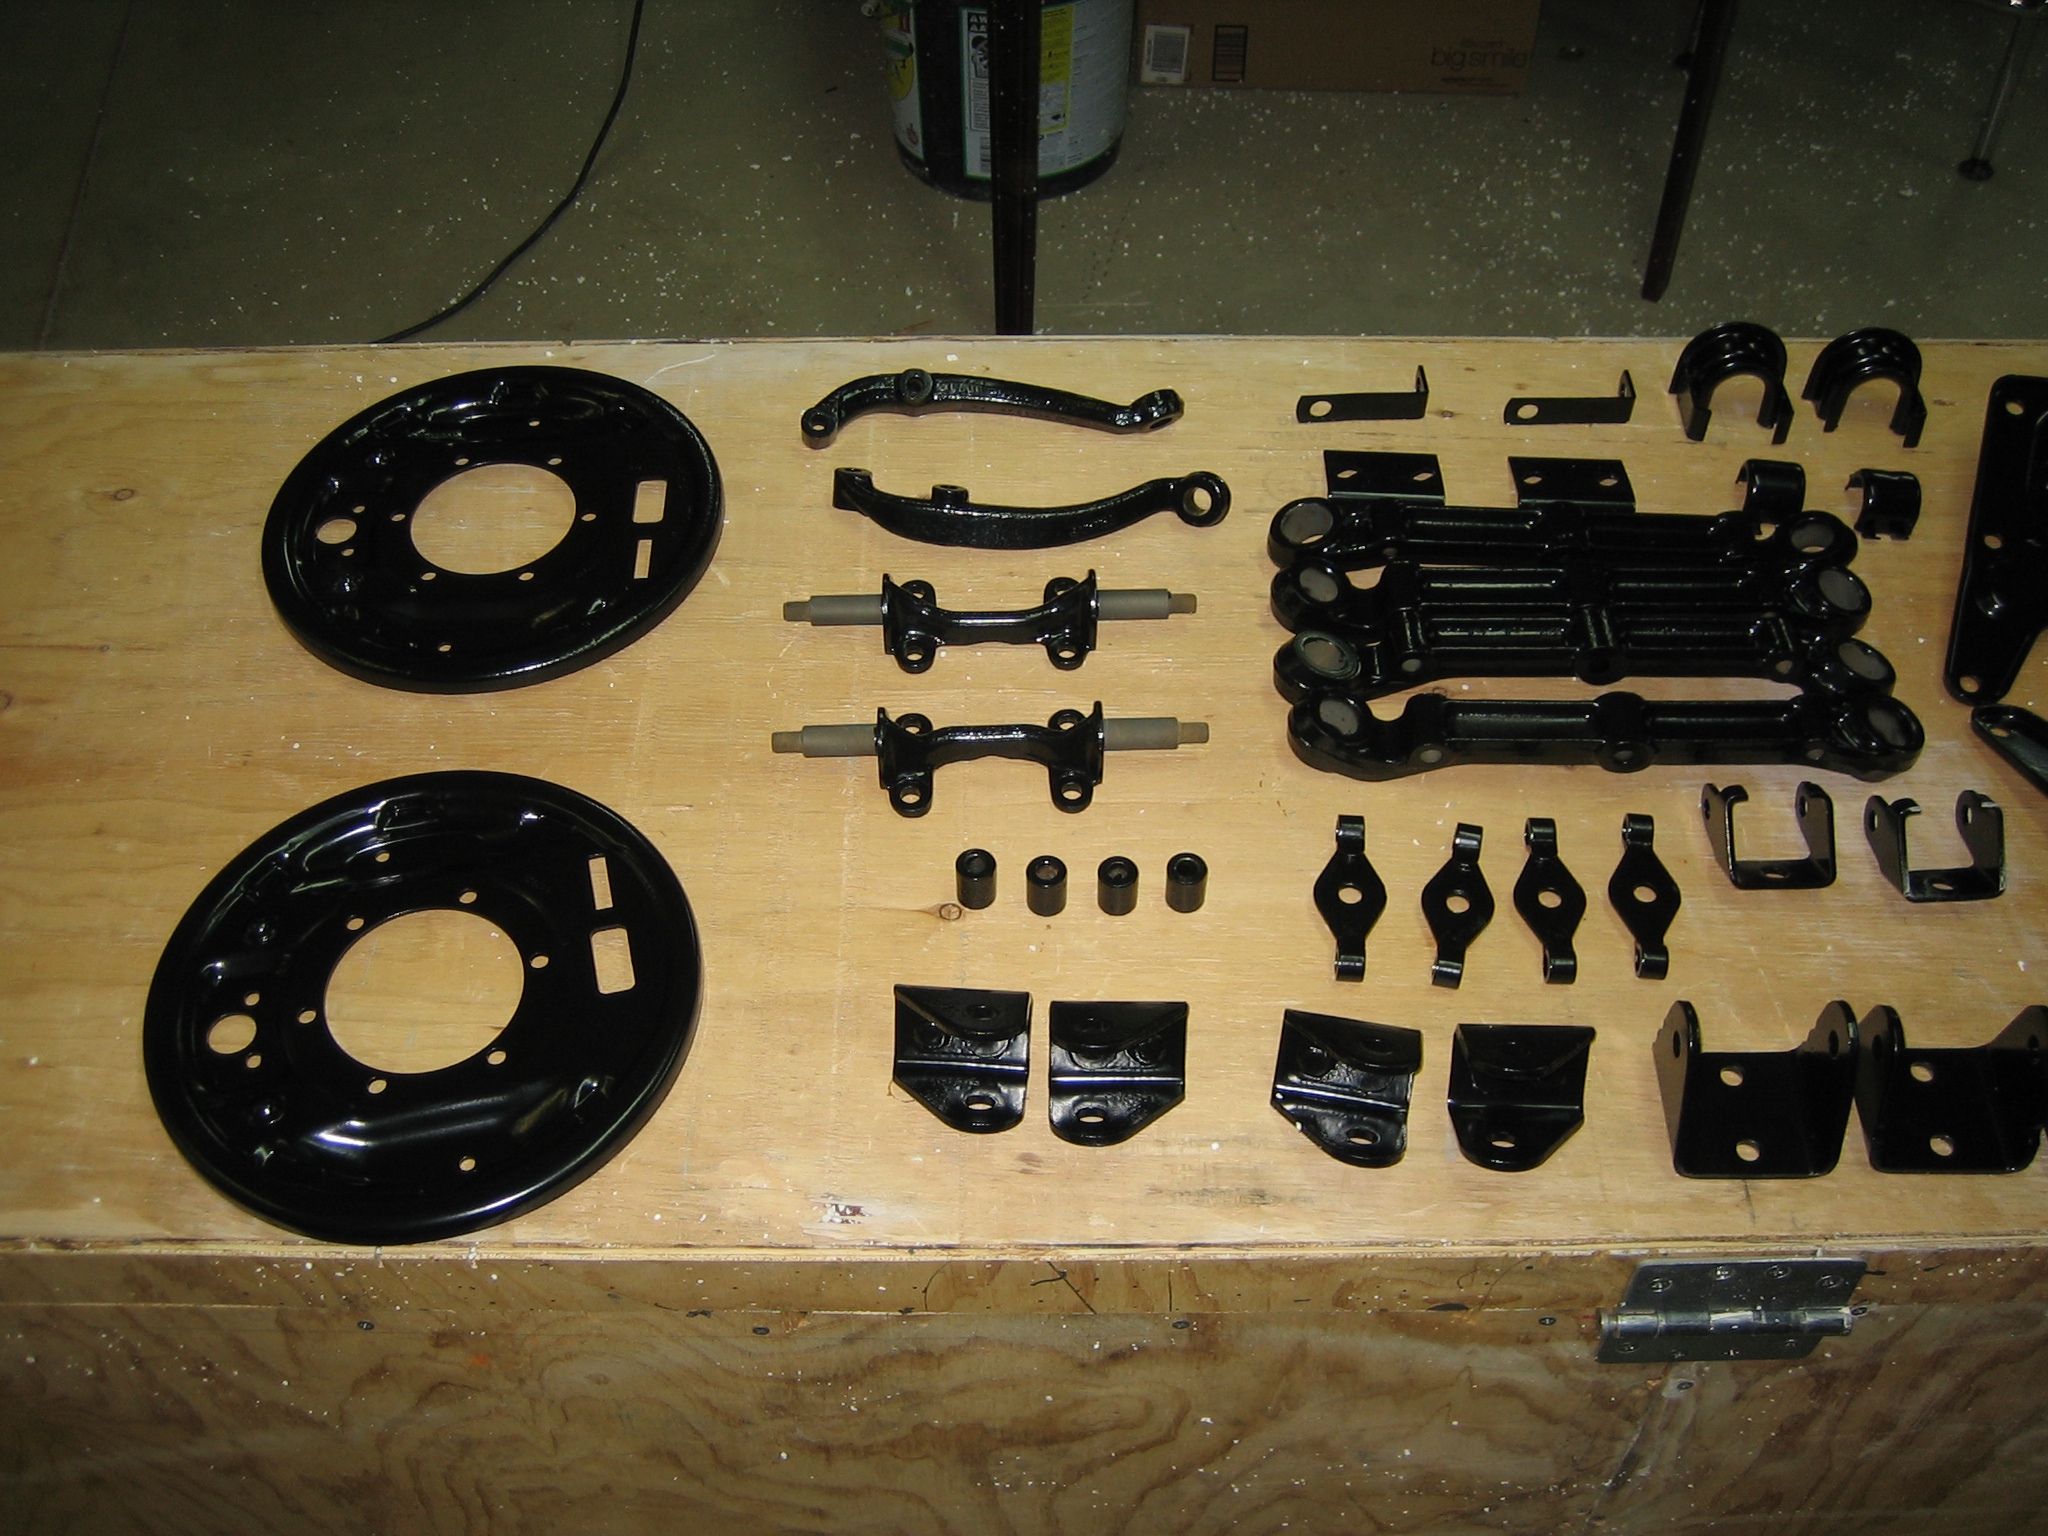
Powder Coated parts 1
Powder Coated parts 2
Powder coated lower front wishbones partially assembled
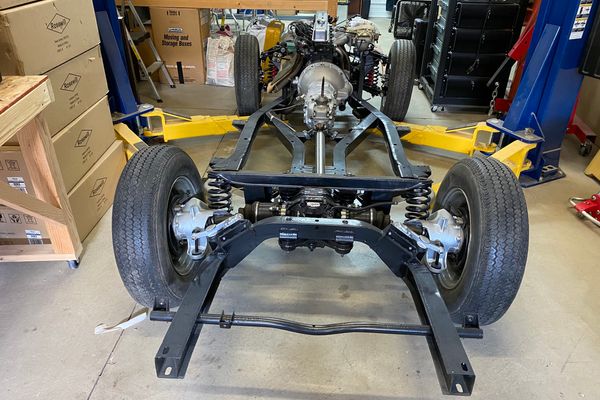
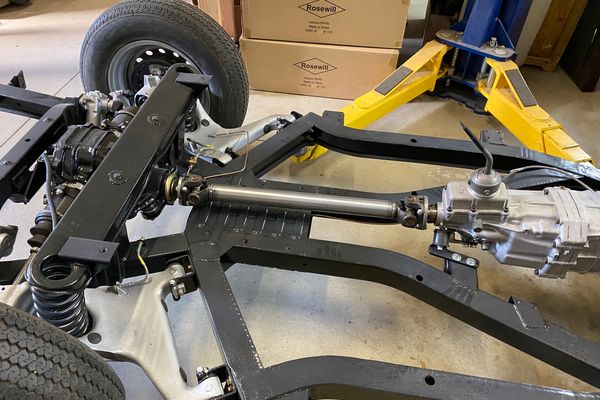
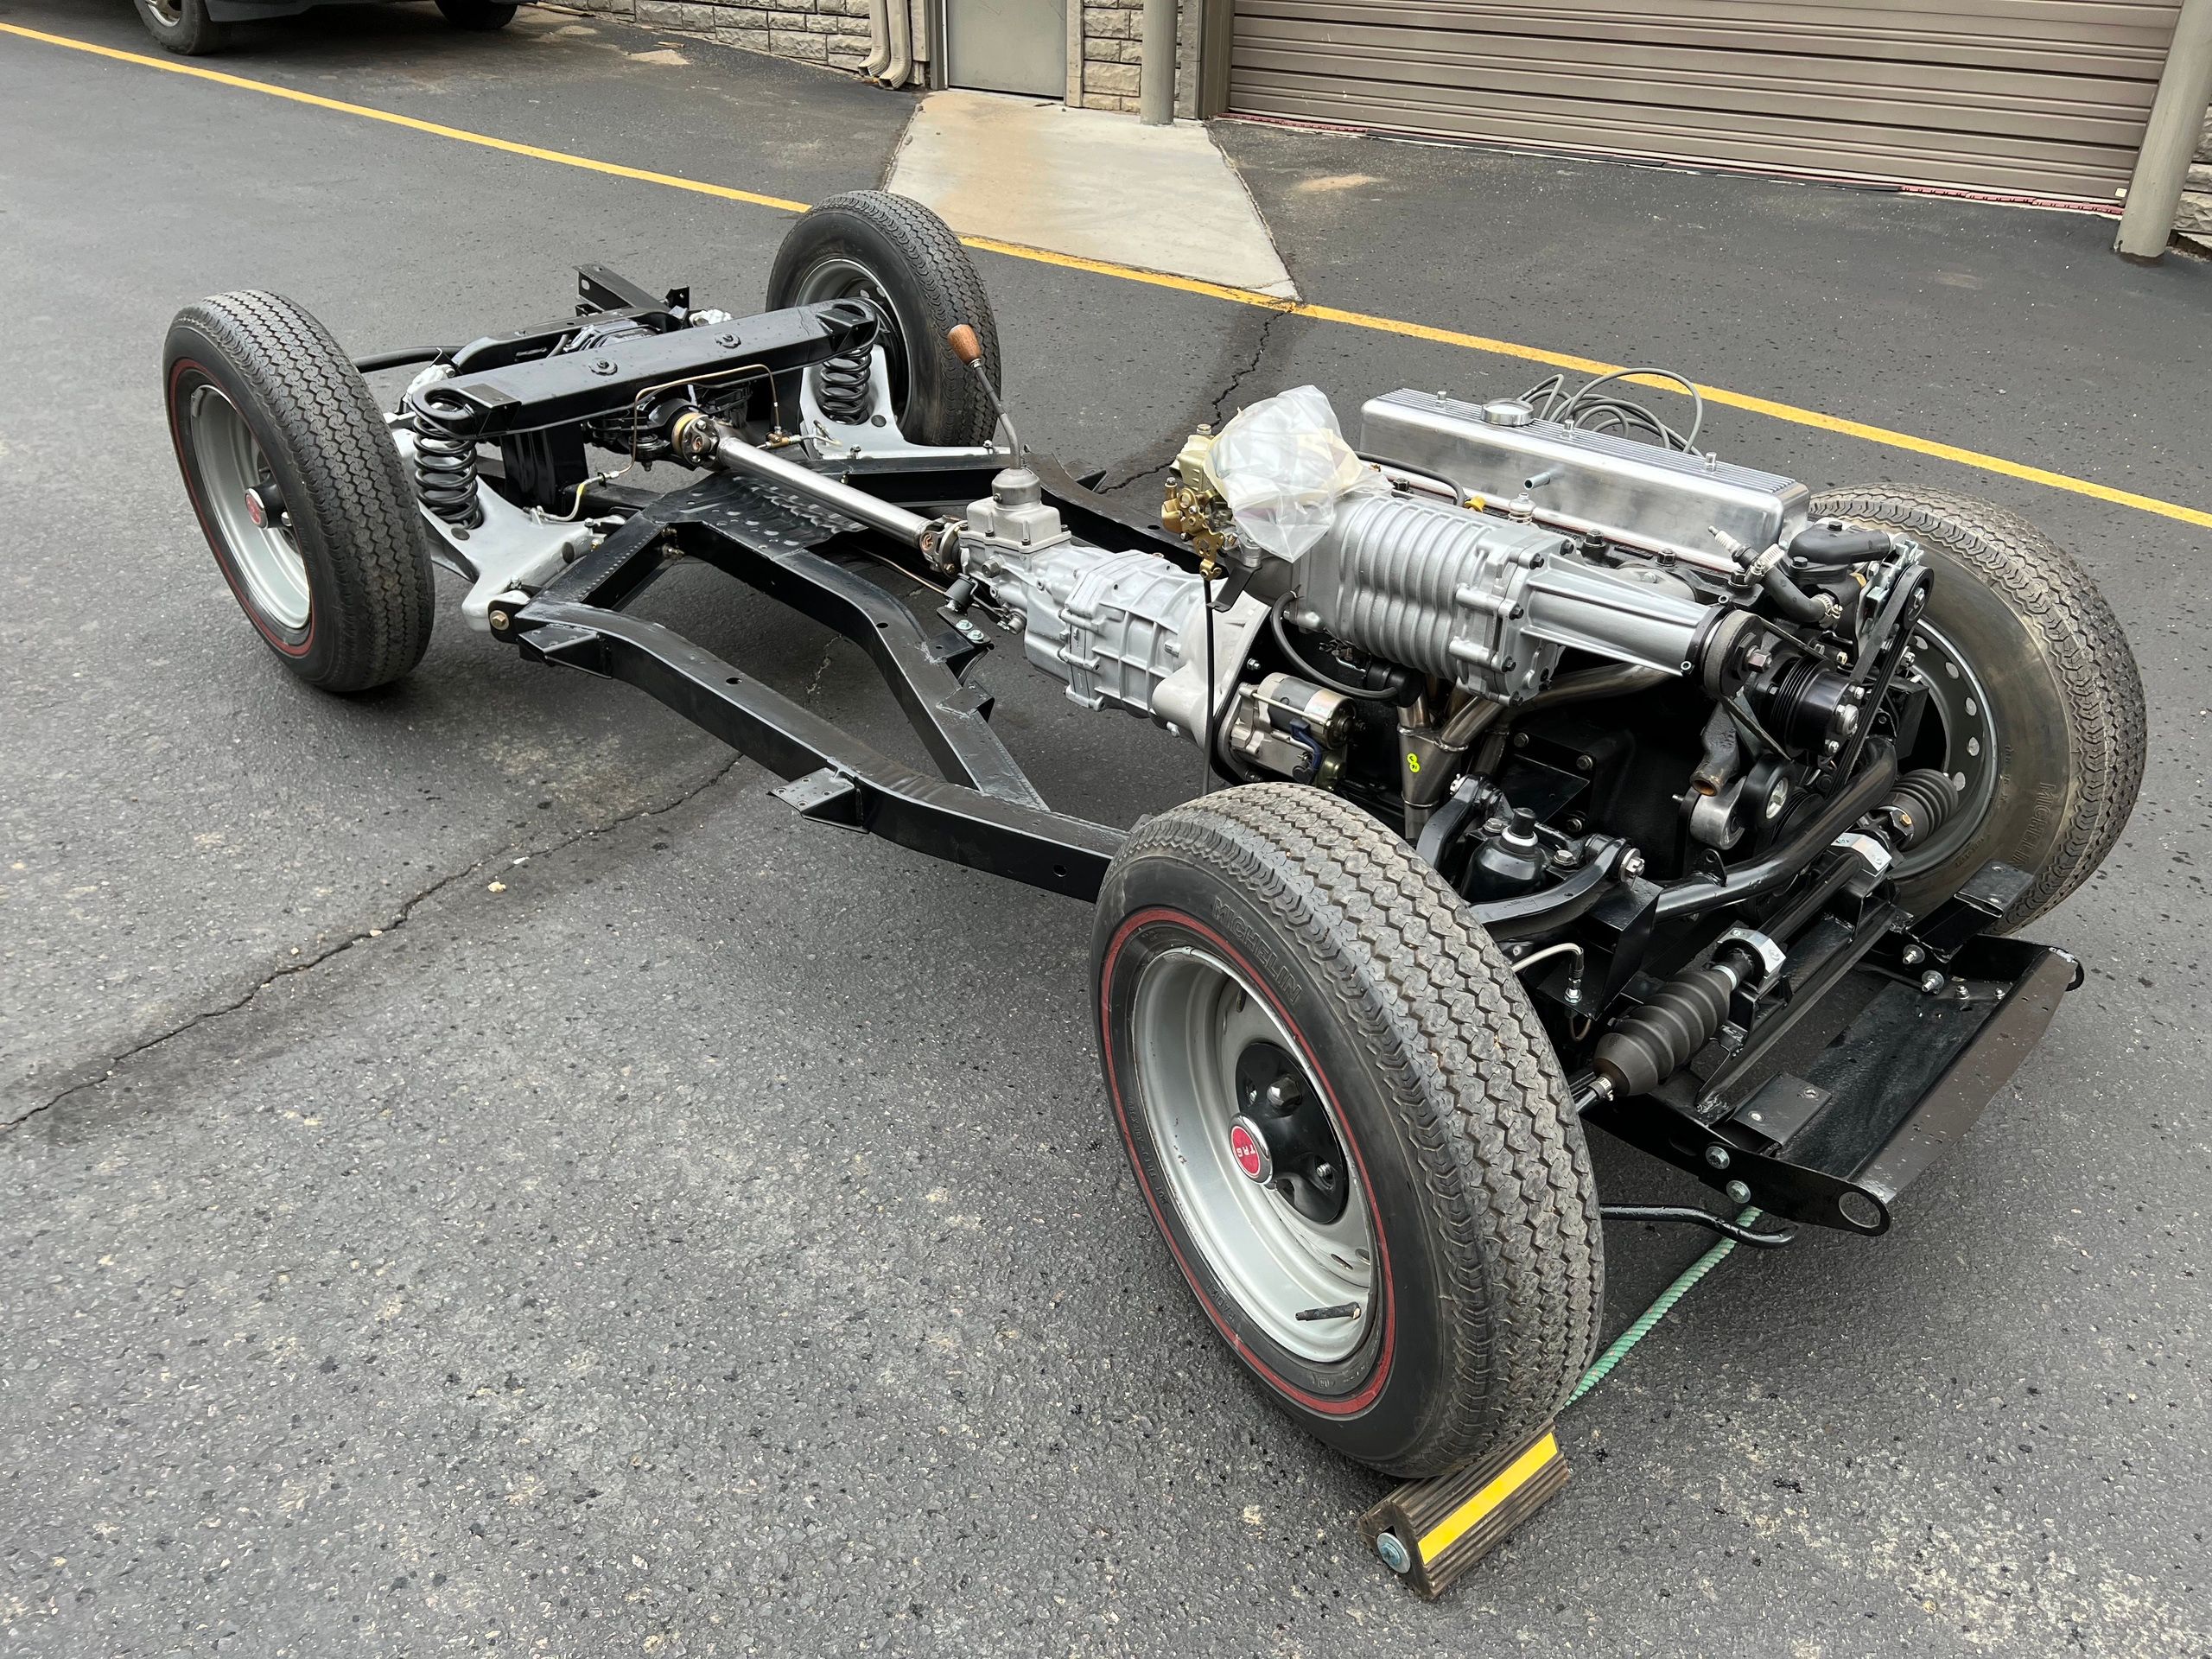
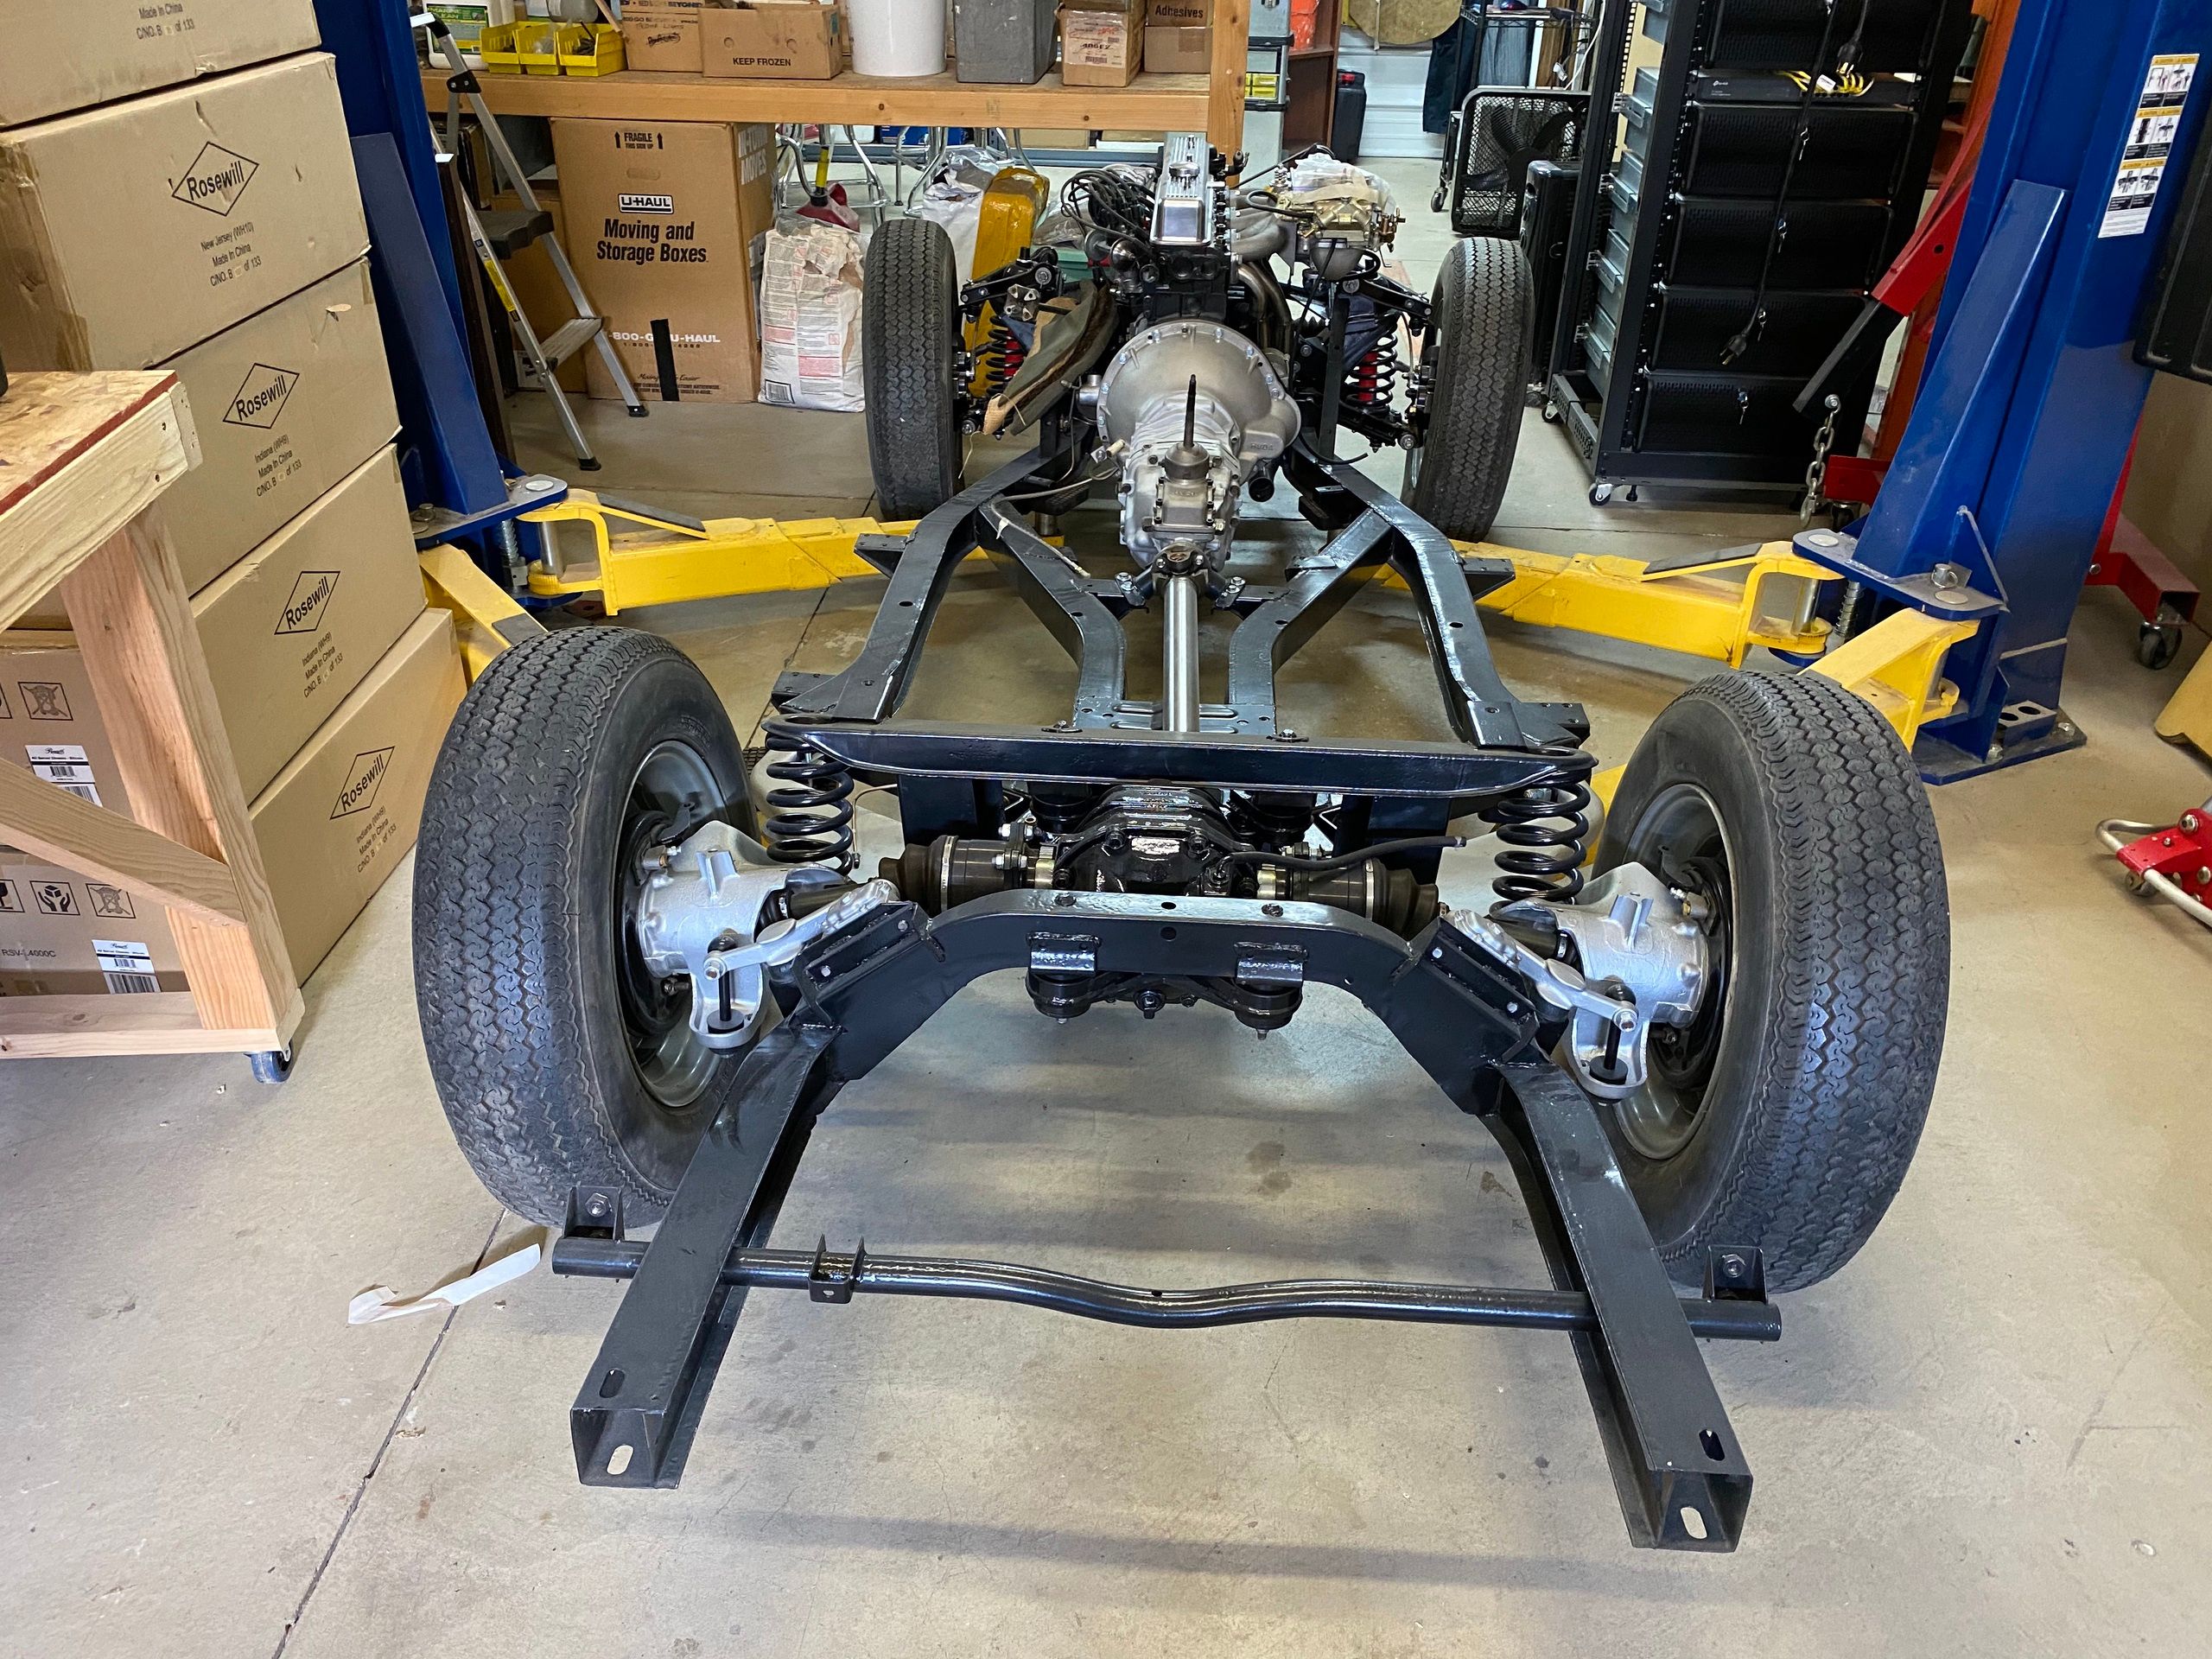
Rolling Chassis - corner view
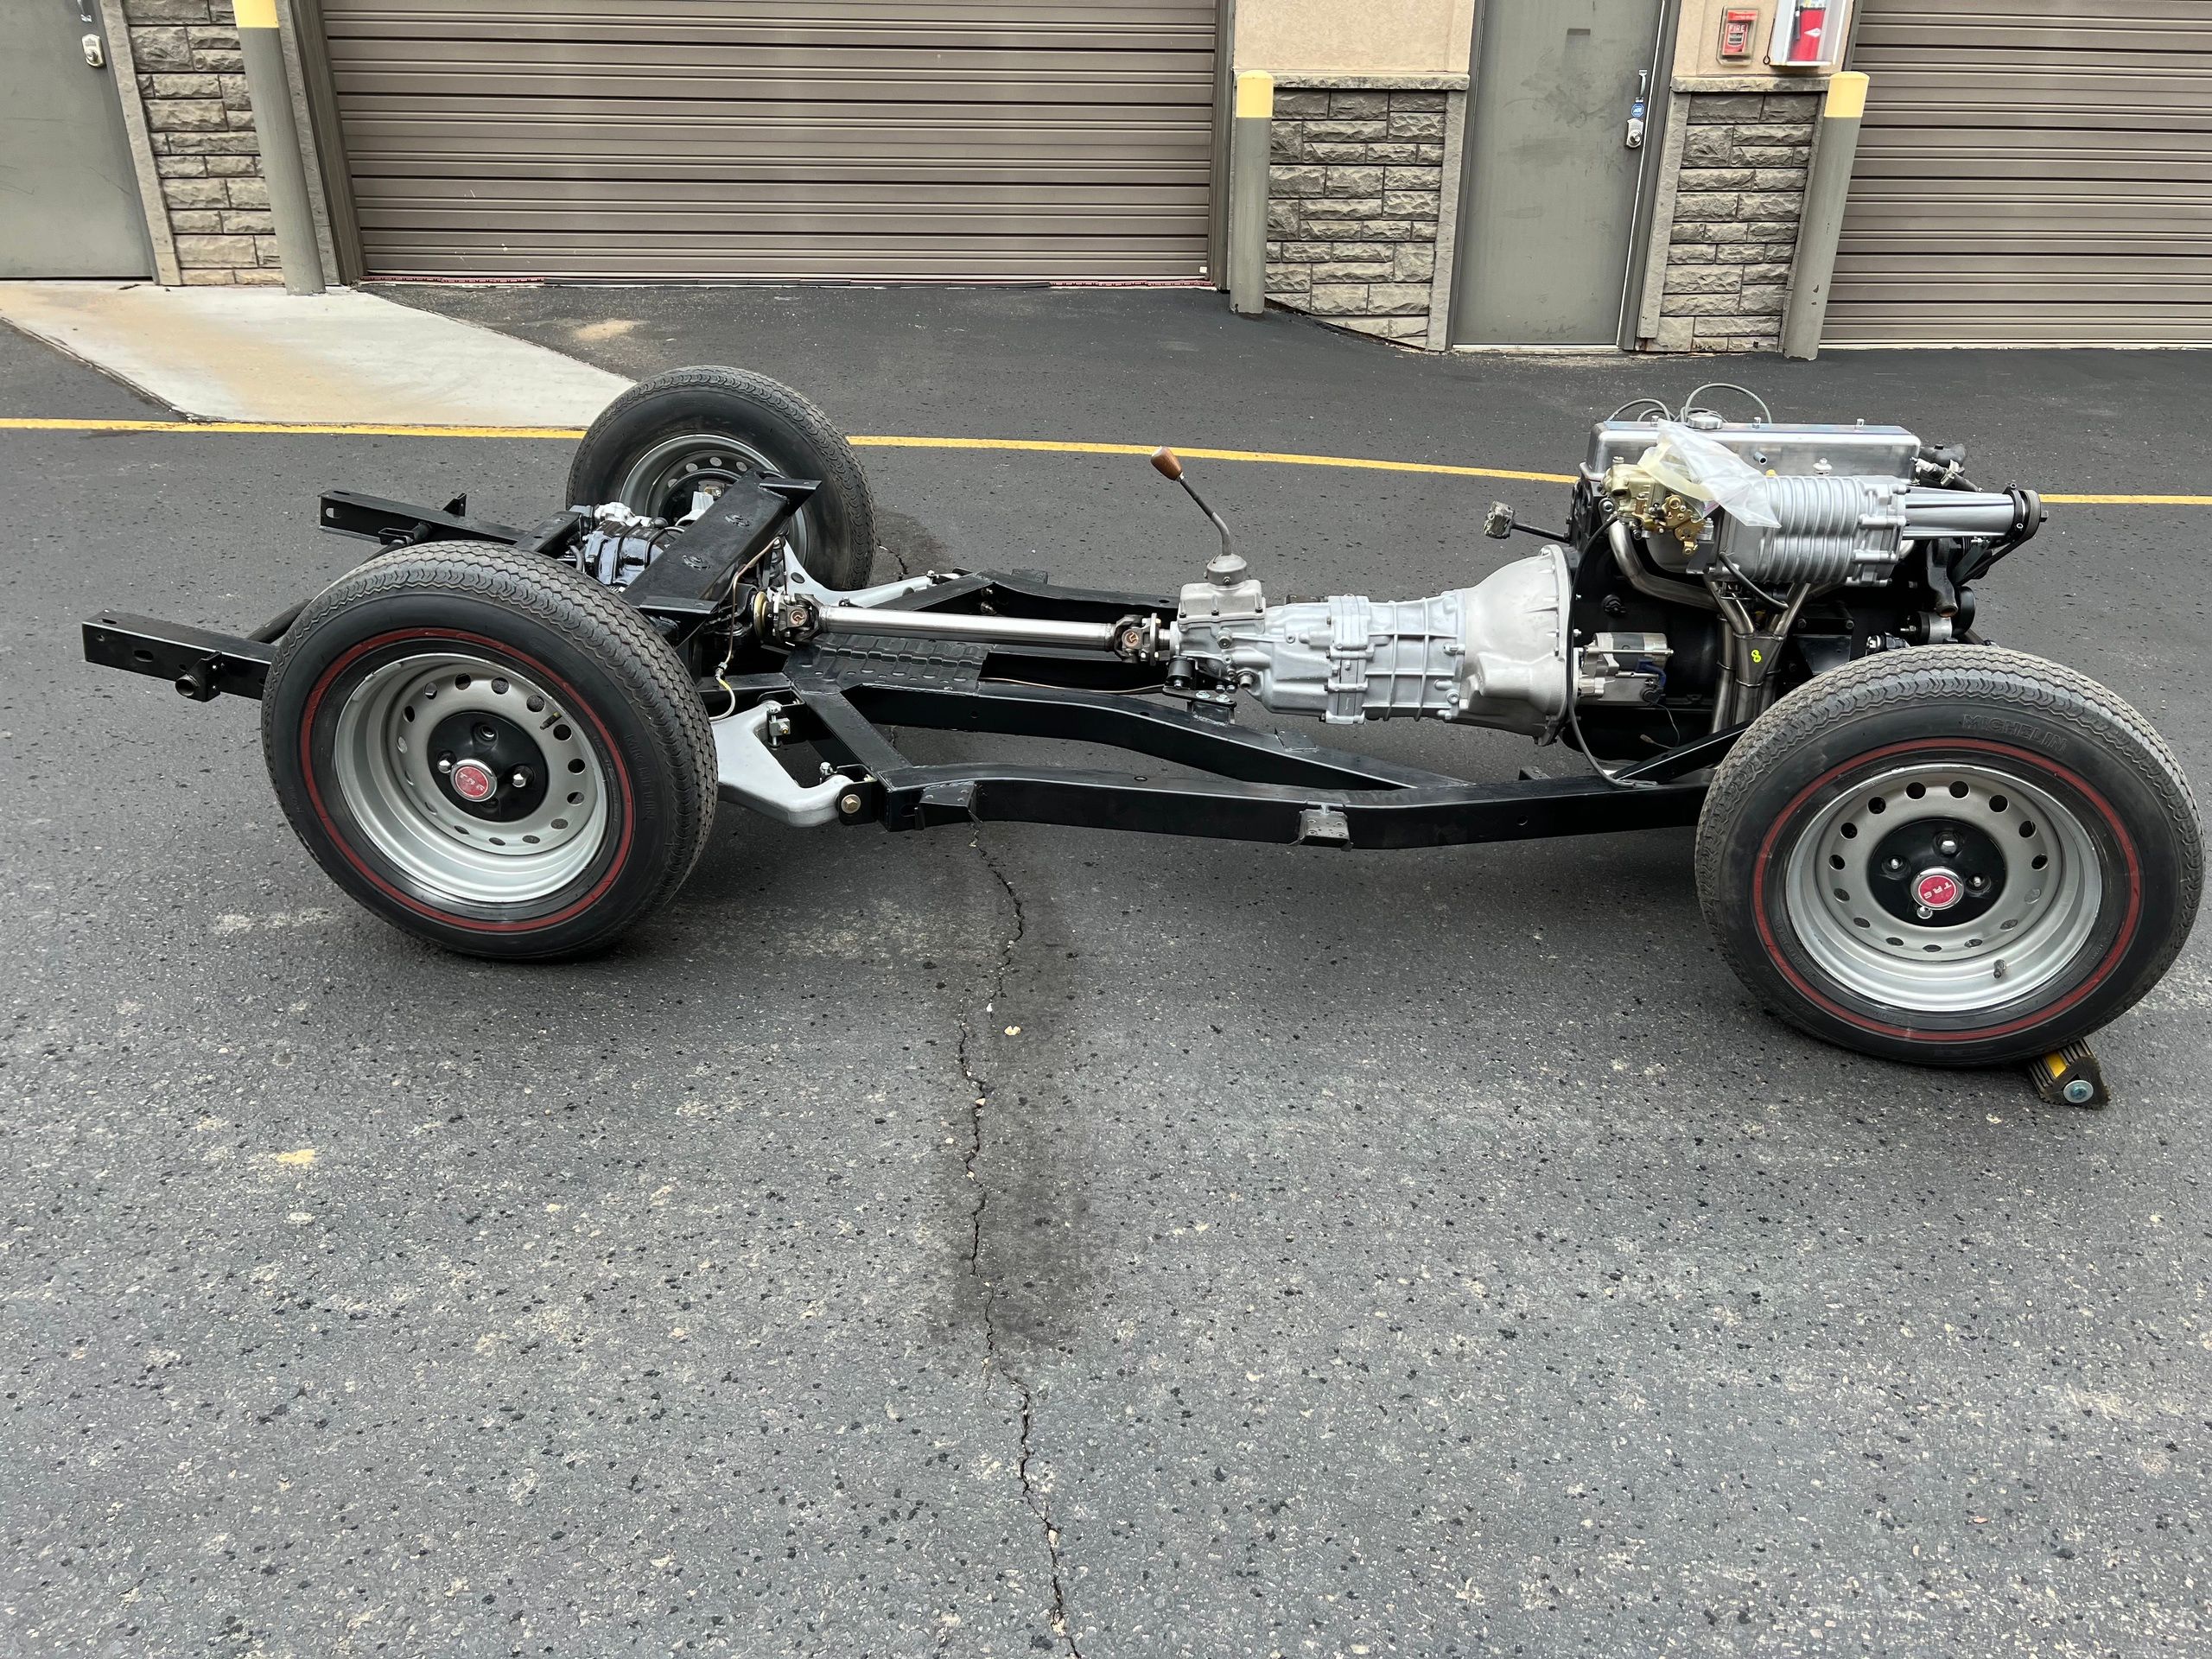
Rolling Chassis - side view
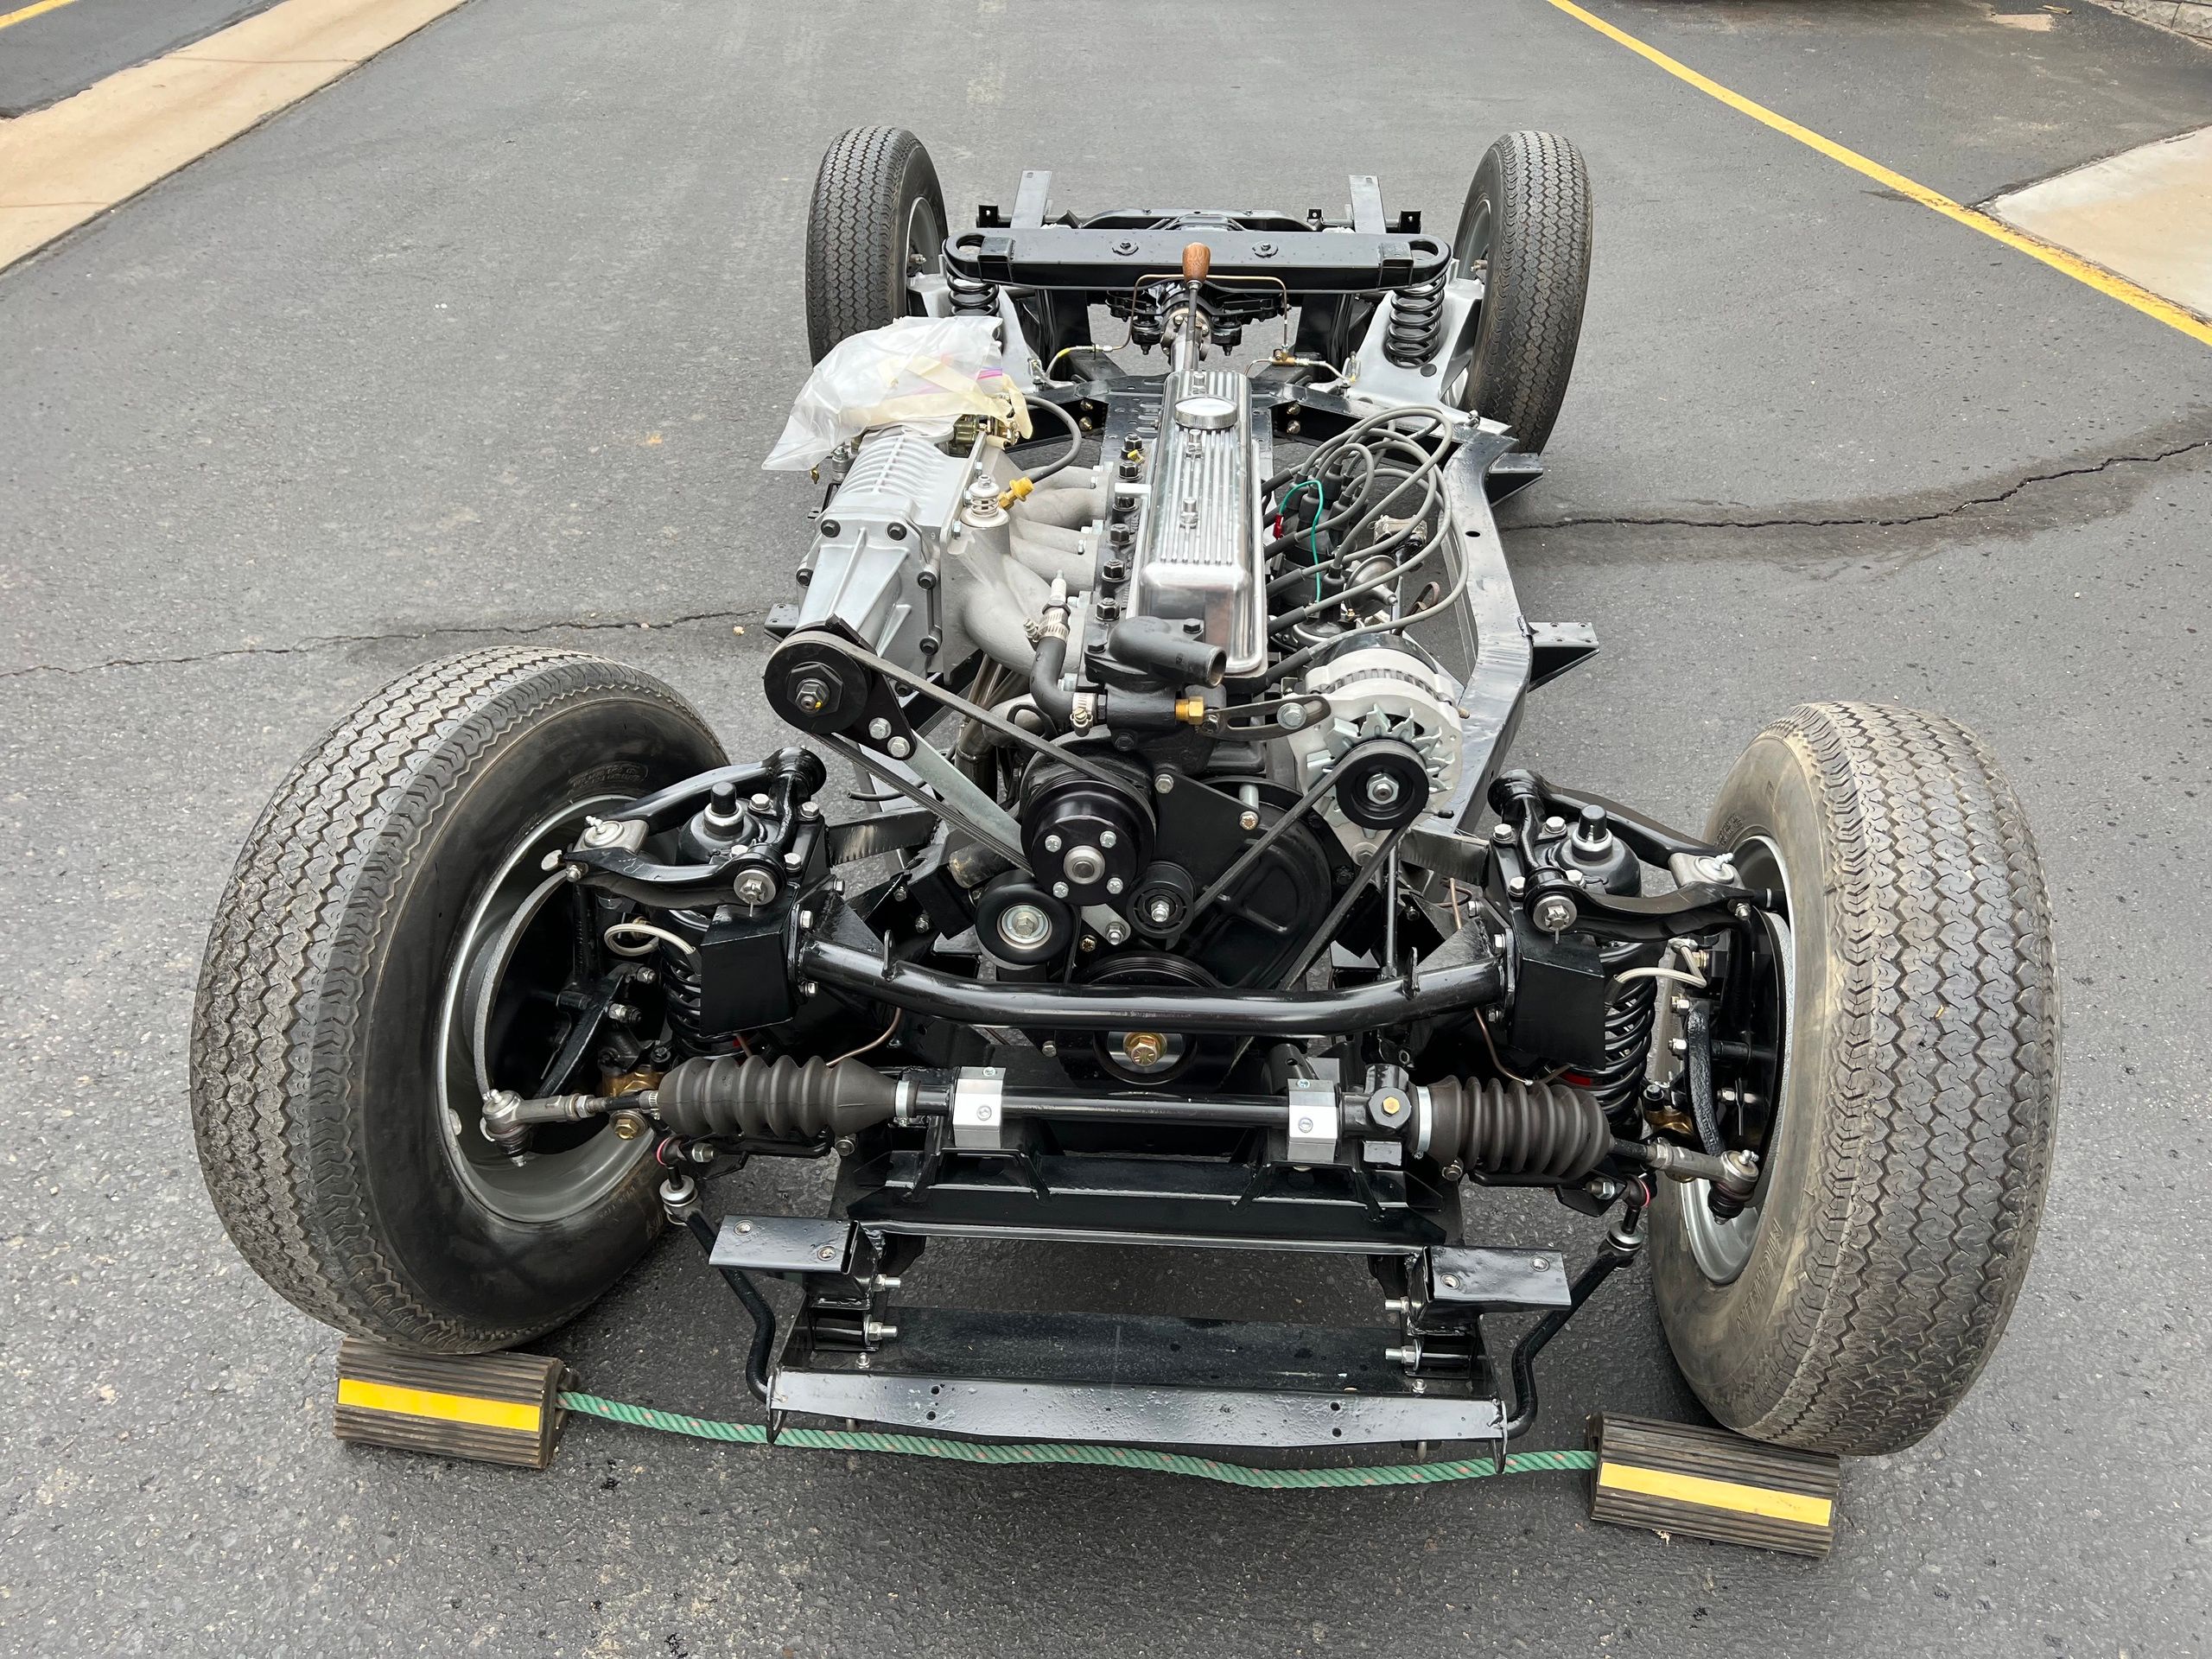
Rolling Chassis - front view
Rolling Chassis - rear view
Suspension, Brakes, Nuts & Bolts
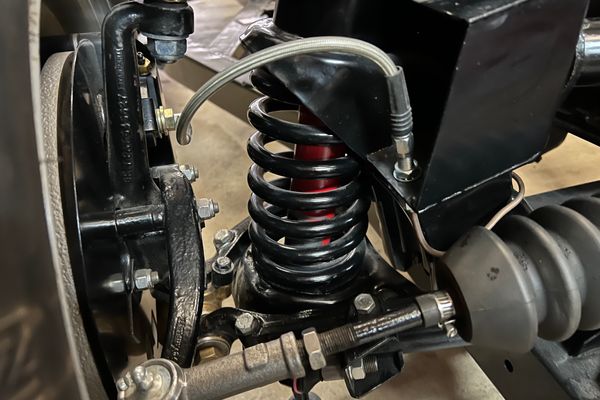
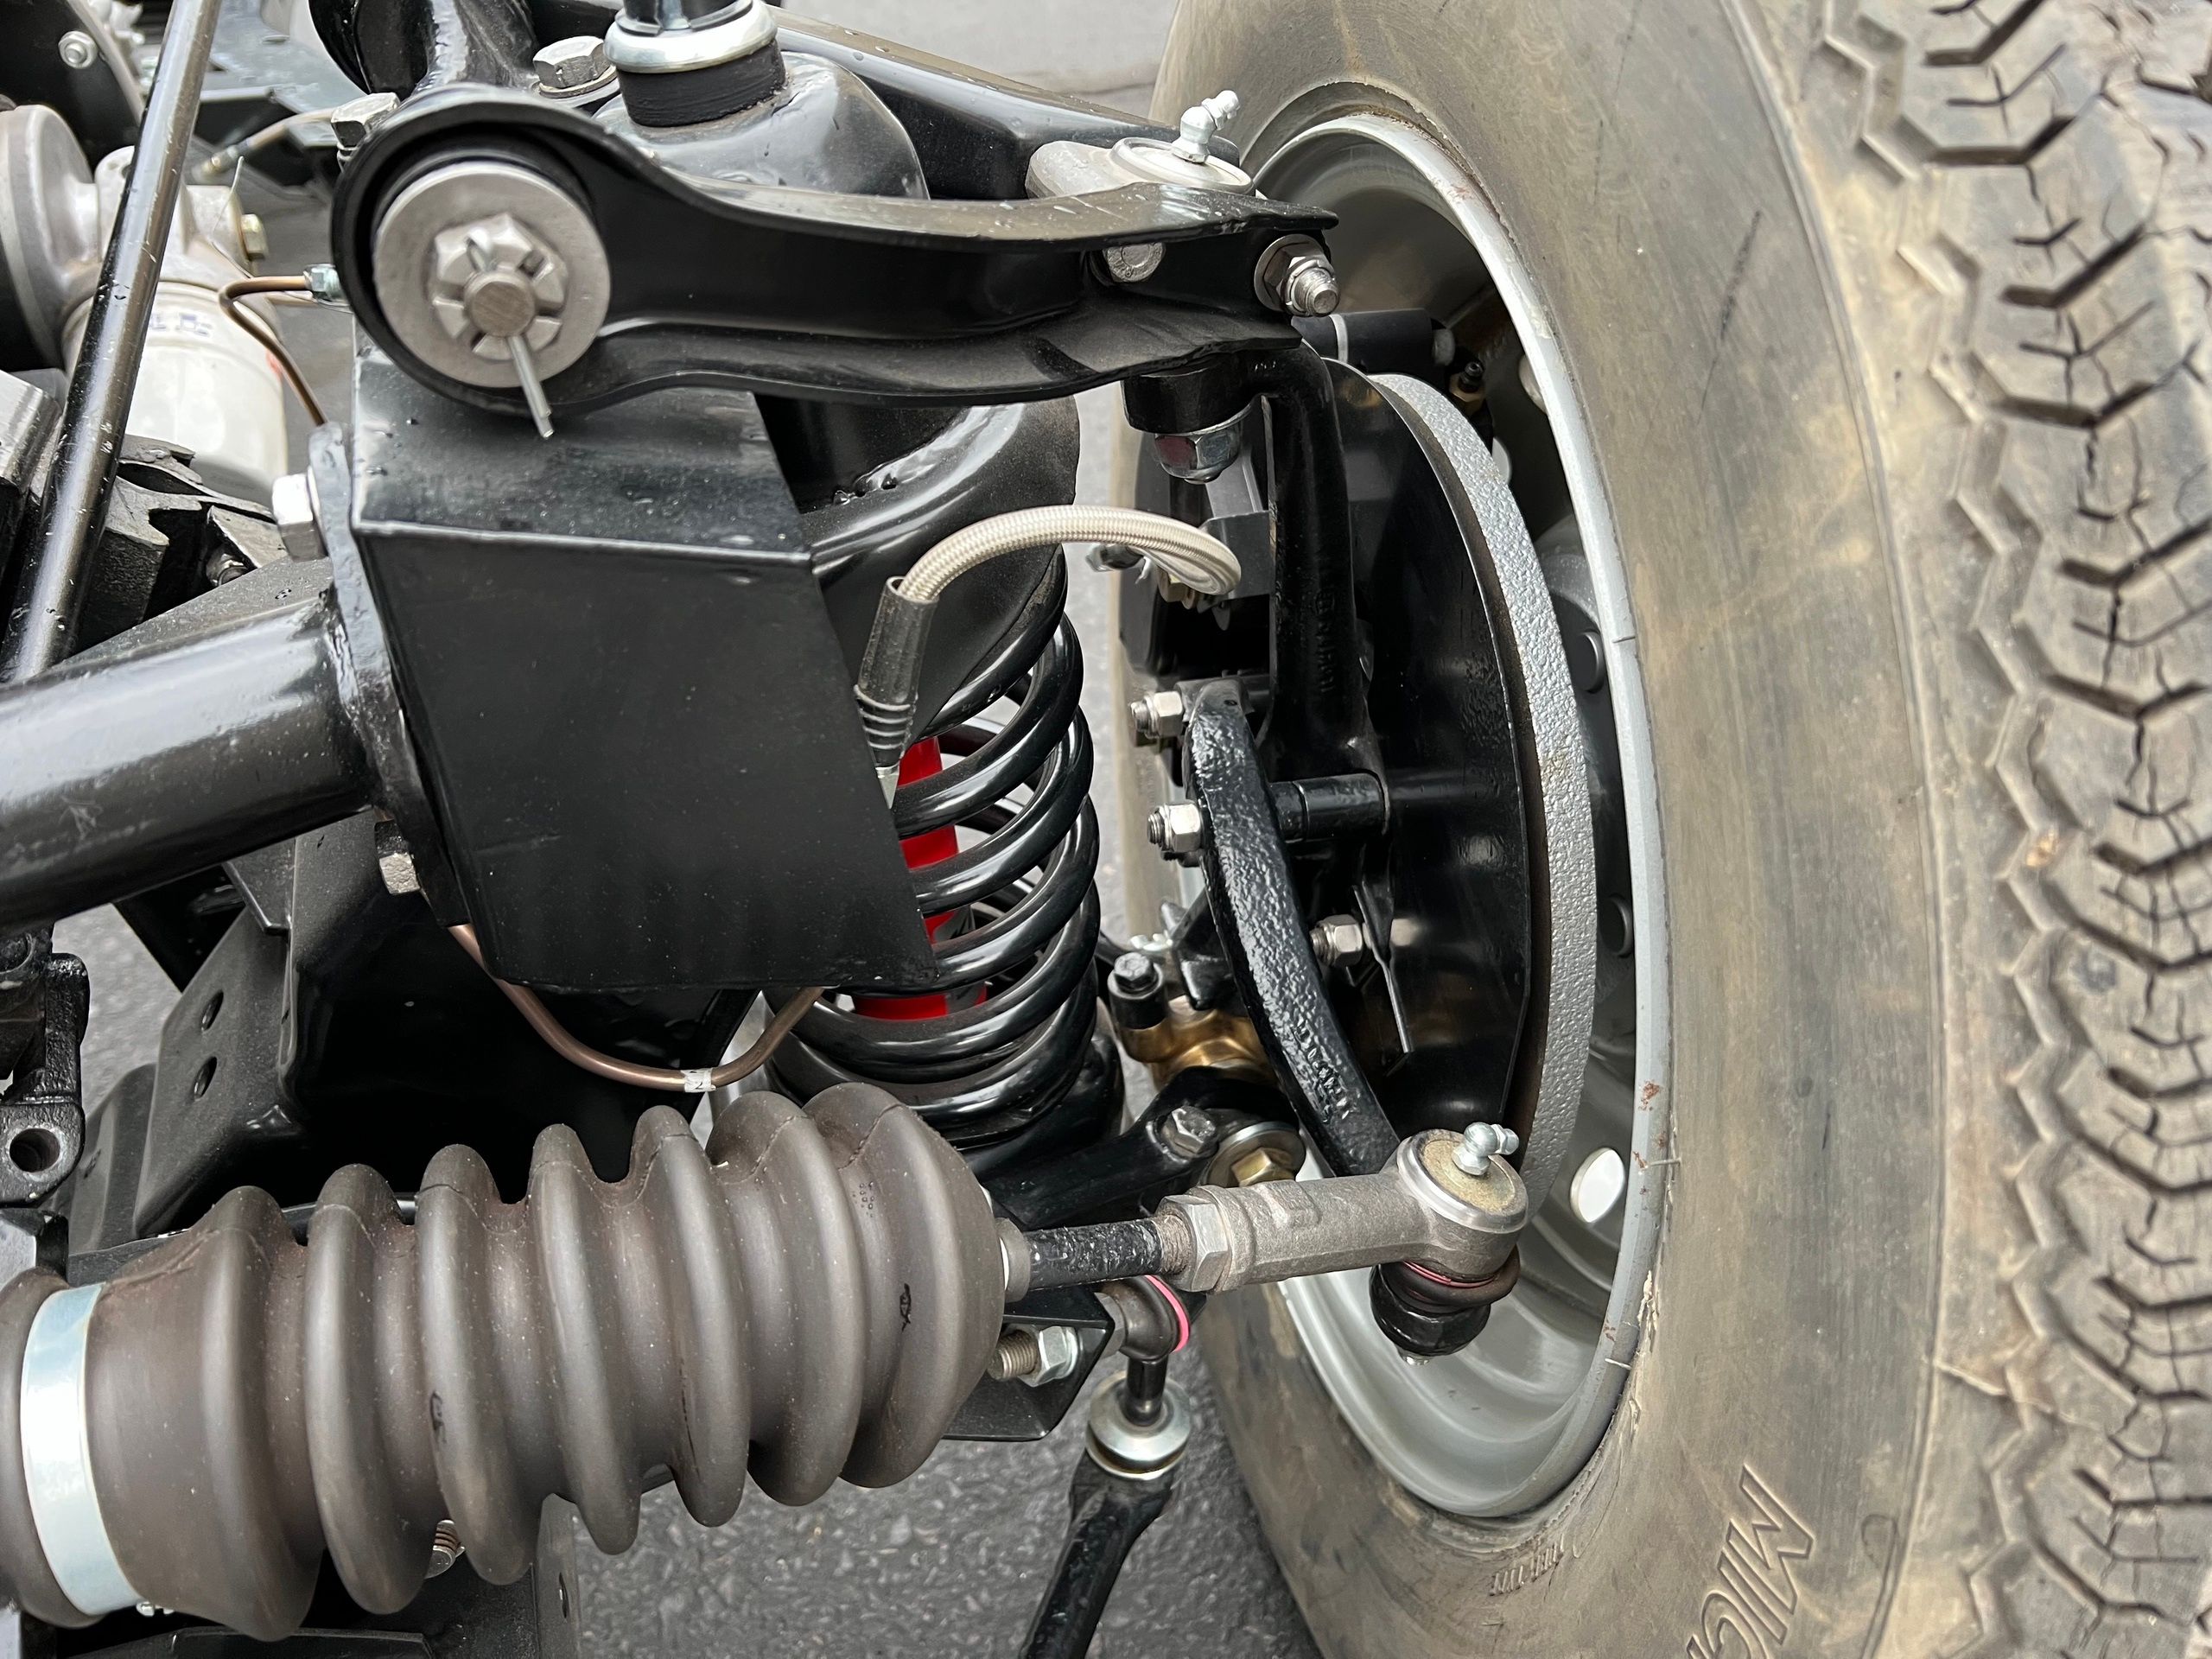
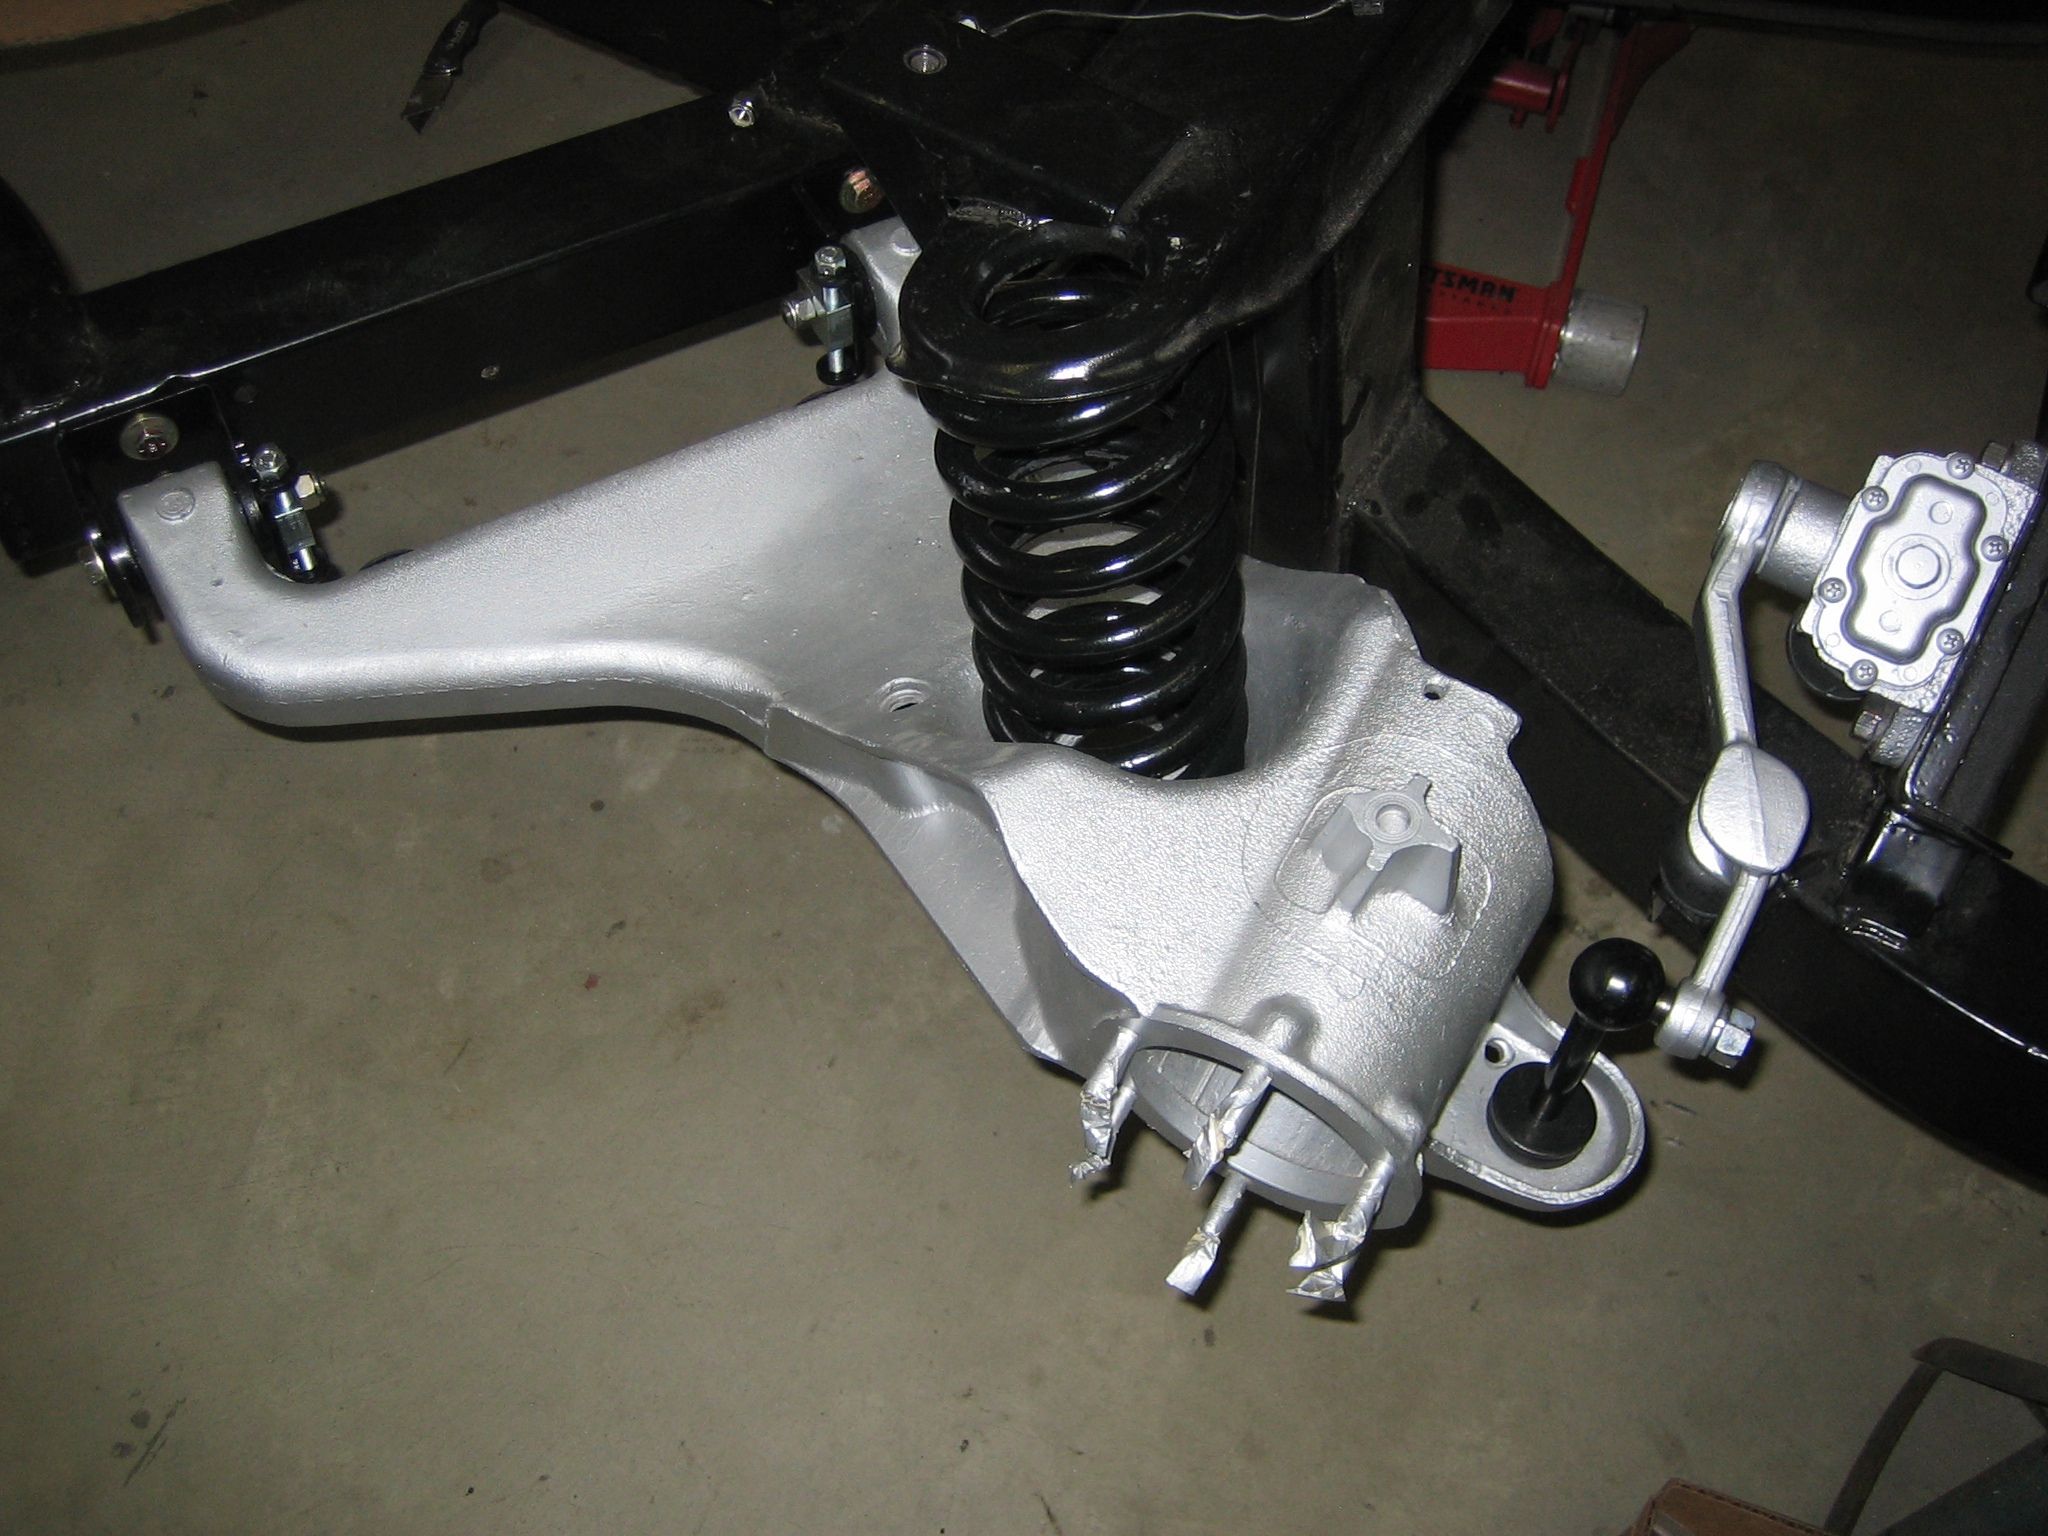
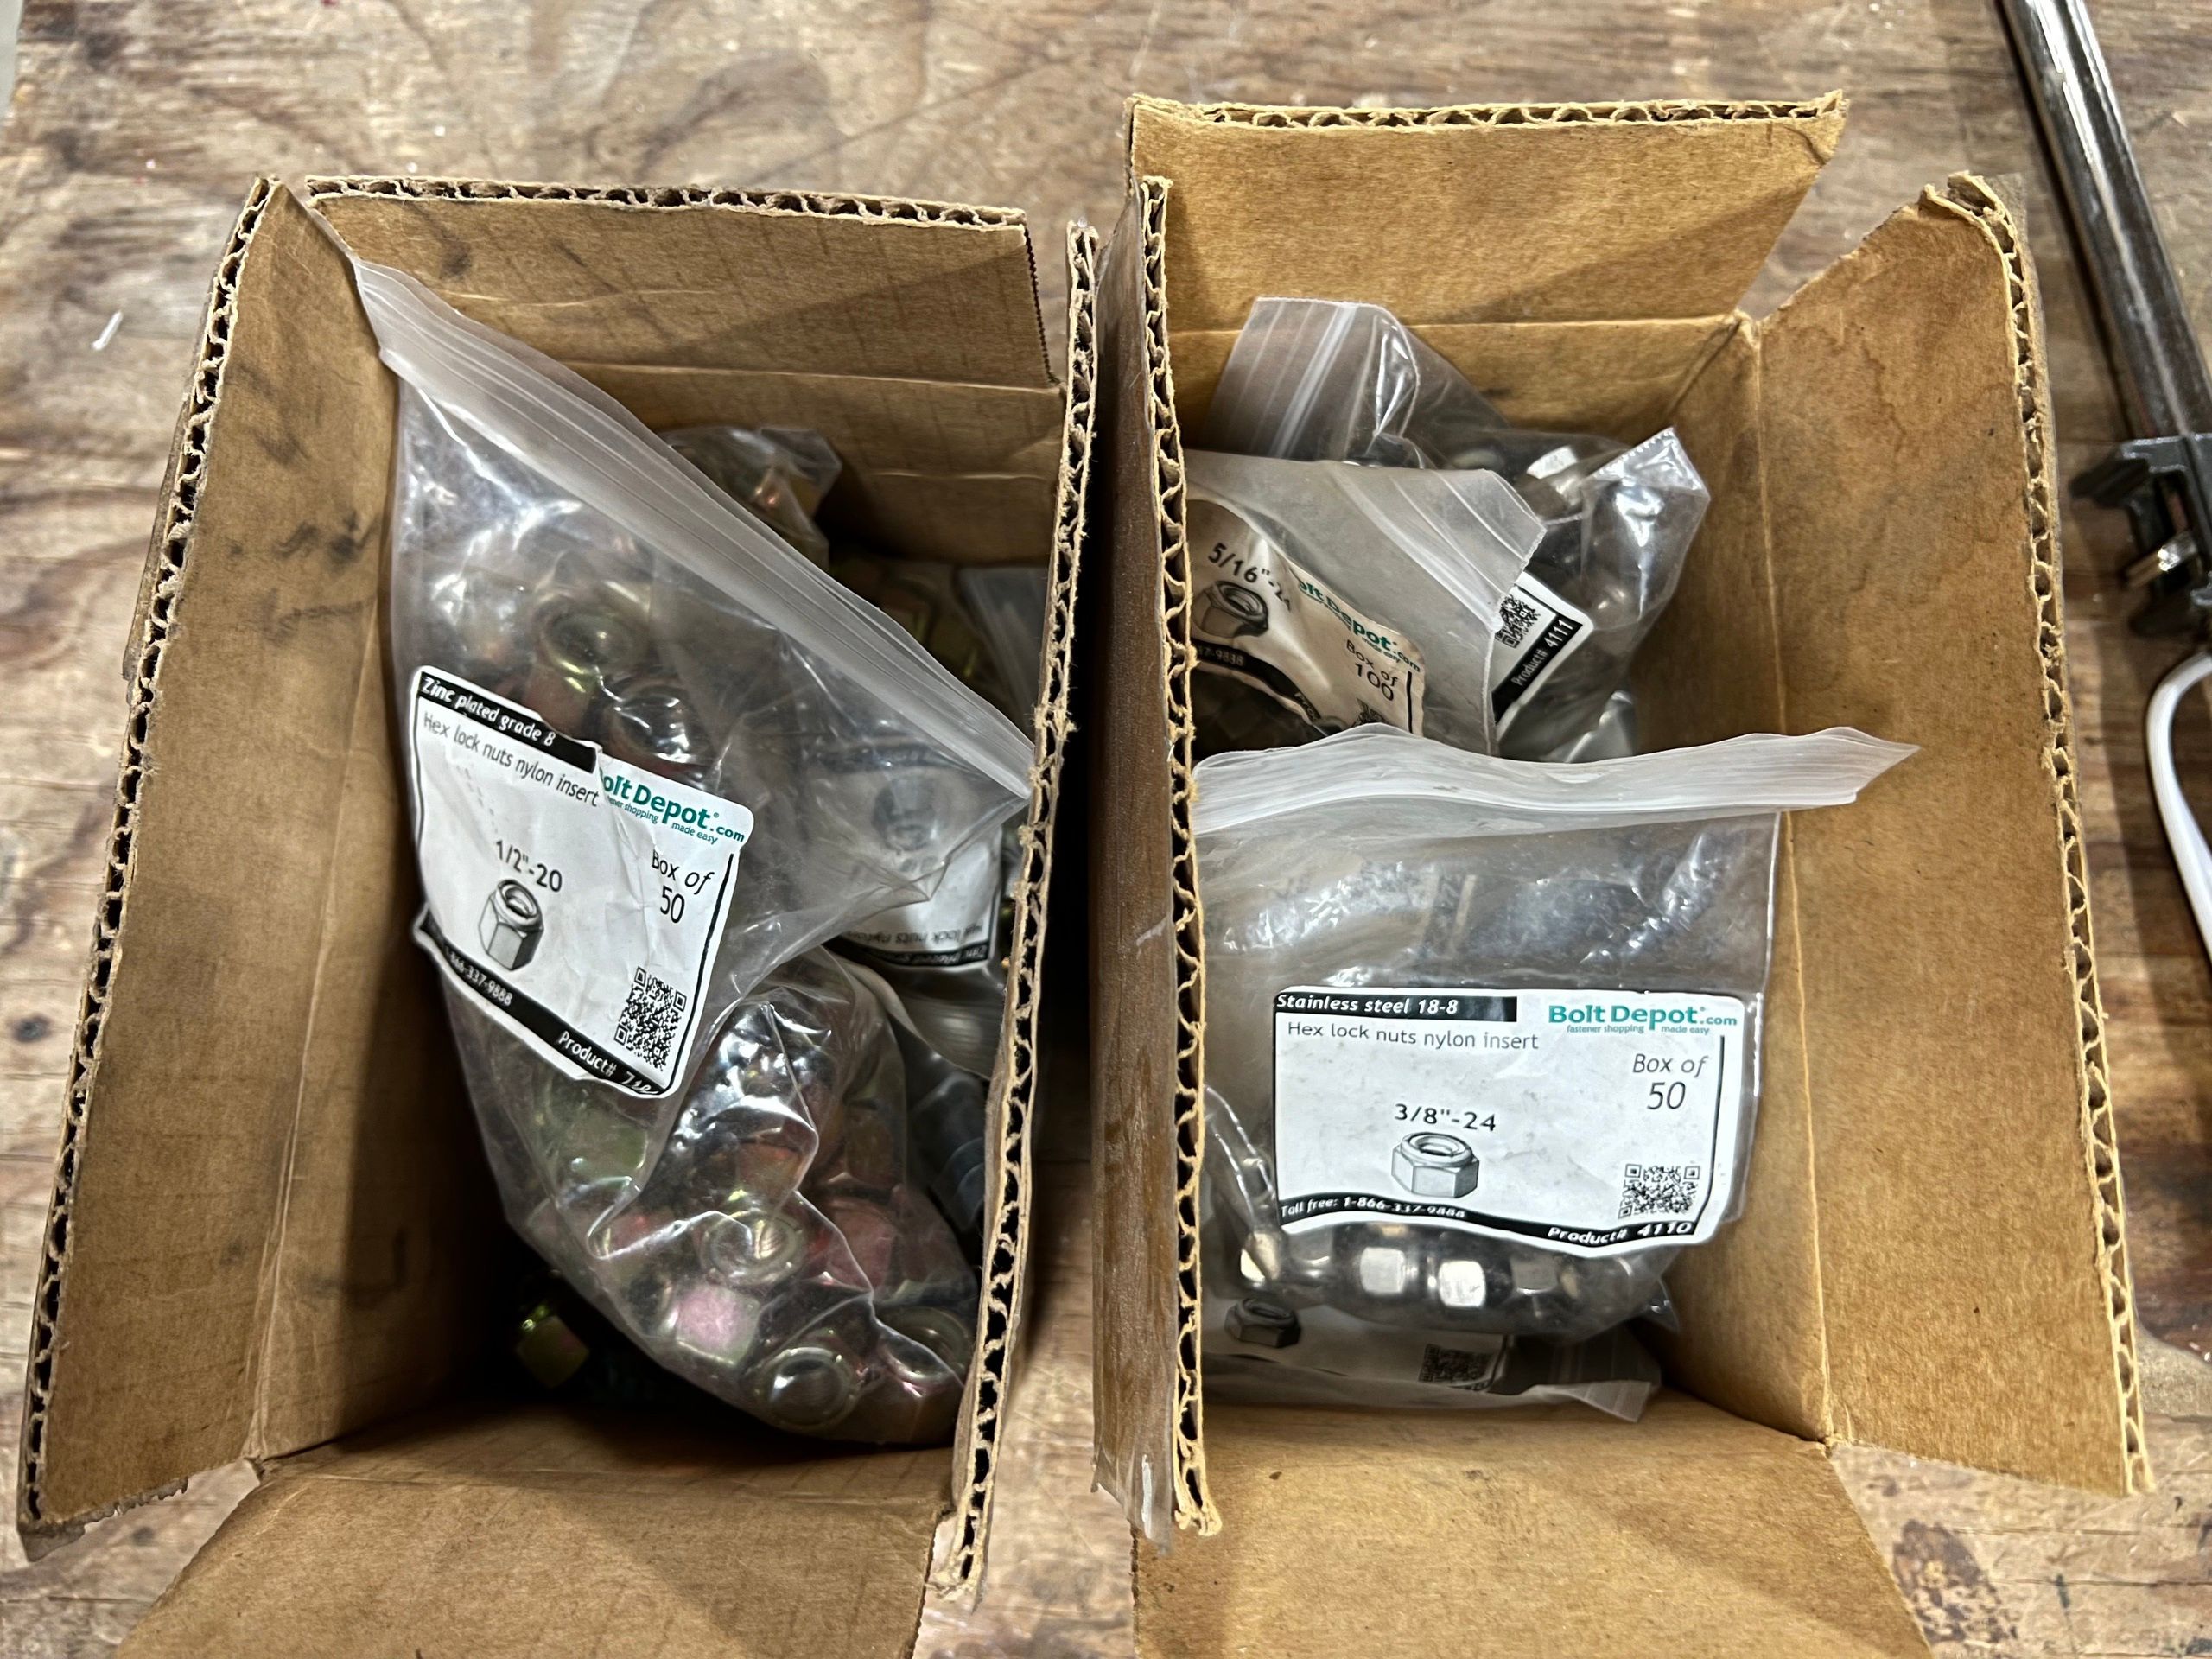
I cleaned and blasted most of the nuts and bolts, and also purchased several packs of high-quality new nyloc nuts from the Bolt Depot, so most of the components were put together with these. All bushings were replaced with new ploy bushings, and I bought rebuild kits wherever perished items were found, for example in the lower control arms. I also purchased high-performance GoodParts springs for both front and rear that should also lower the car by about 1" (I also purchased some spring spacers, but they are currently not installed). I also installed Koni adjustable shocks as well as fully adjustable rear trailing arm brackets (also from GoodParts) to allow for easier suspension setup compared to the old 'shim' solution on the original car.
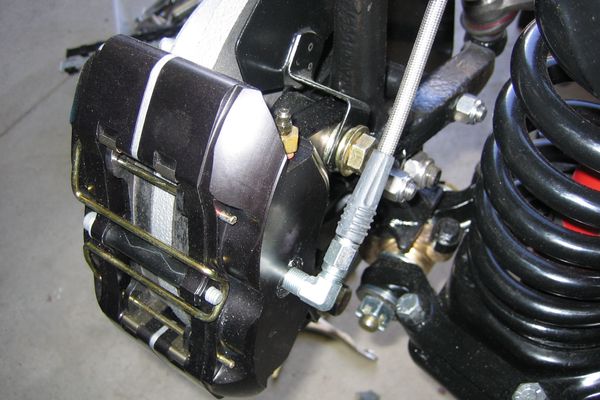
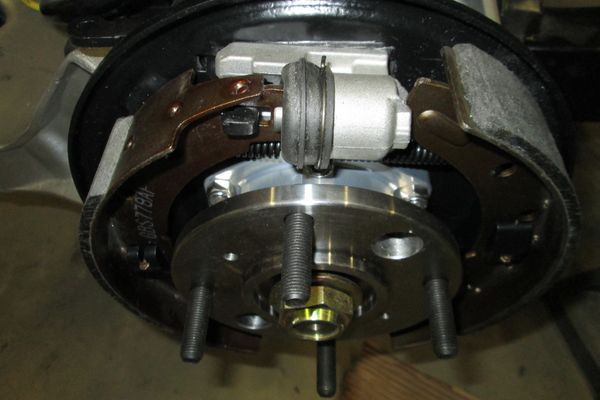
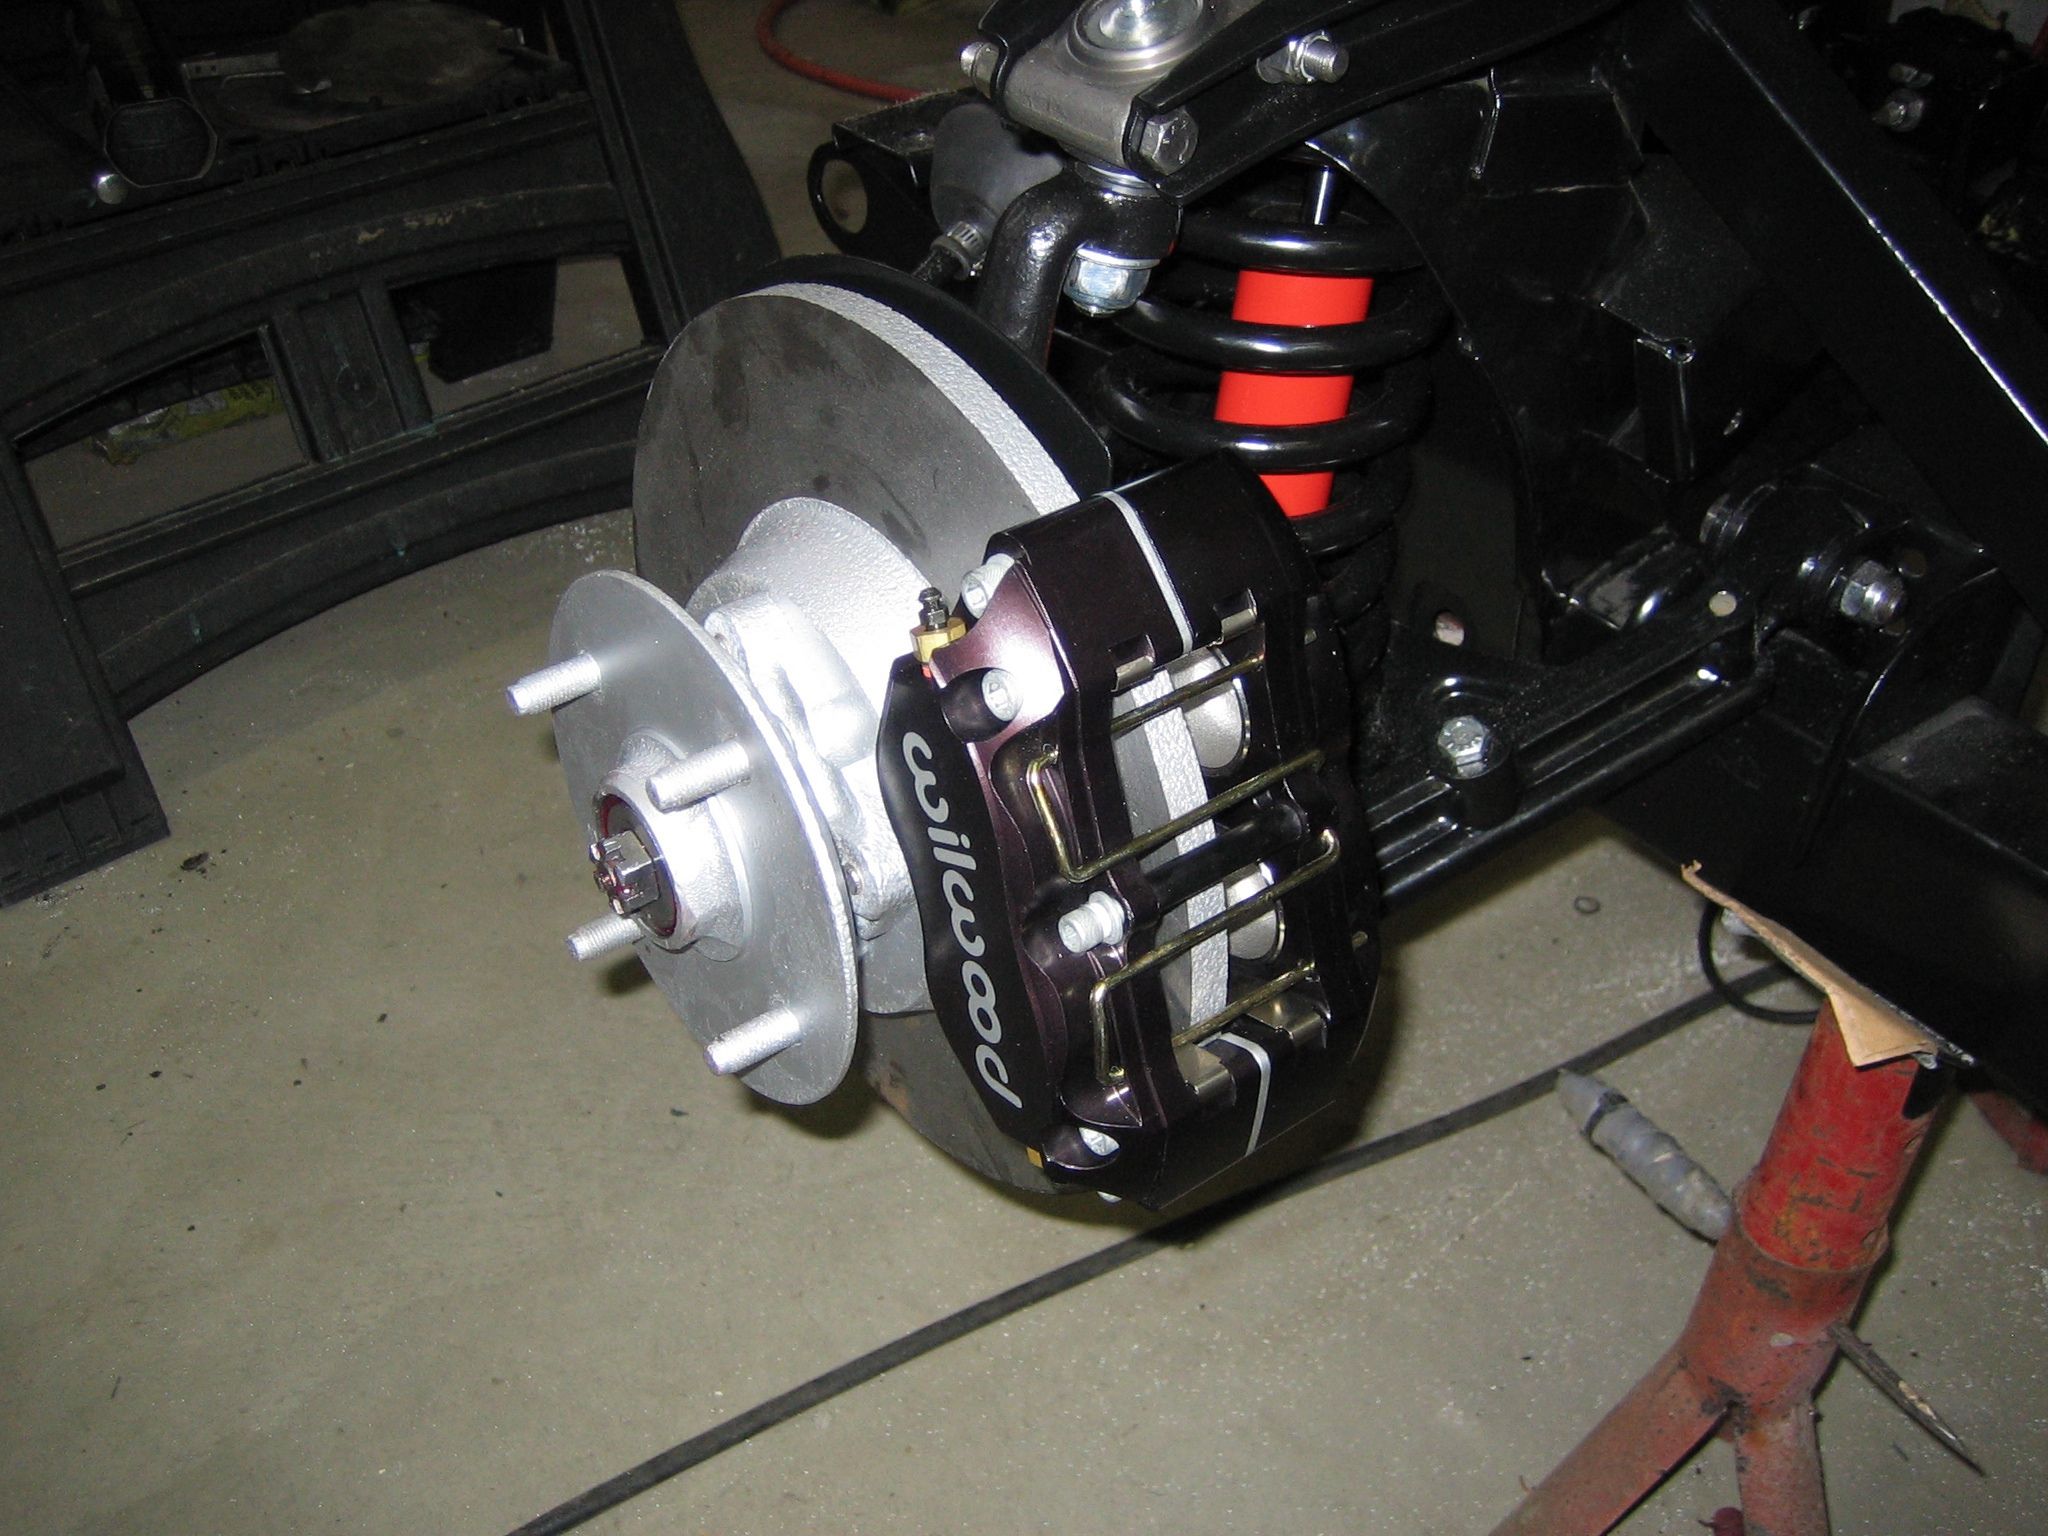
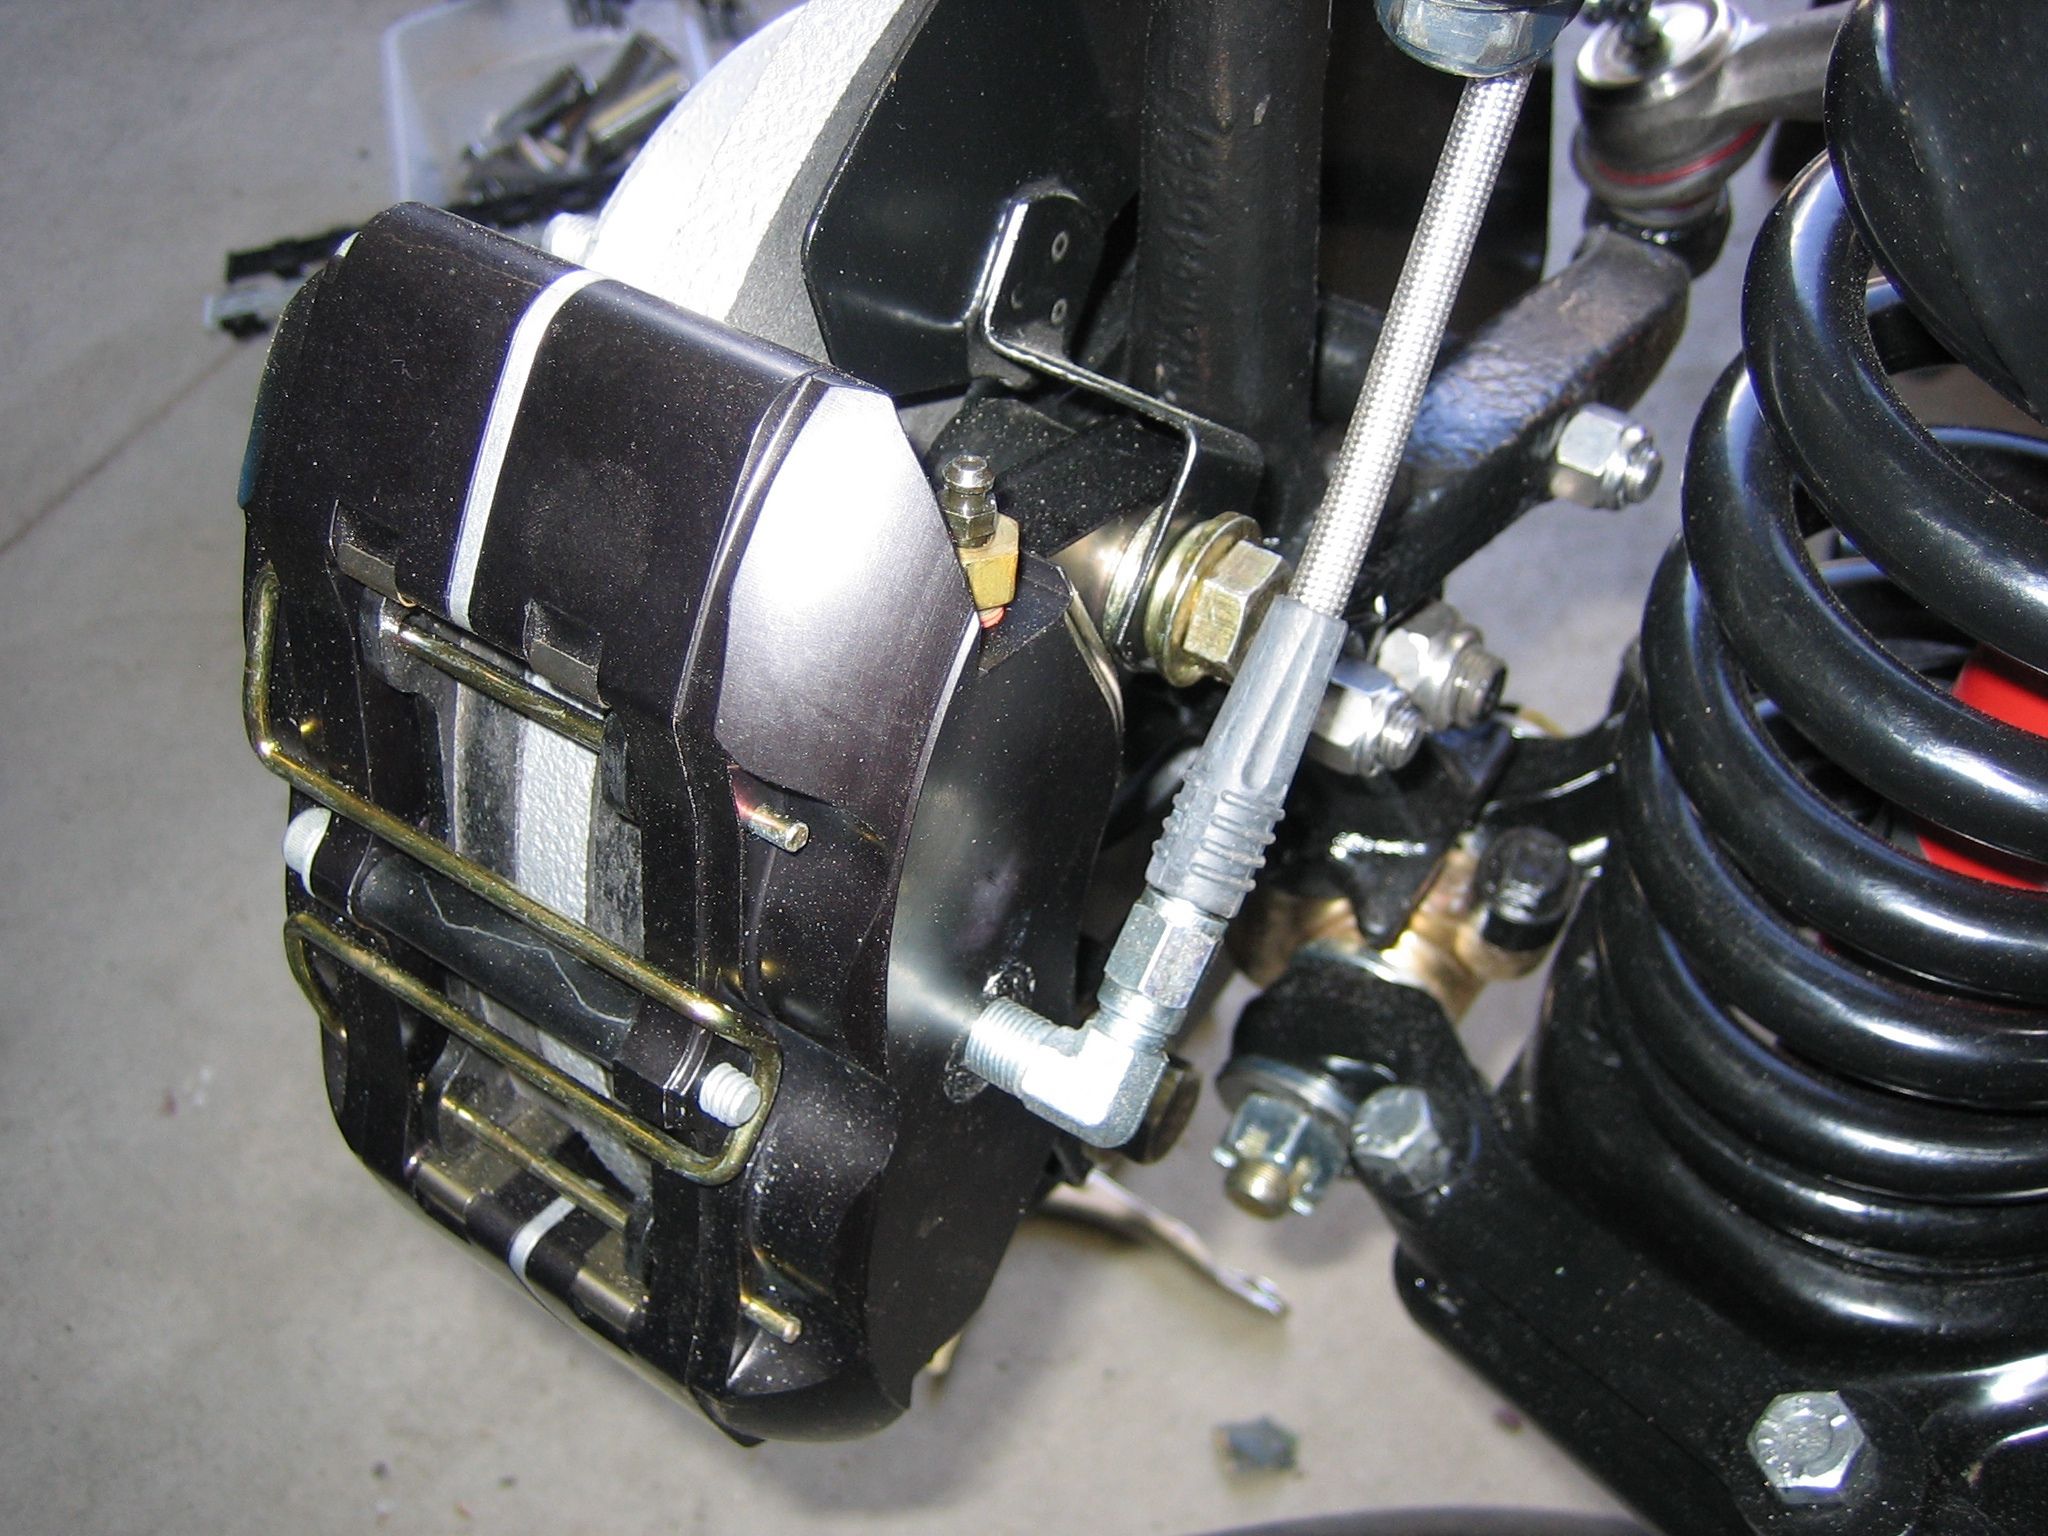
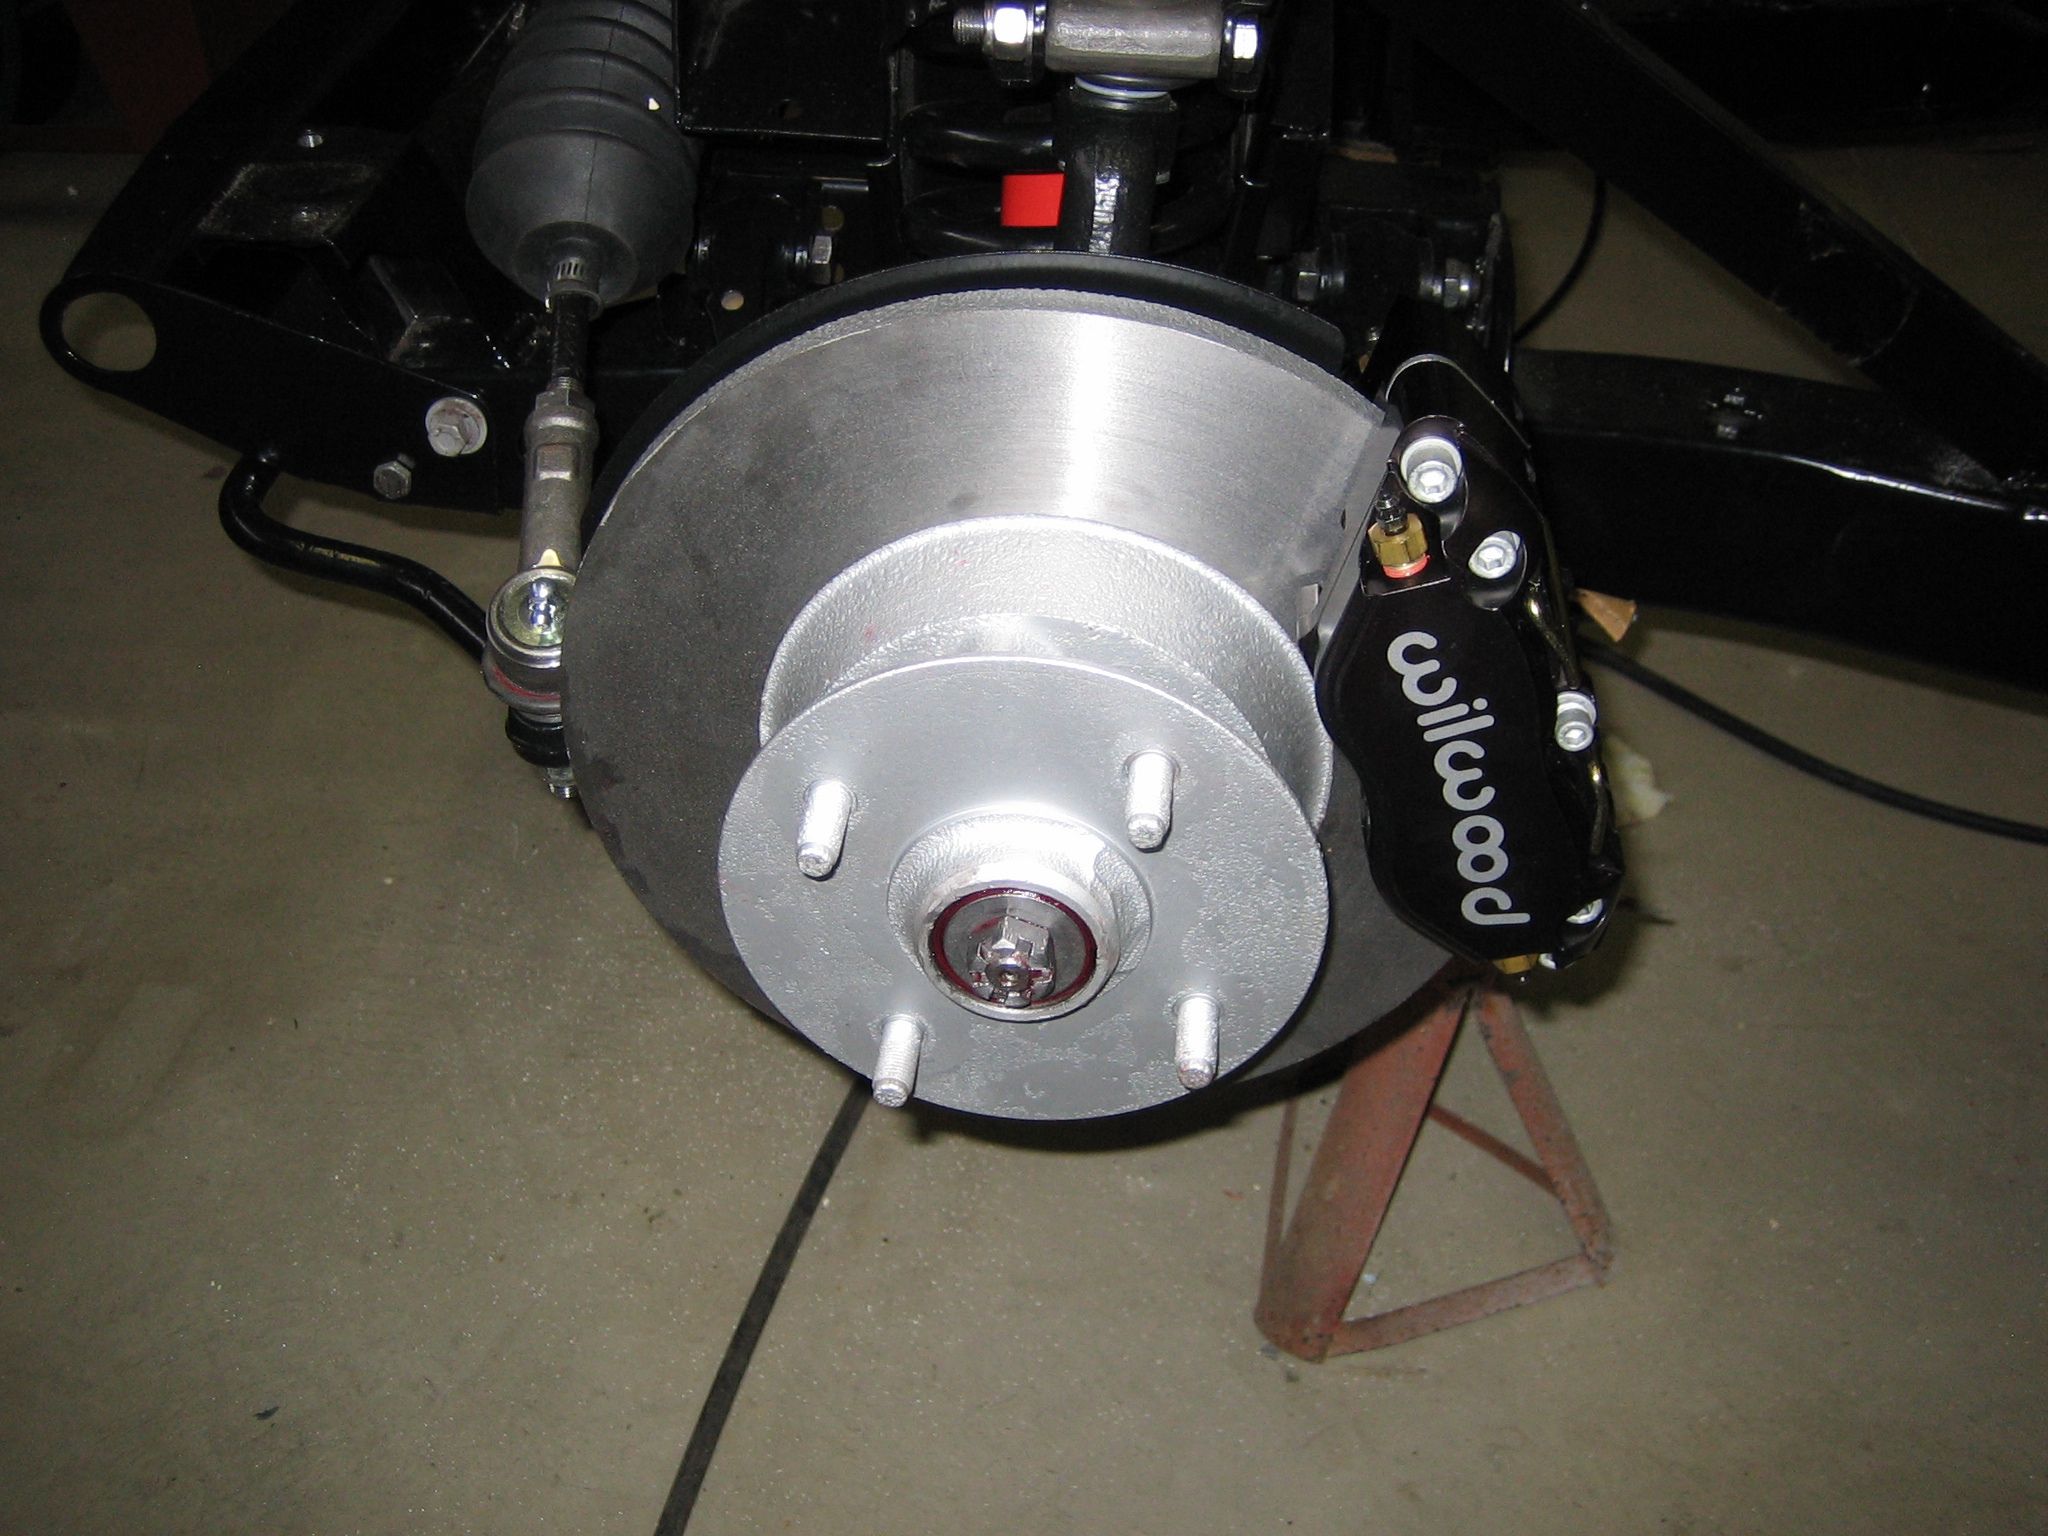
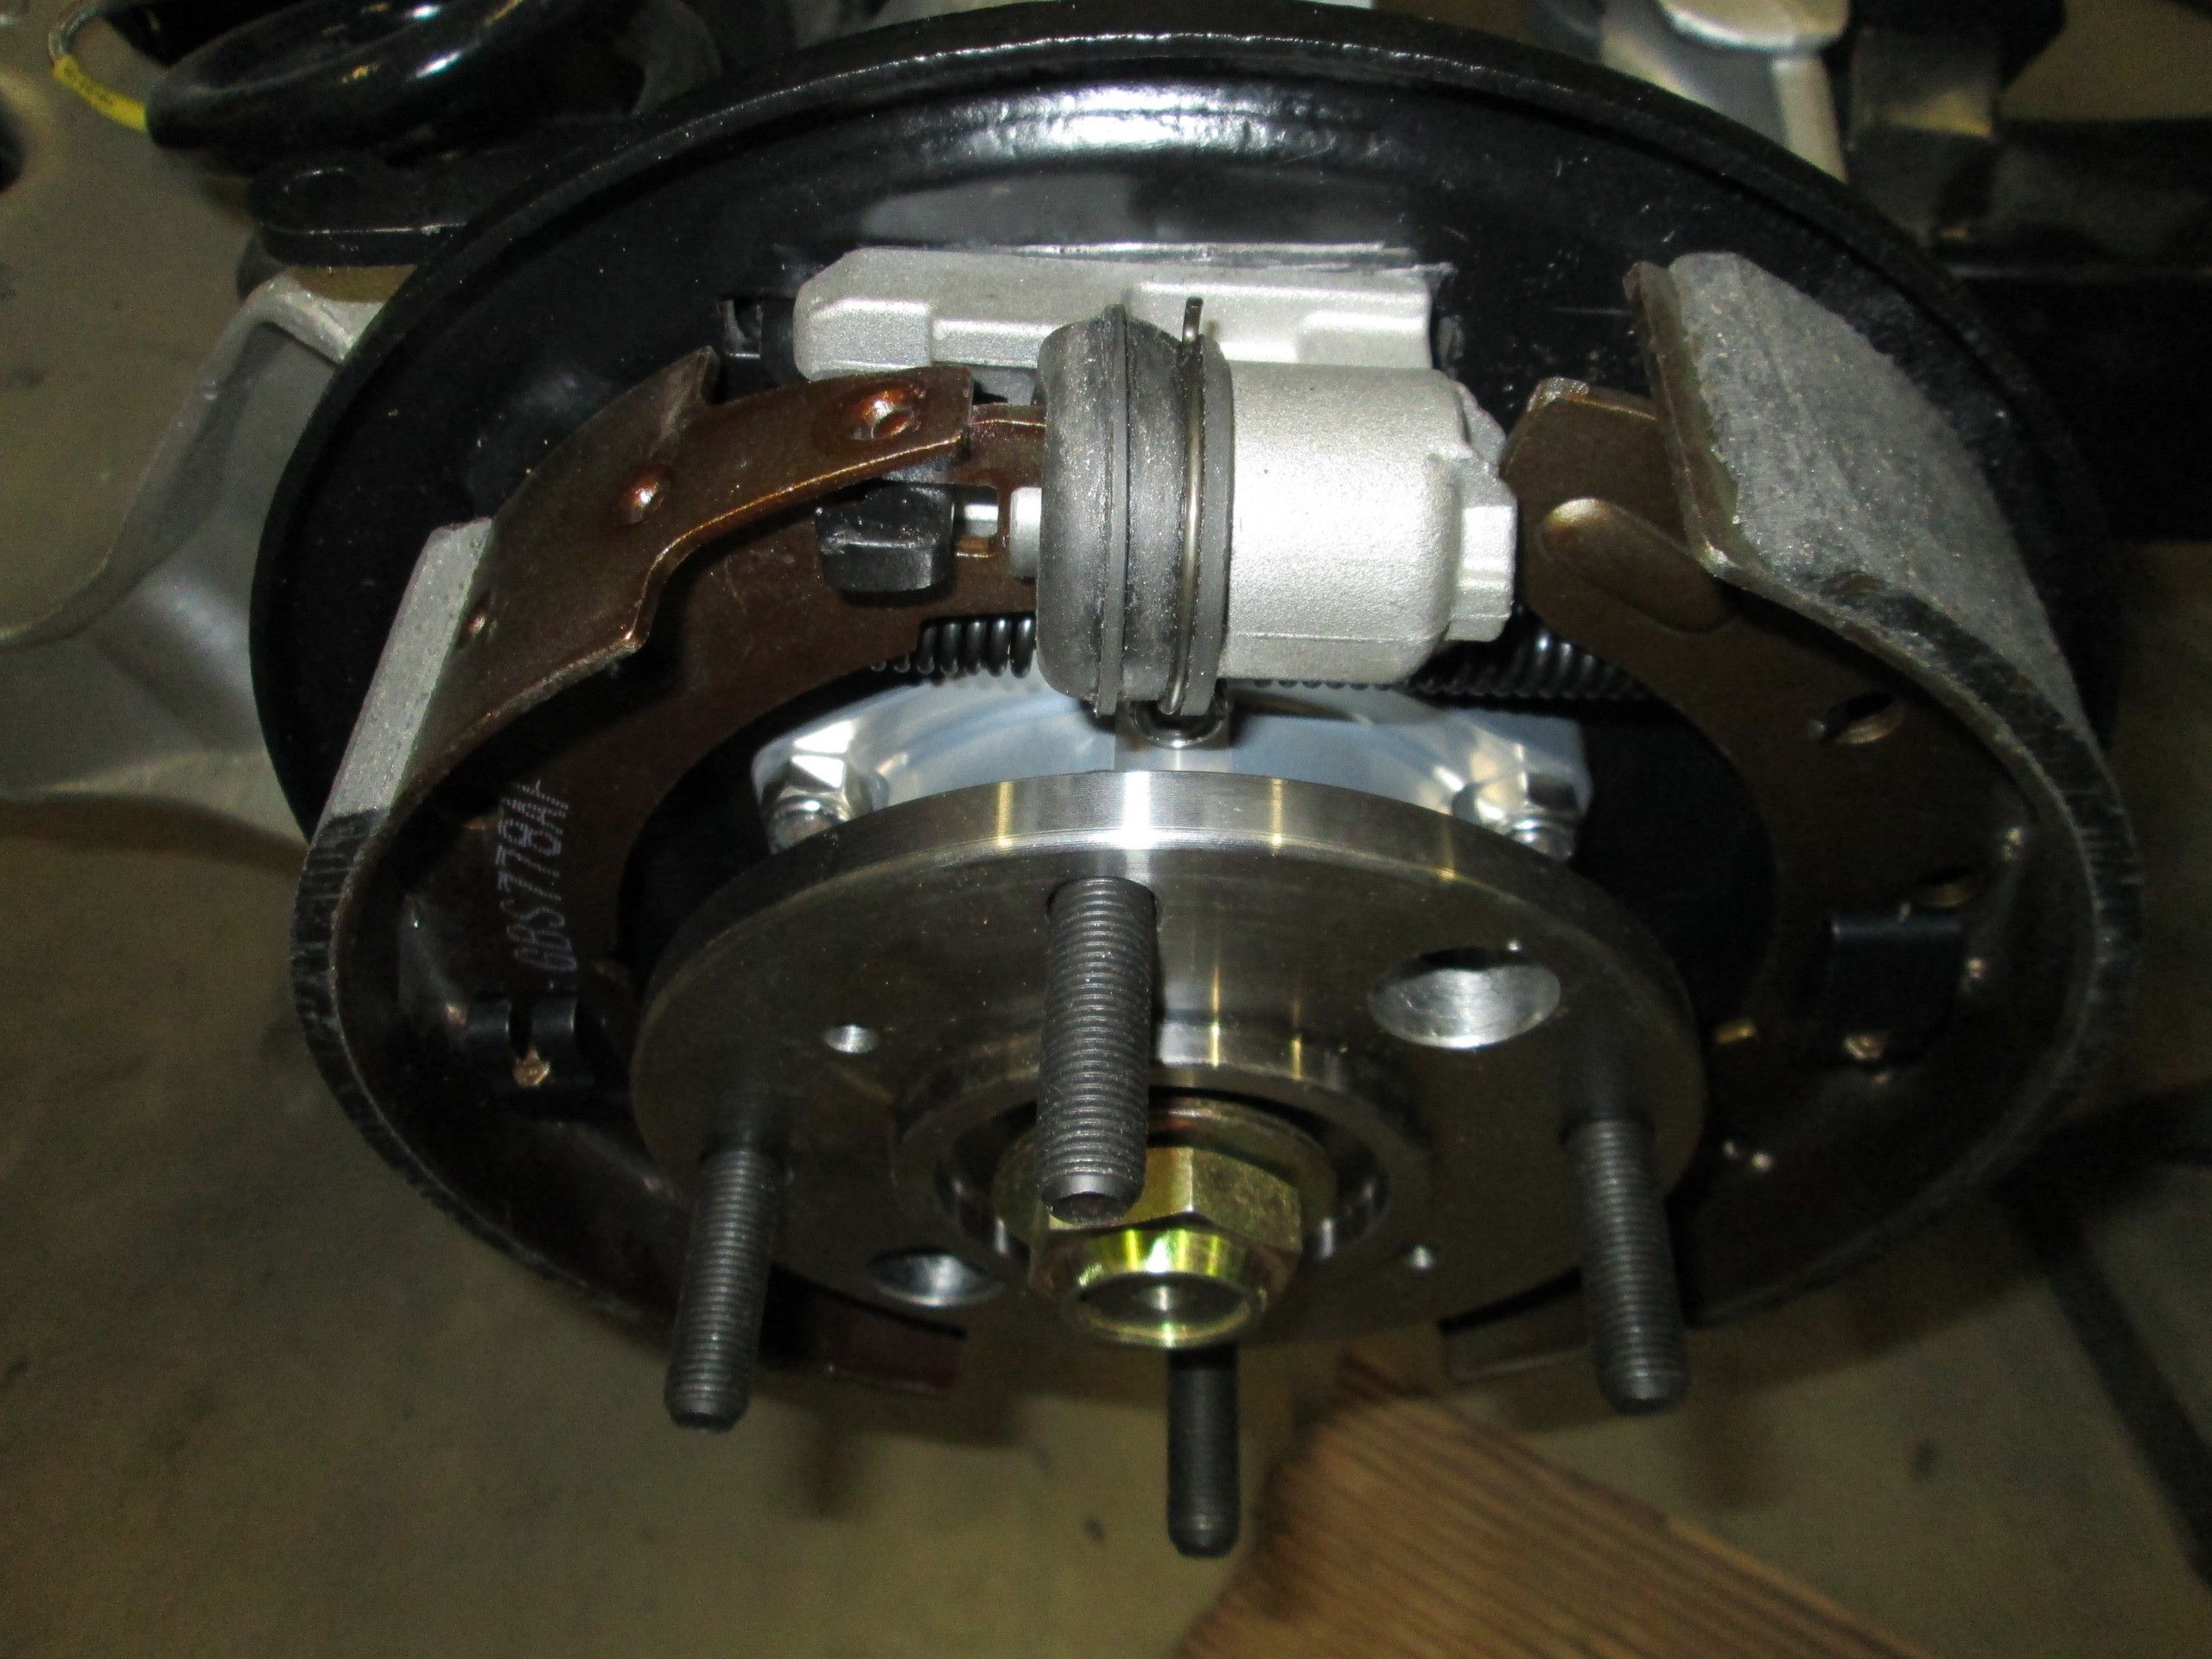
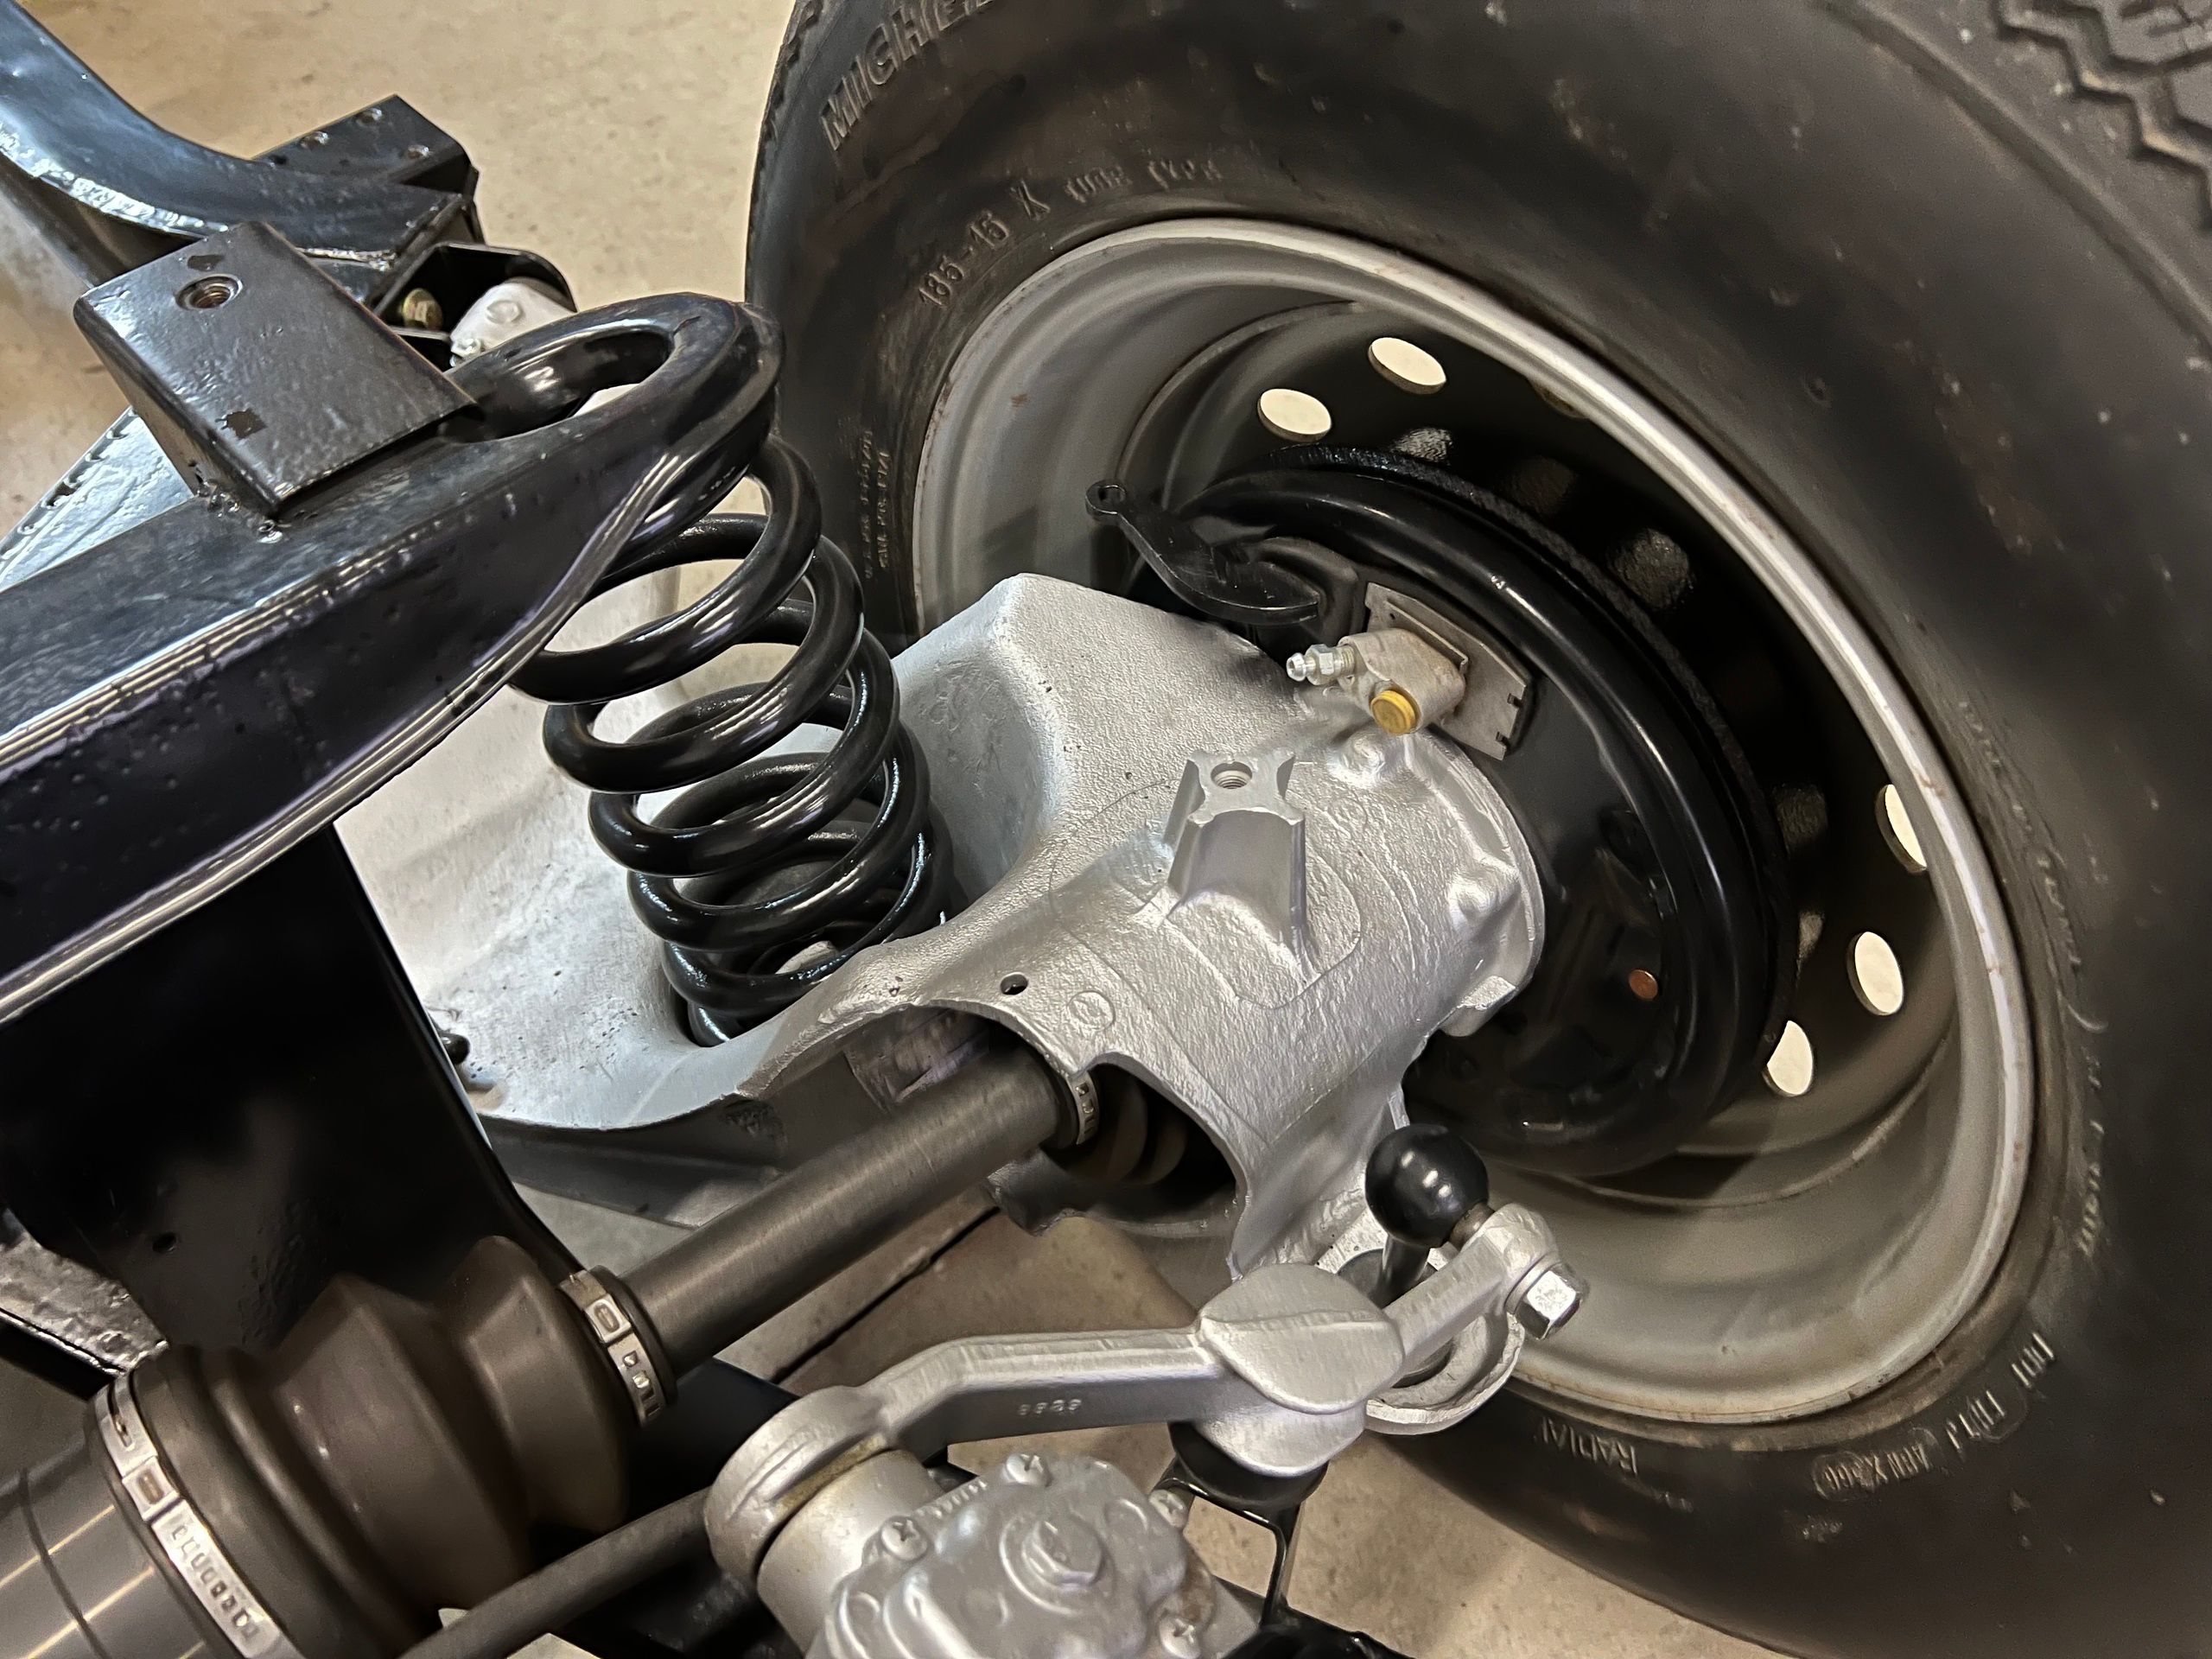
Regarding brakes, the front brakes are upgraded with Wilwood Calipers (black) for better looks, increased stopping power, and much lighter unsprung weight. The rears use the stock drum brakes, but have upgraded pads and upgraded rear wheel cylinders for increased performance. Brake lines are all new with a copper tubing and braided lines.
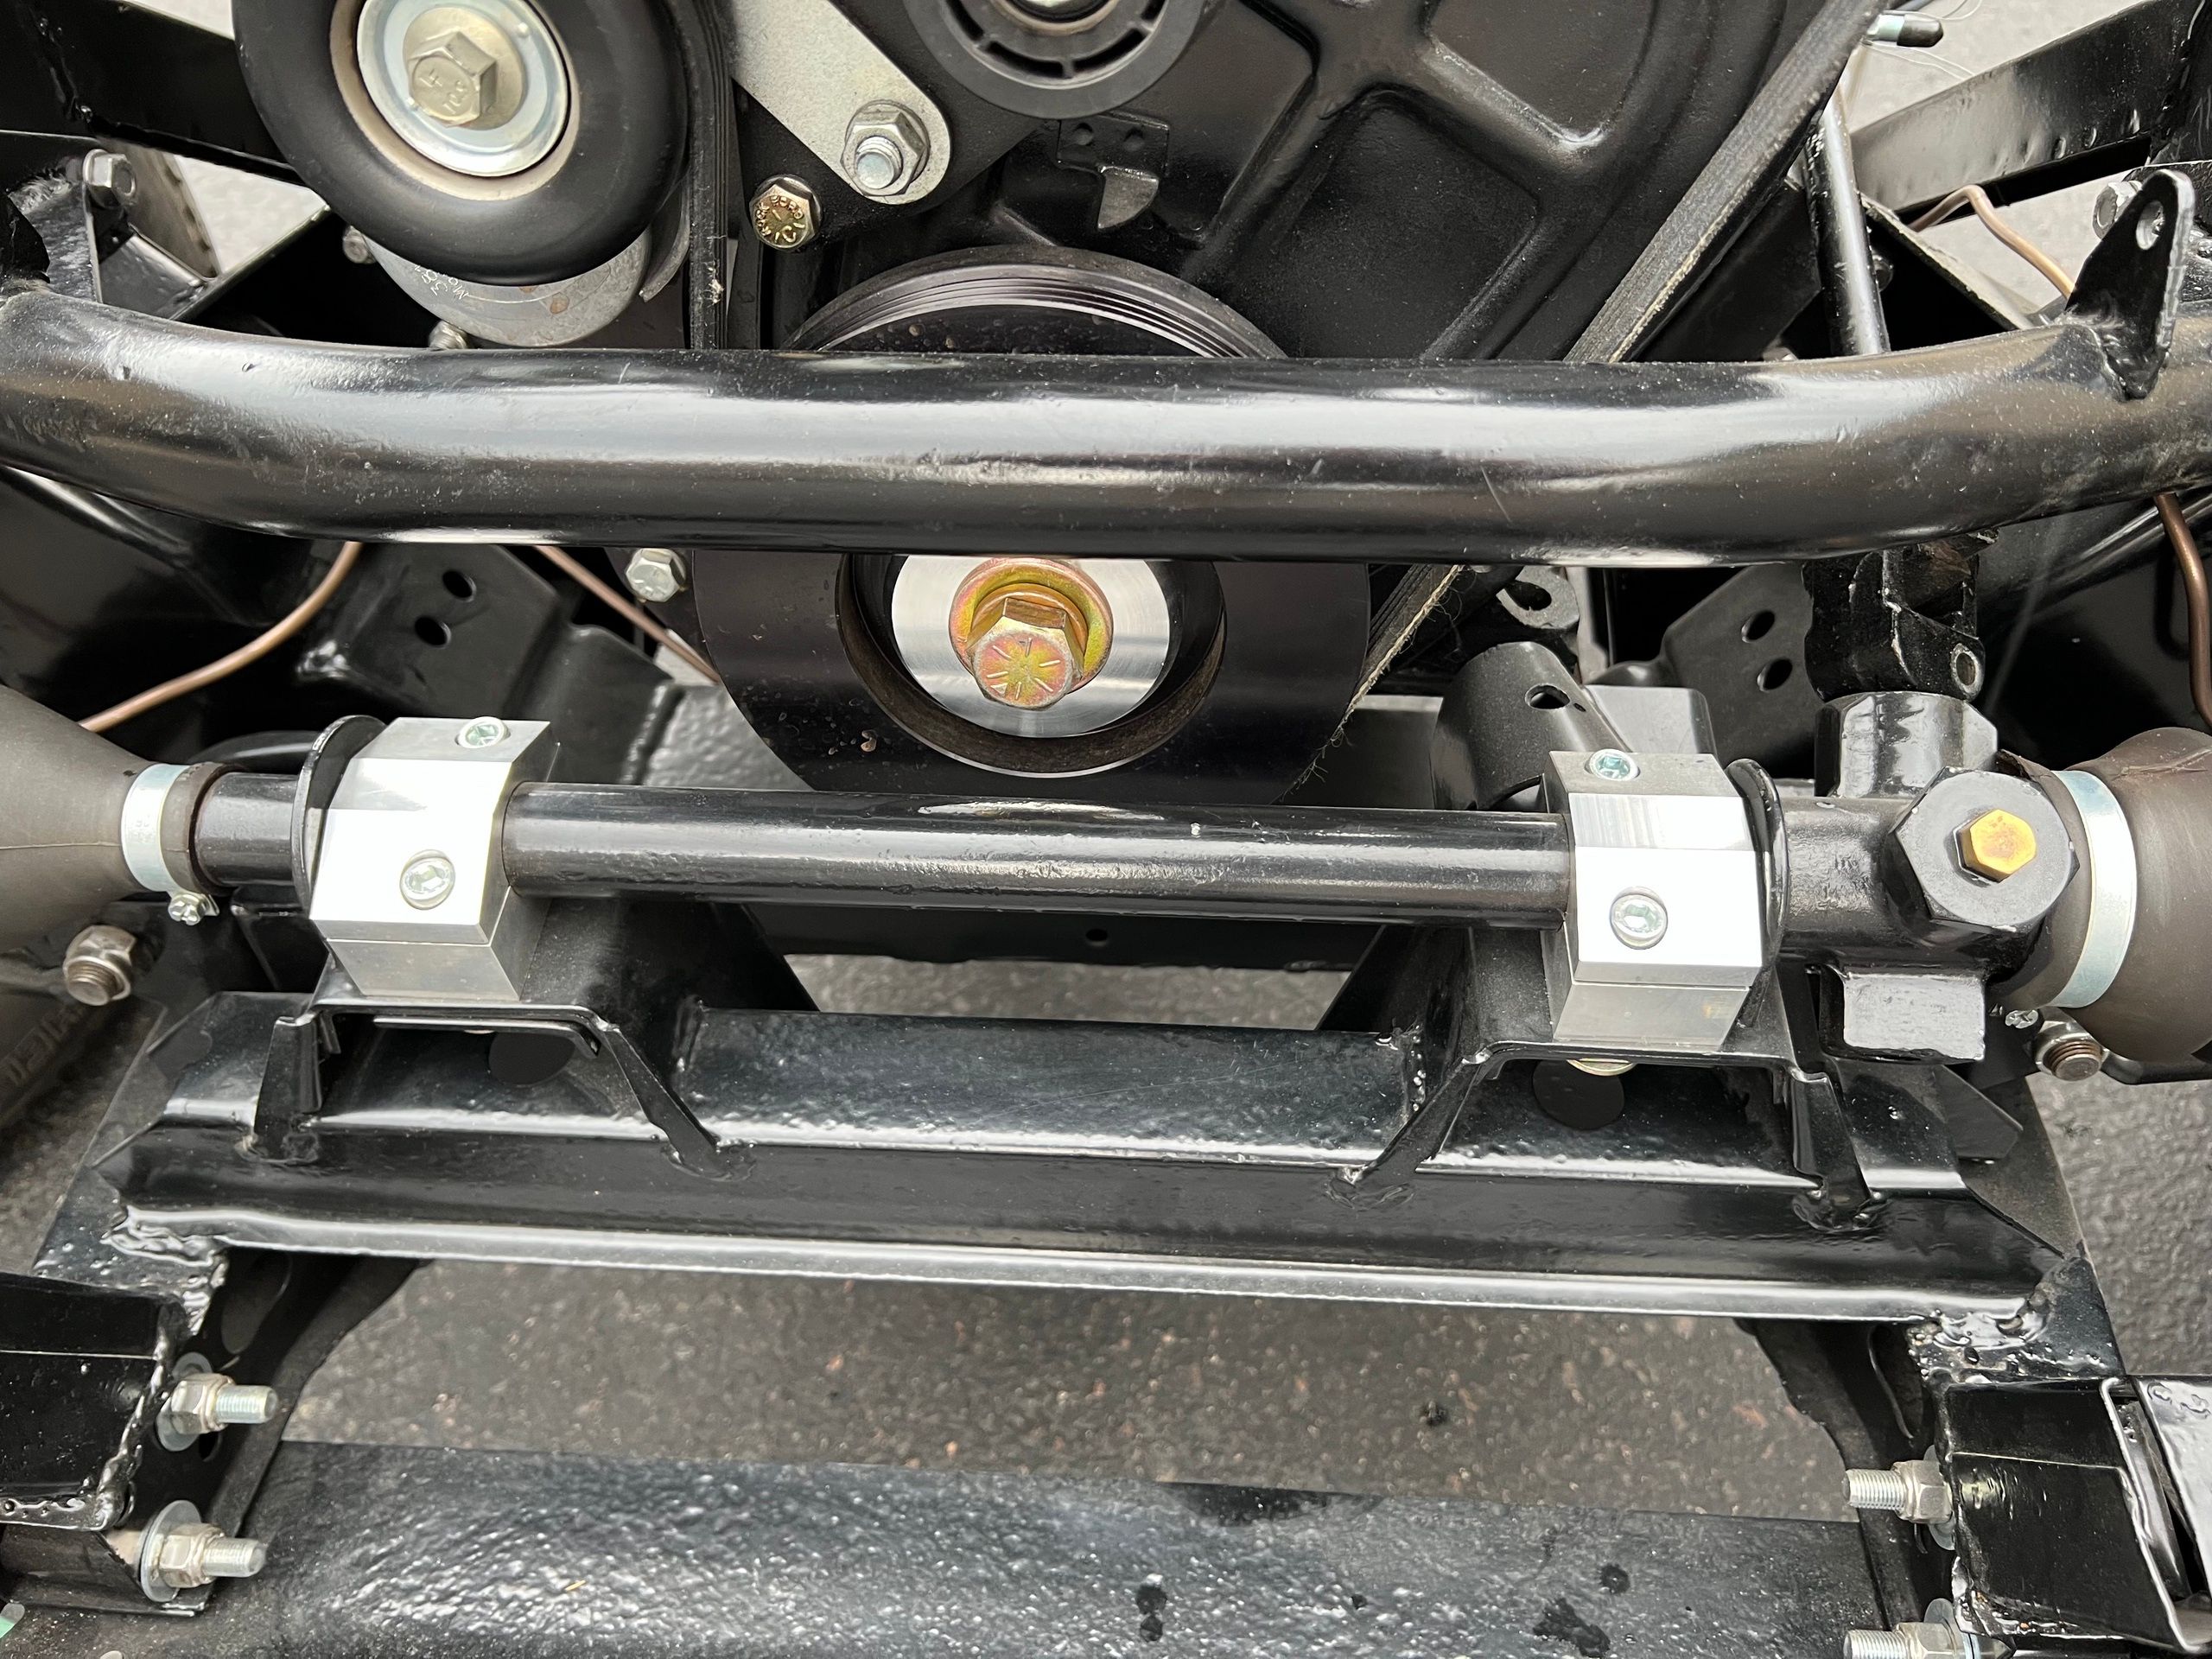
Also from Goodparts, I installed a new aluminum steering rack mount kit as the stock one with thick rubber bushings is notorious for slipping and providing suboptimal handling characteristics.
Oh! And check out those sweet Michelin Redline Tires! Very desirable.
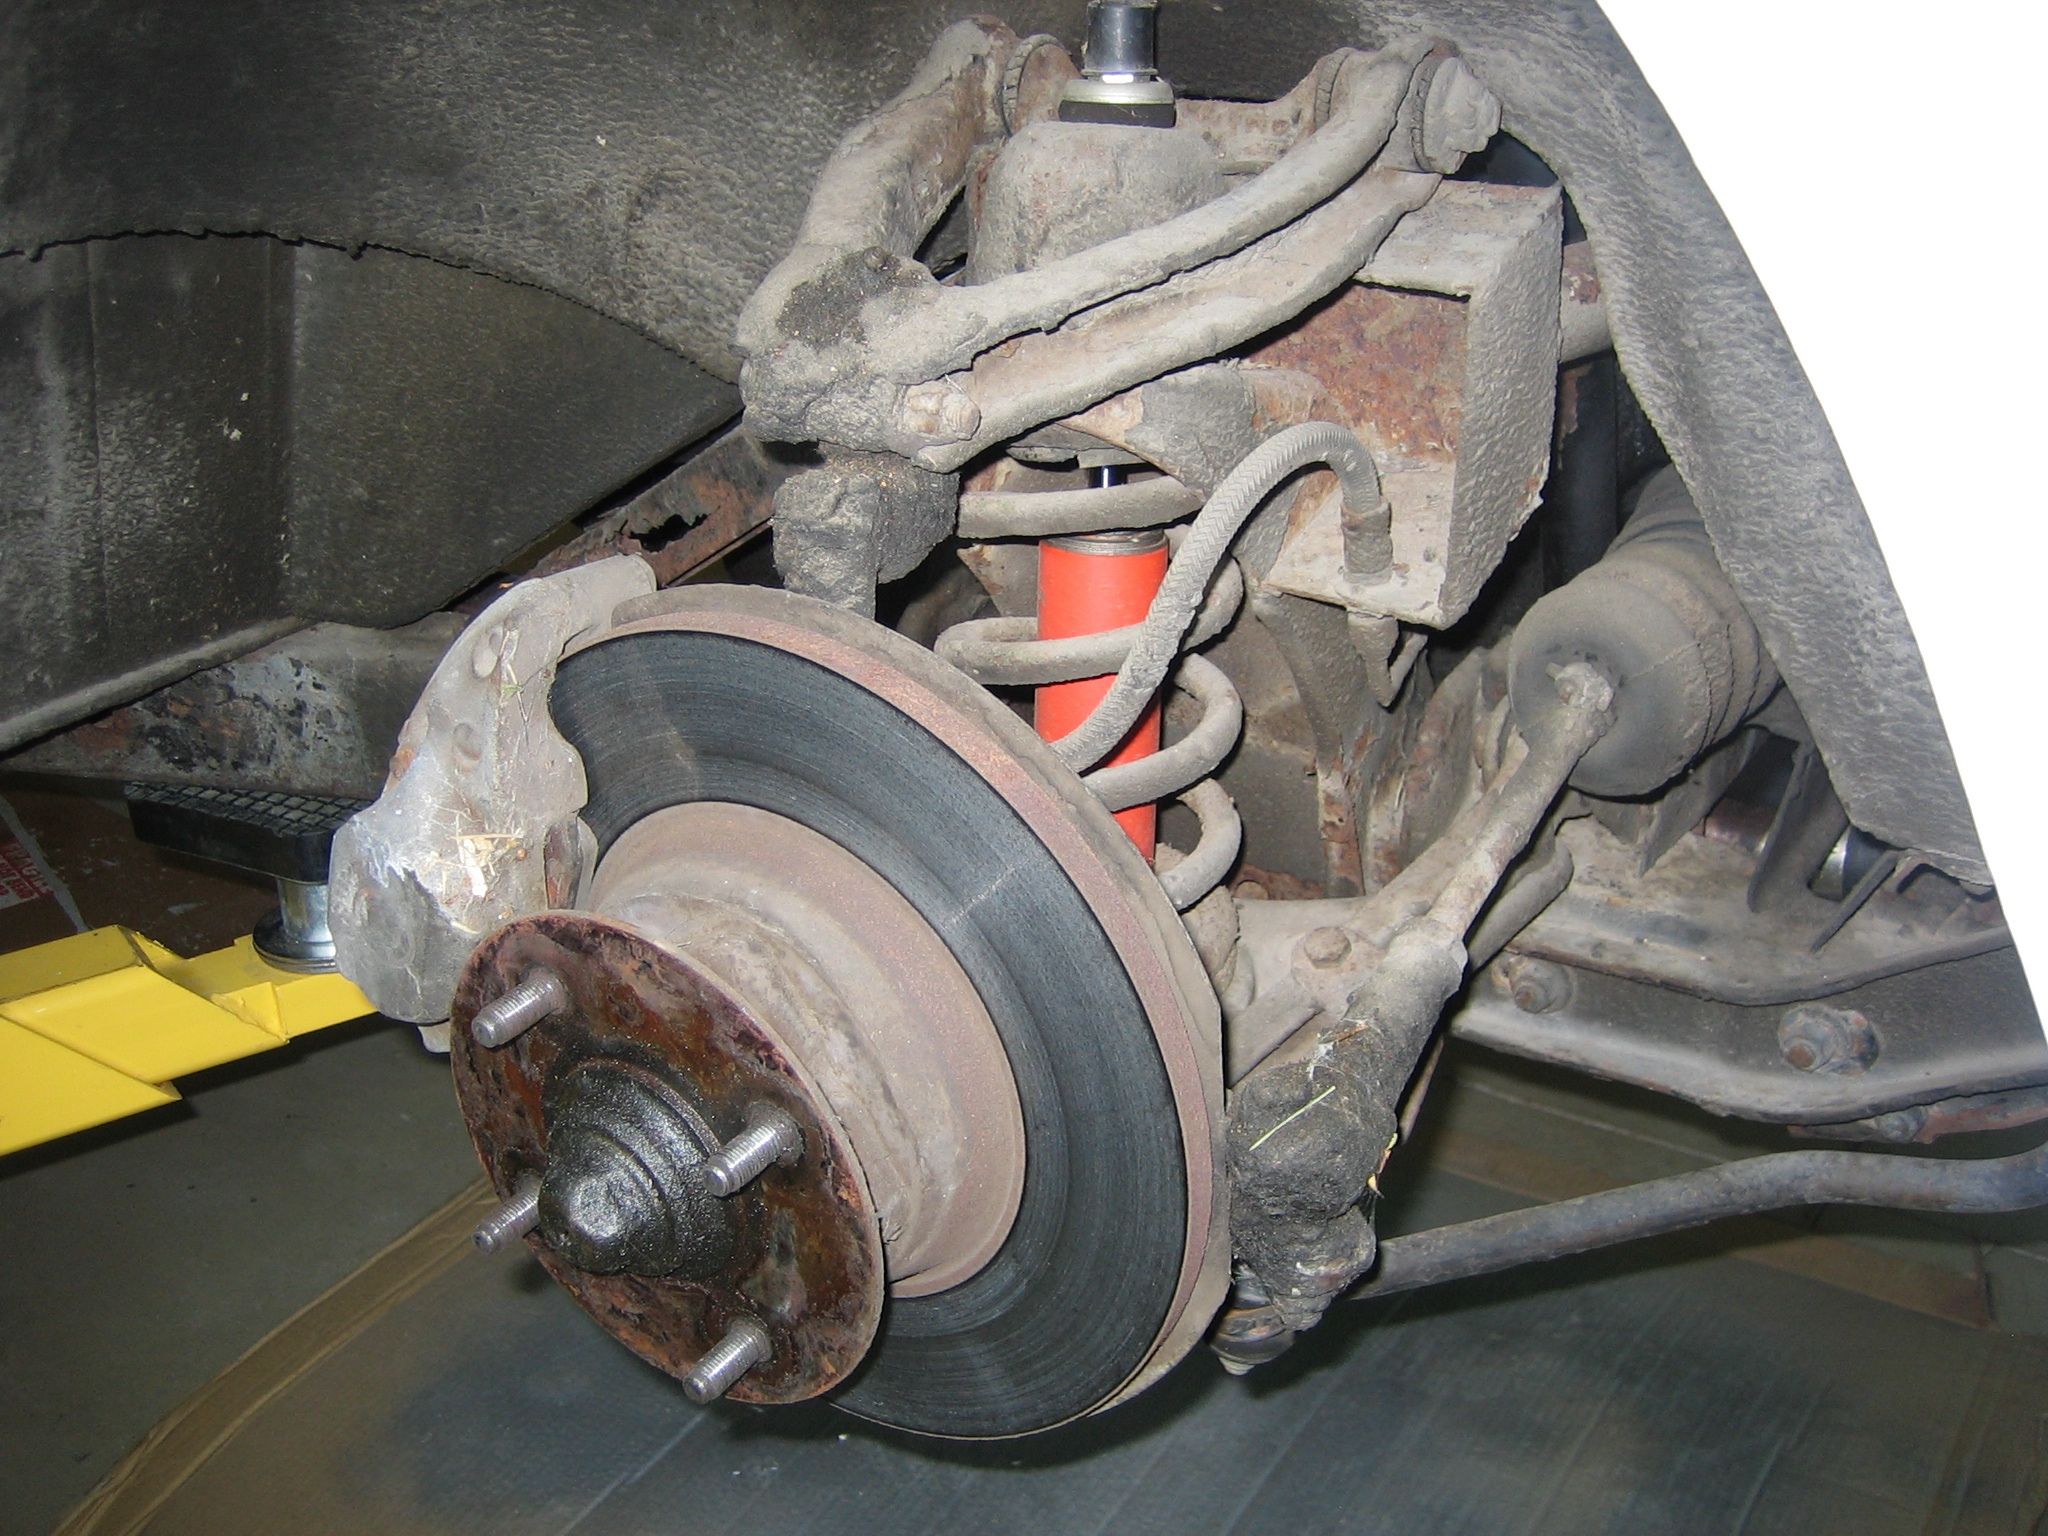


How things looked before we started
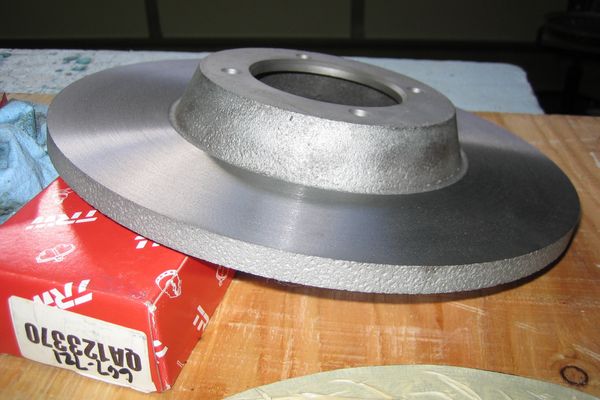
After cleaning up the front rotors
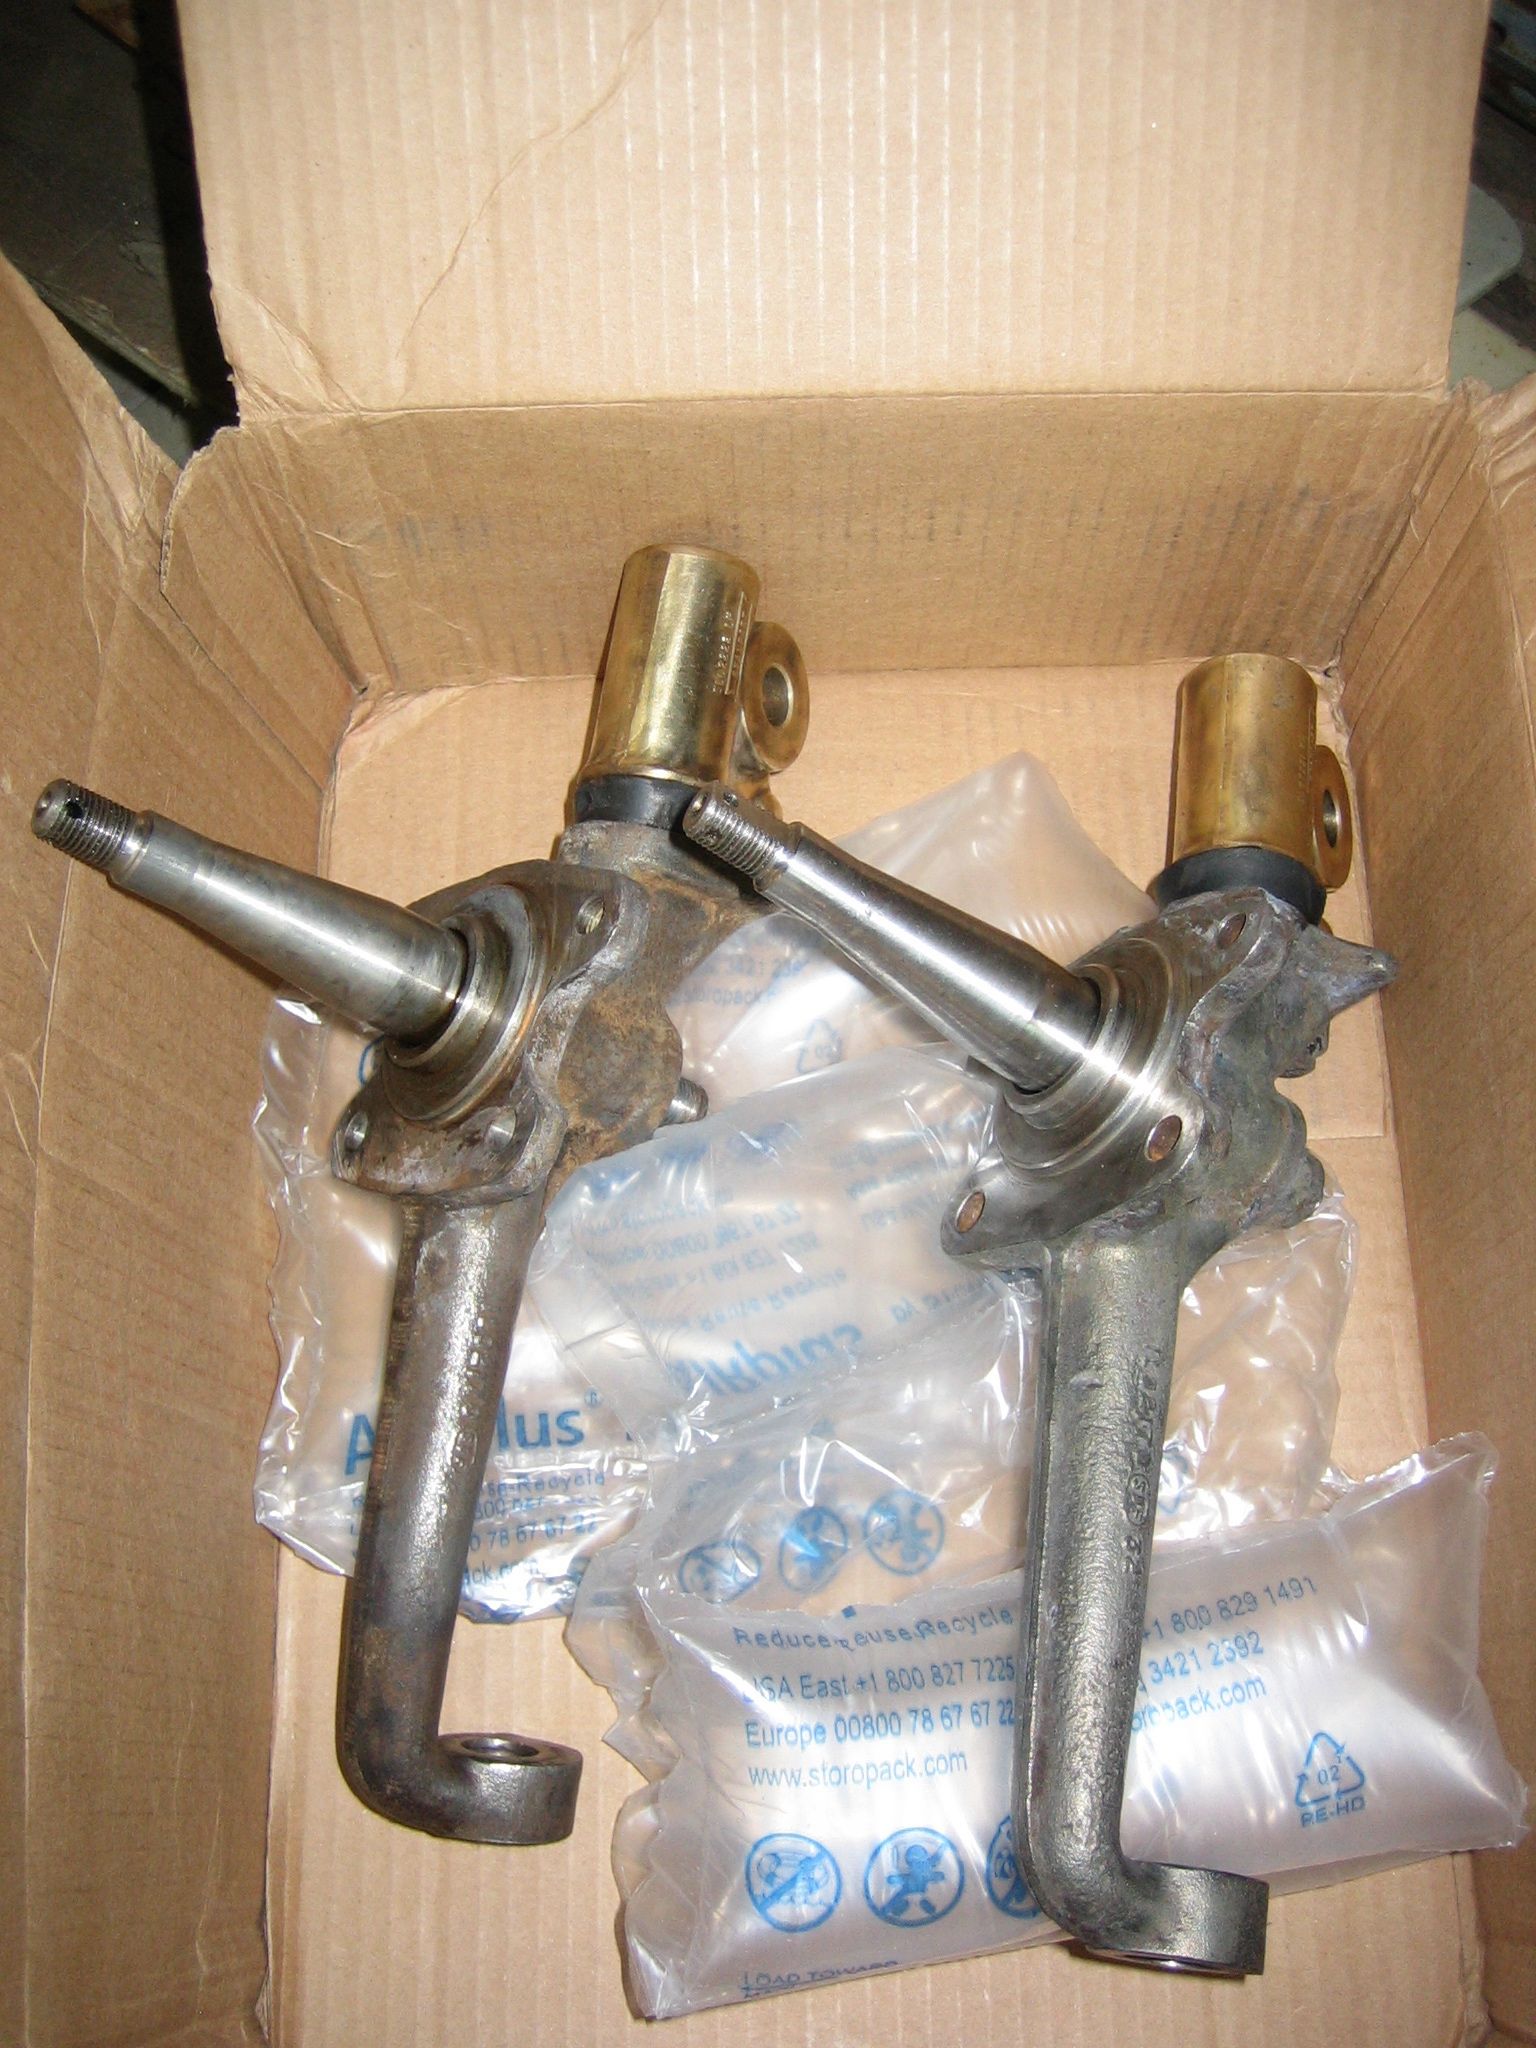
The vertical links cleaned up really nicely!
The trailing arms after being blasted and painted.
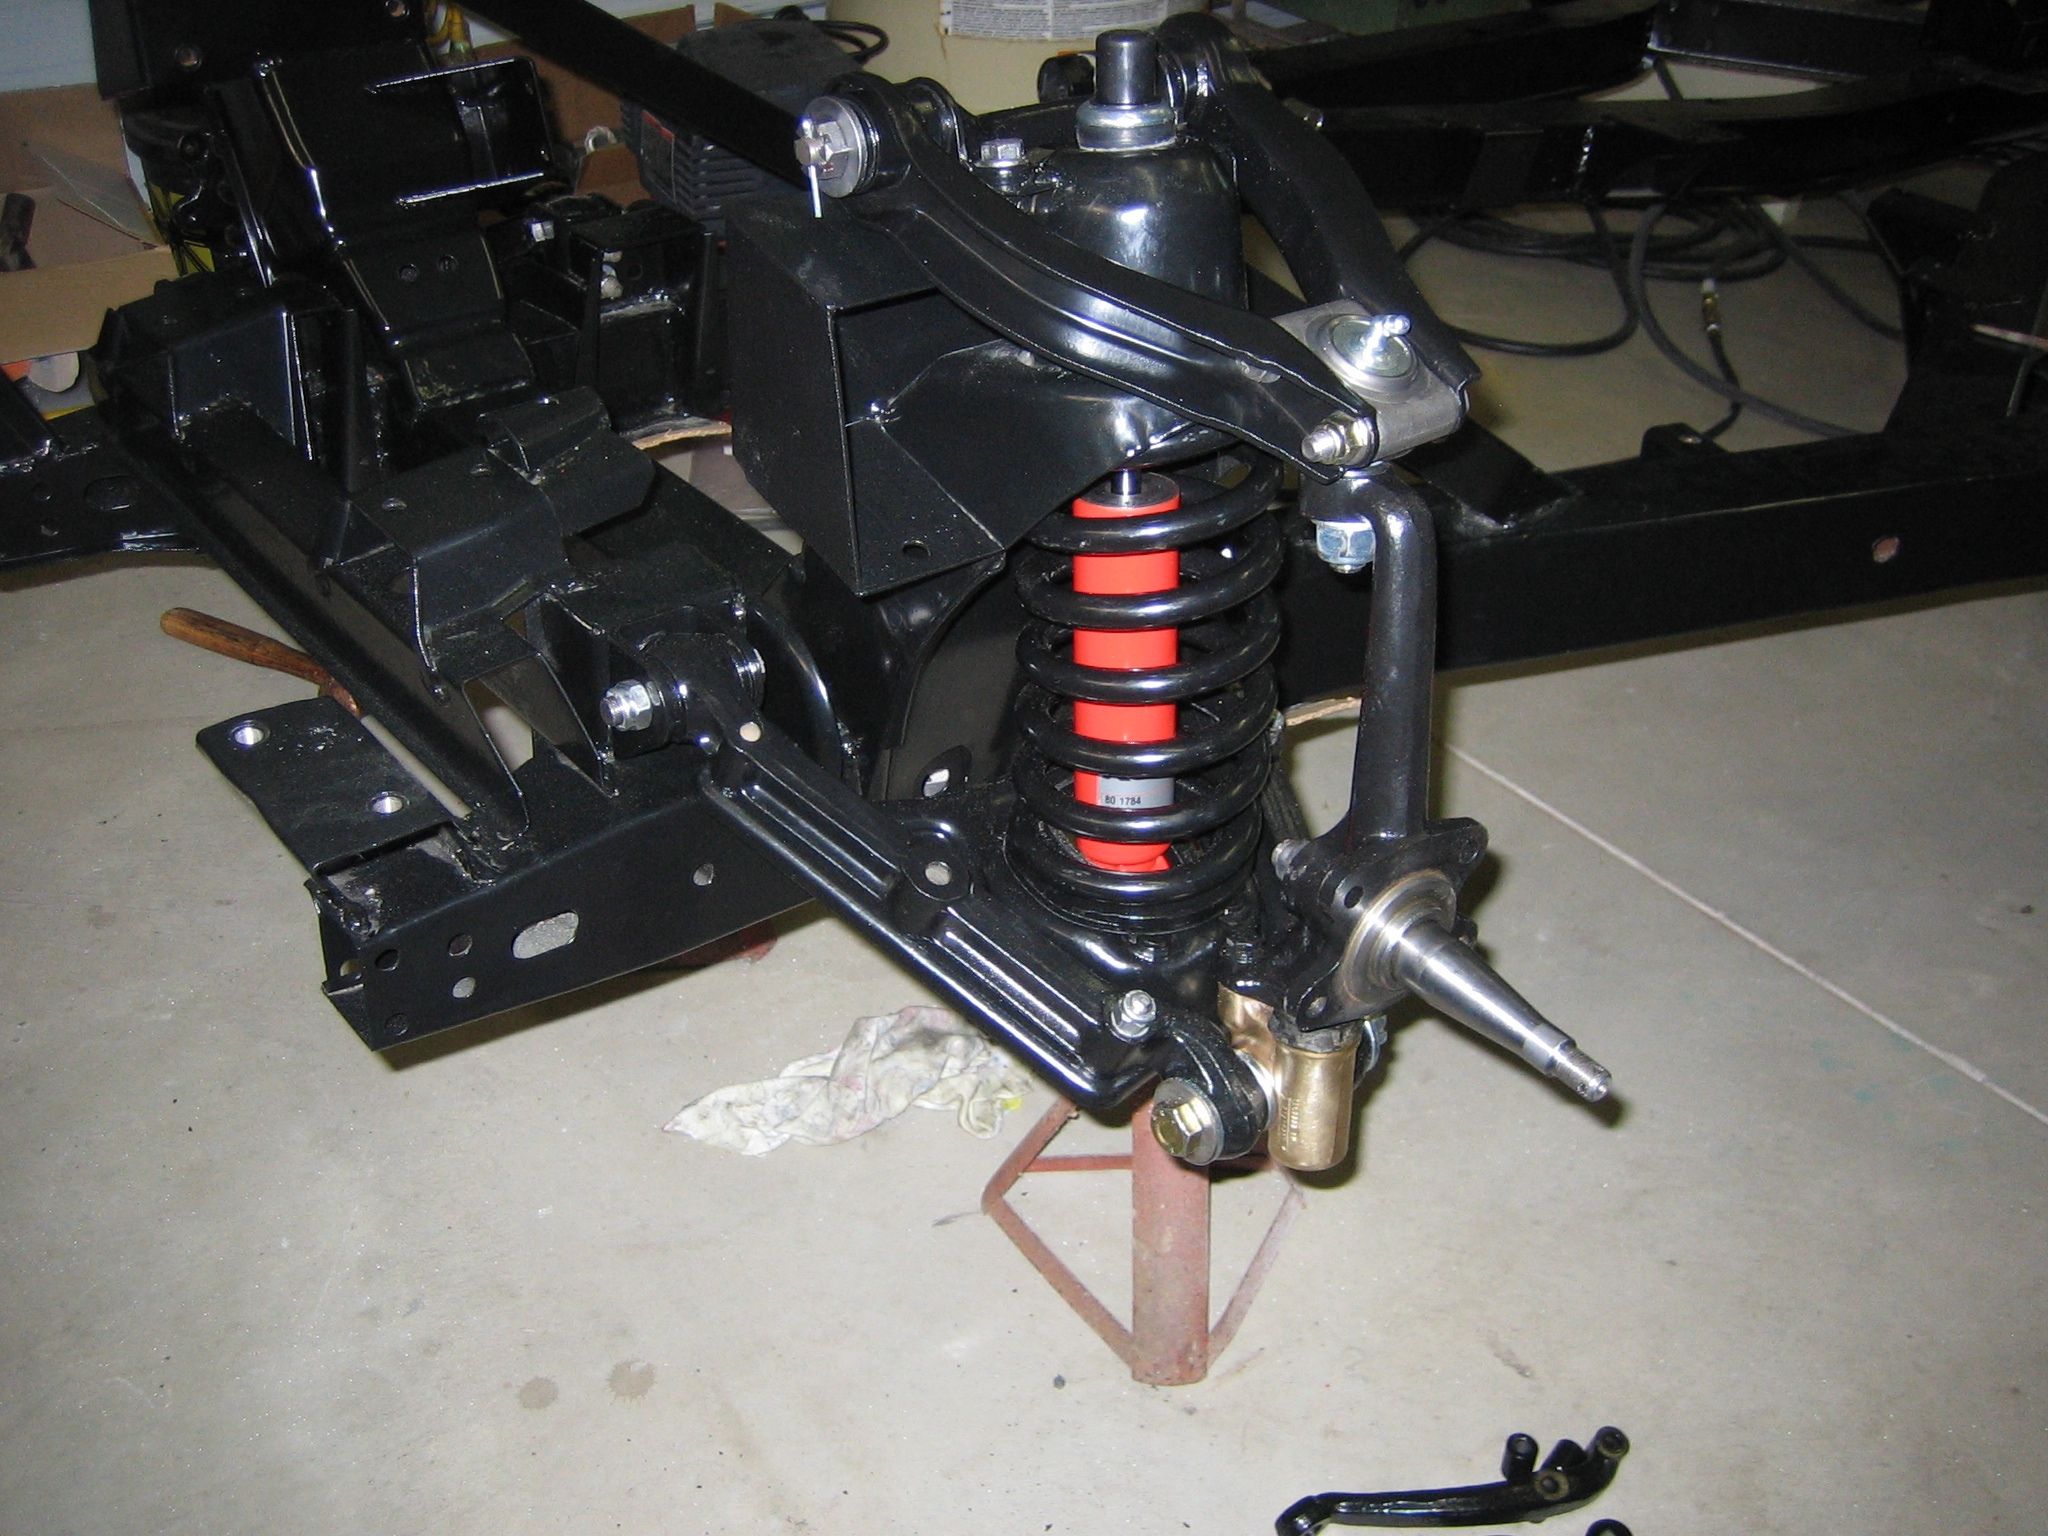
Front Koni shocks and performance springs installed.
New Wilwood calipers installed
Another view of the Wilwood caliper installation
These look so much more meaty compared to the stock ones
I love it when a plan comes together!
The complete package on the rolling chassis
Rear drum brake rebuild looking better-than-new
Rear brakes installed on the new rear axle
A view of the rear trailing arm installed with fully adjustable brackets and performance spring
Better view of the rear suspension and brake setup
The whole rear package installed
Nice view of the steering rack with upgraded brackets, no more sponginess!
Some bolts that were media balsted and cleaned up
Lots of new nyloc nuts from the Bolt Depot
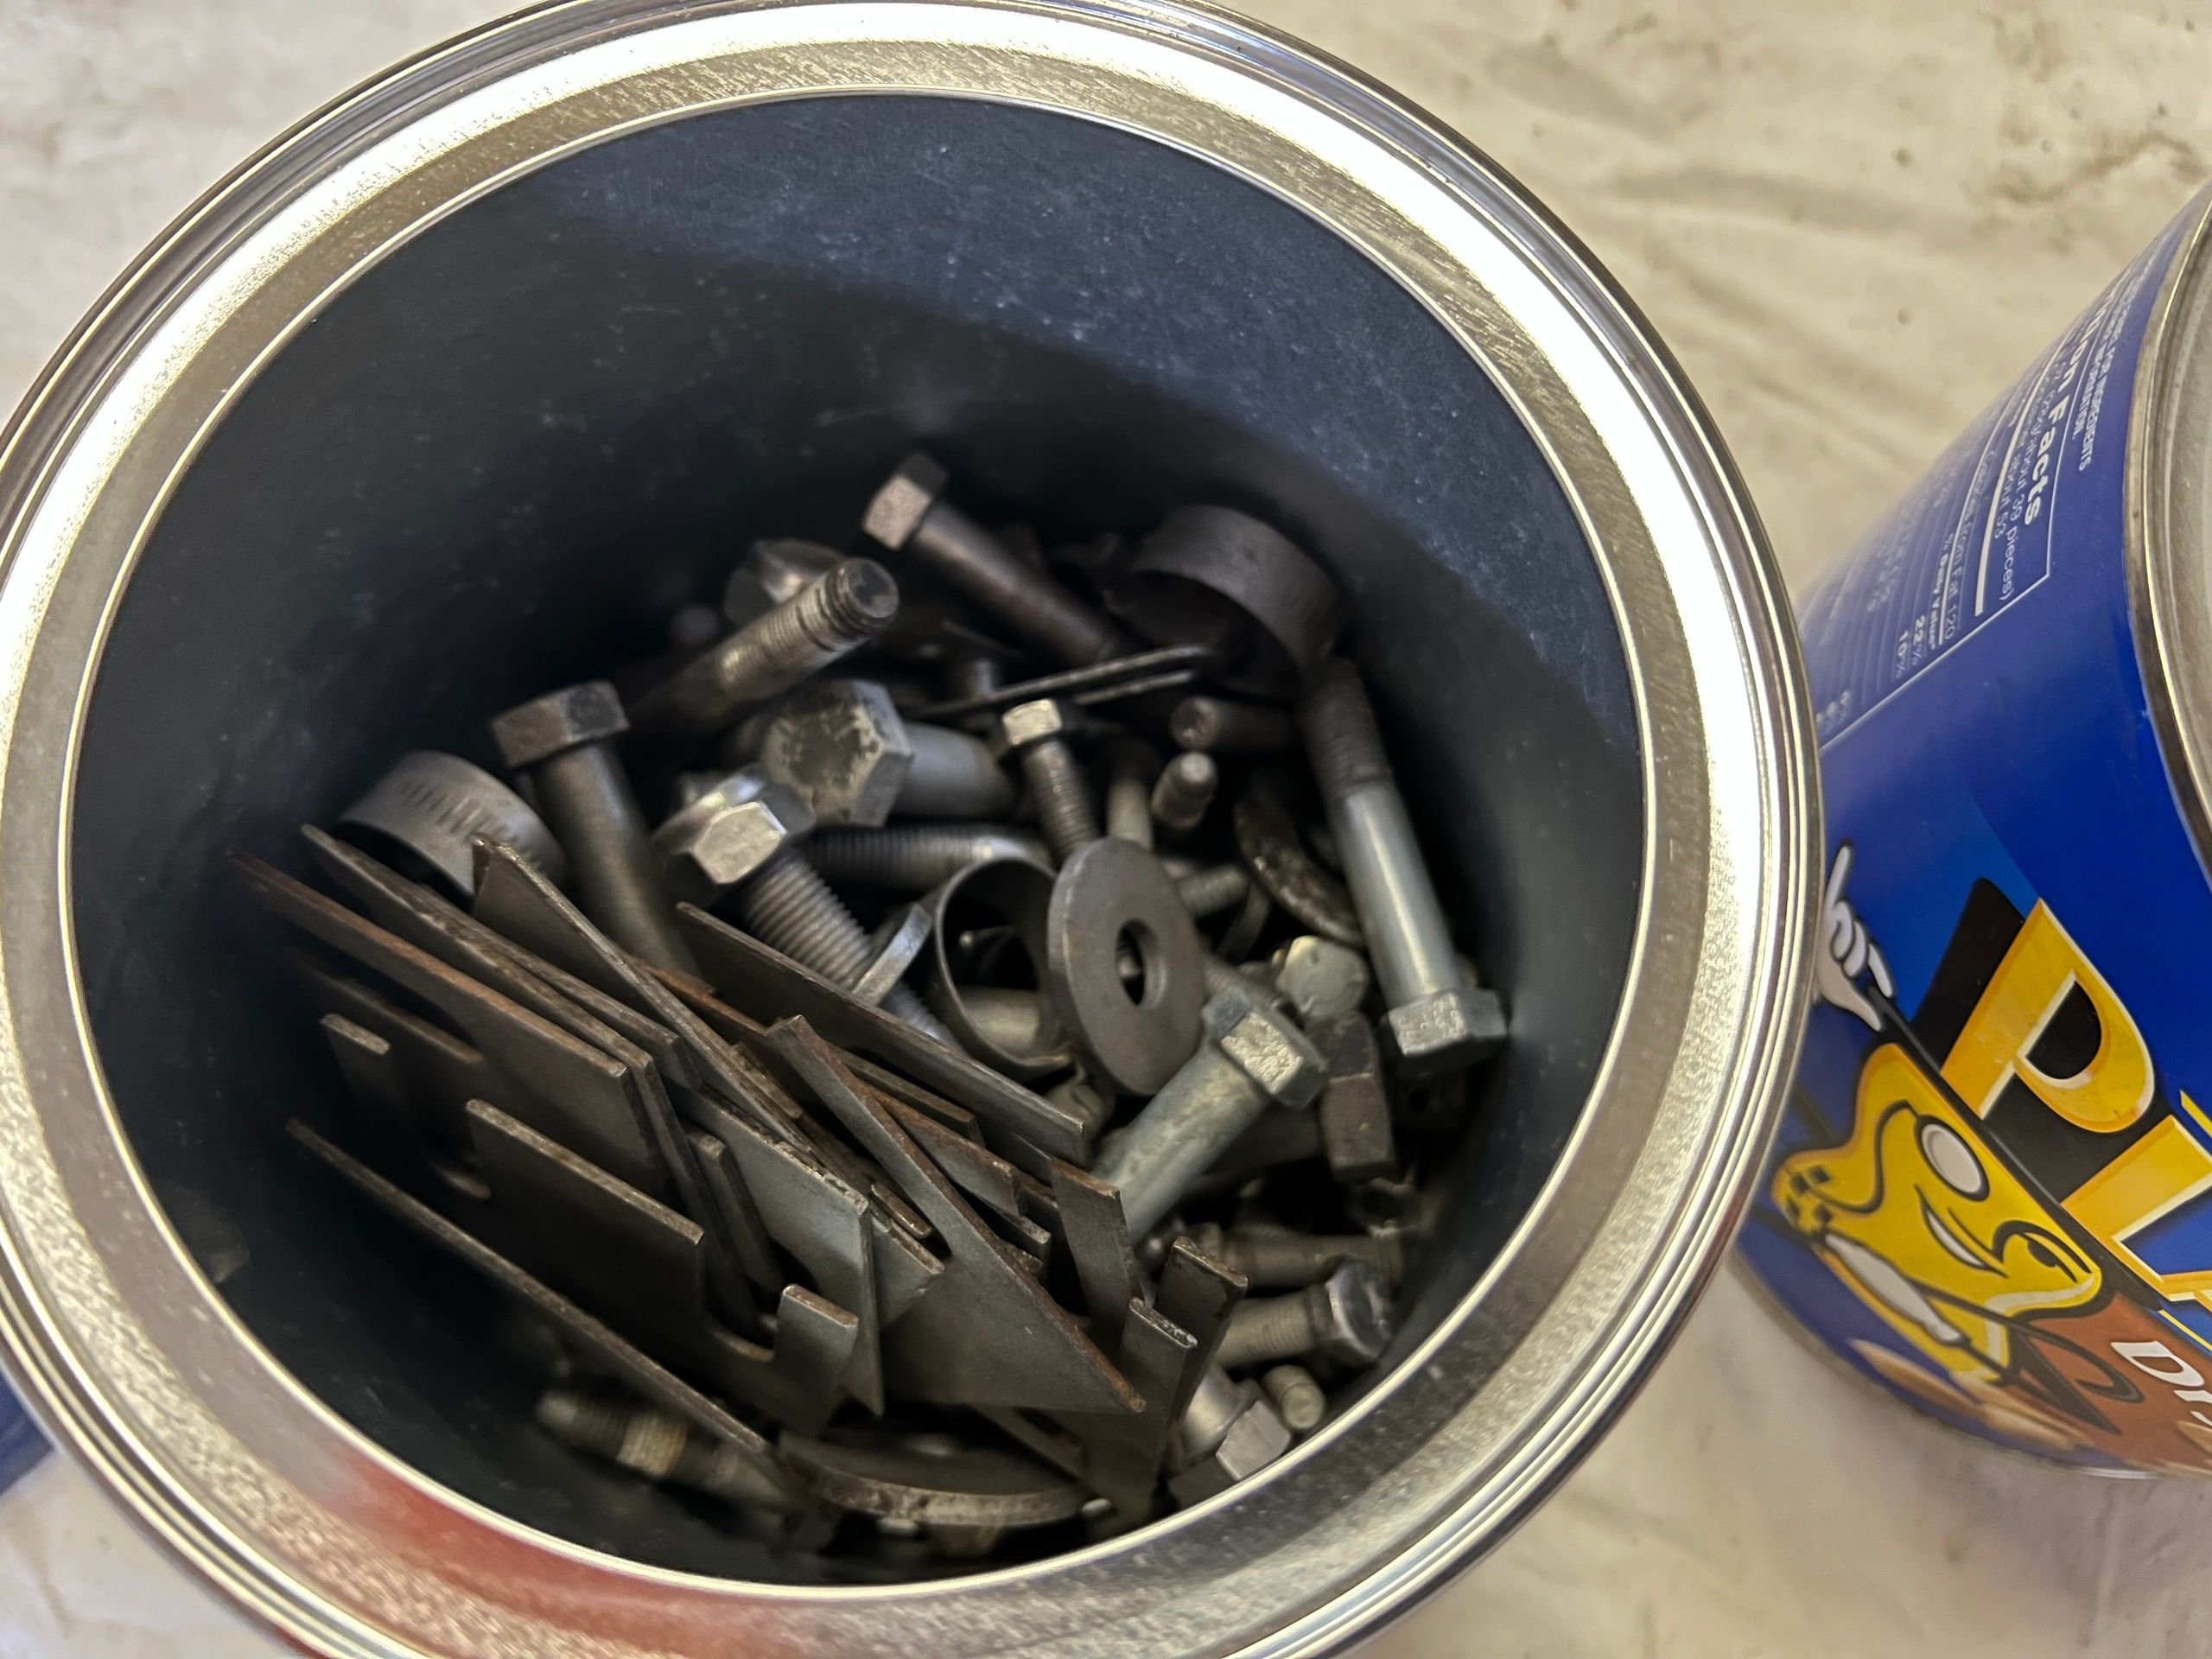
A tub of nuts, bolts, and washers
More nuts, bolts, washers and shims
Check out these amazing Michelin Redline tires!
Drivetrain
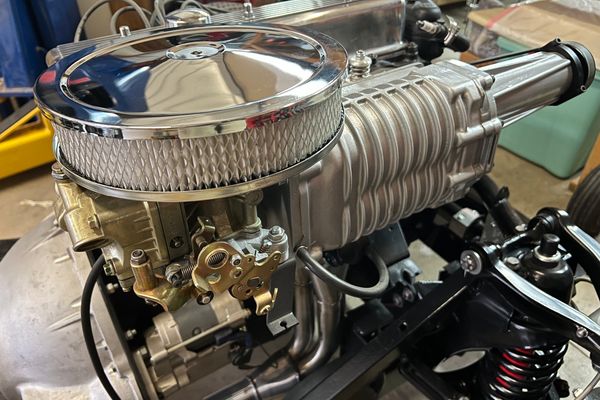
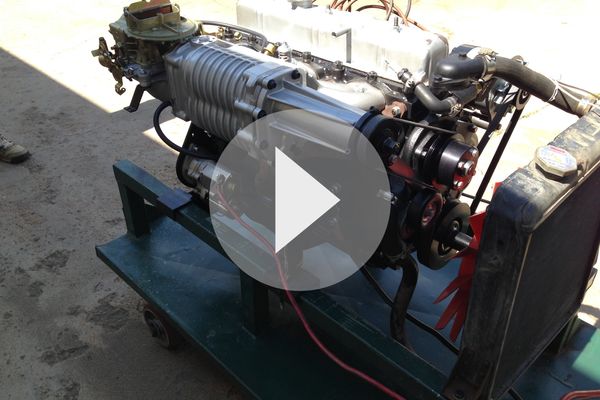
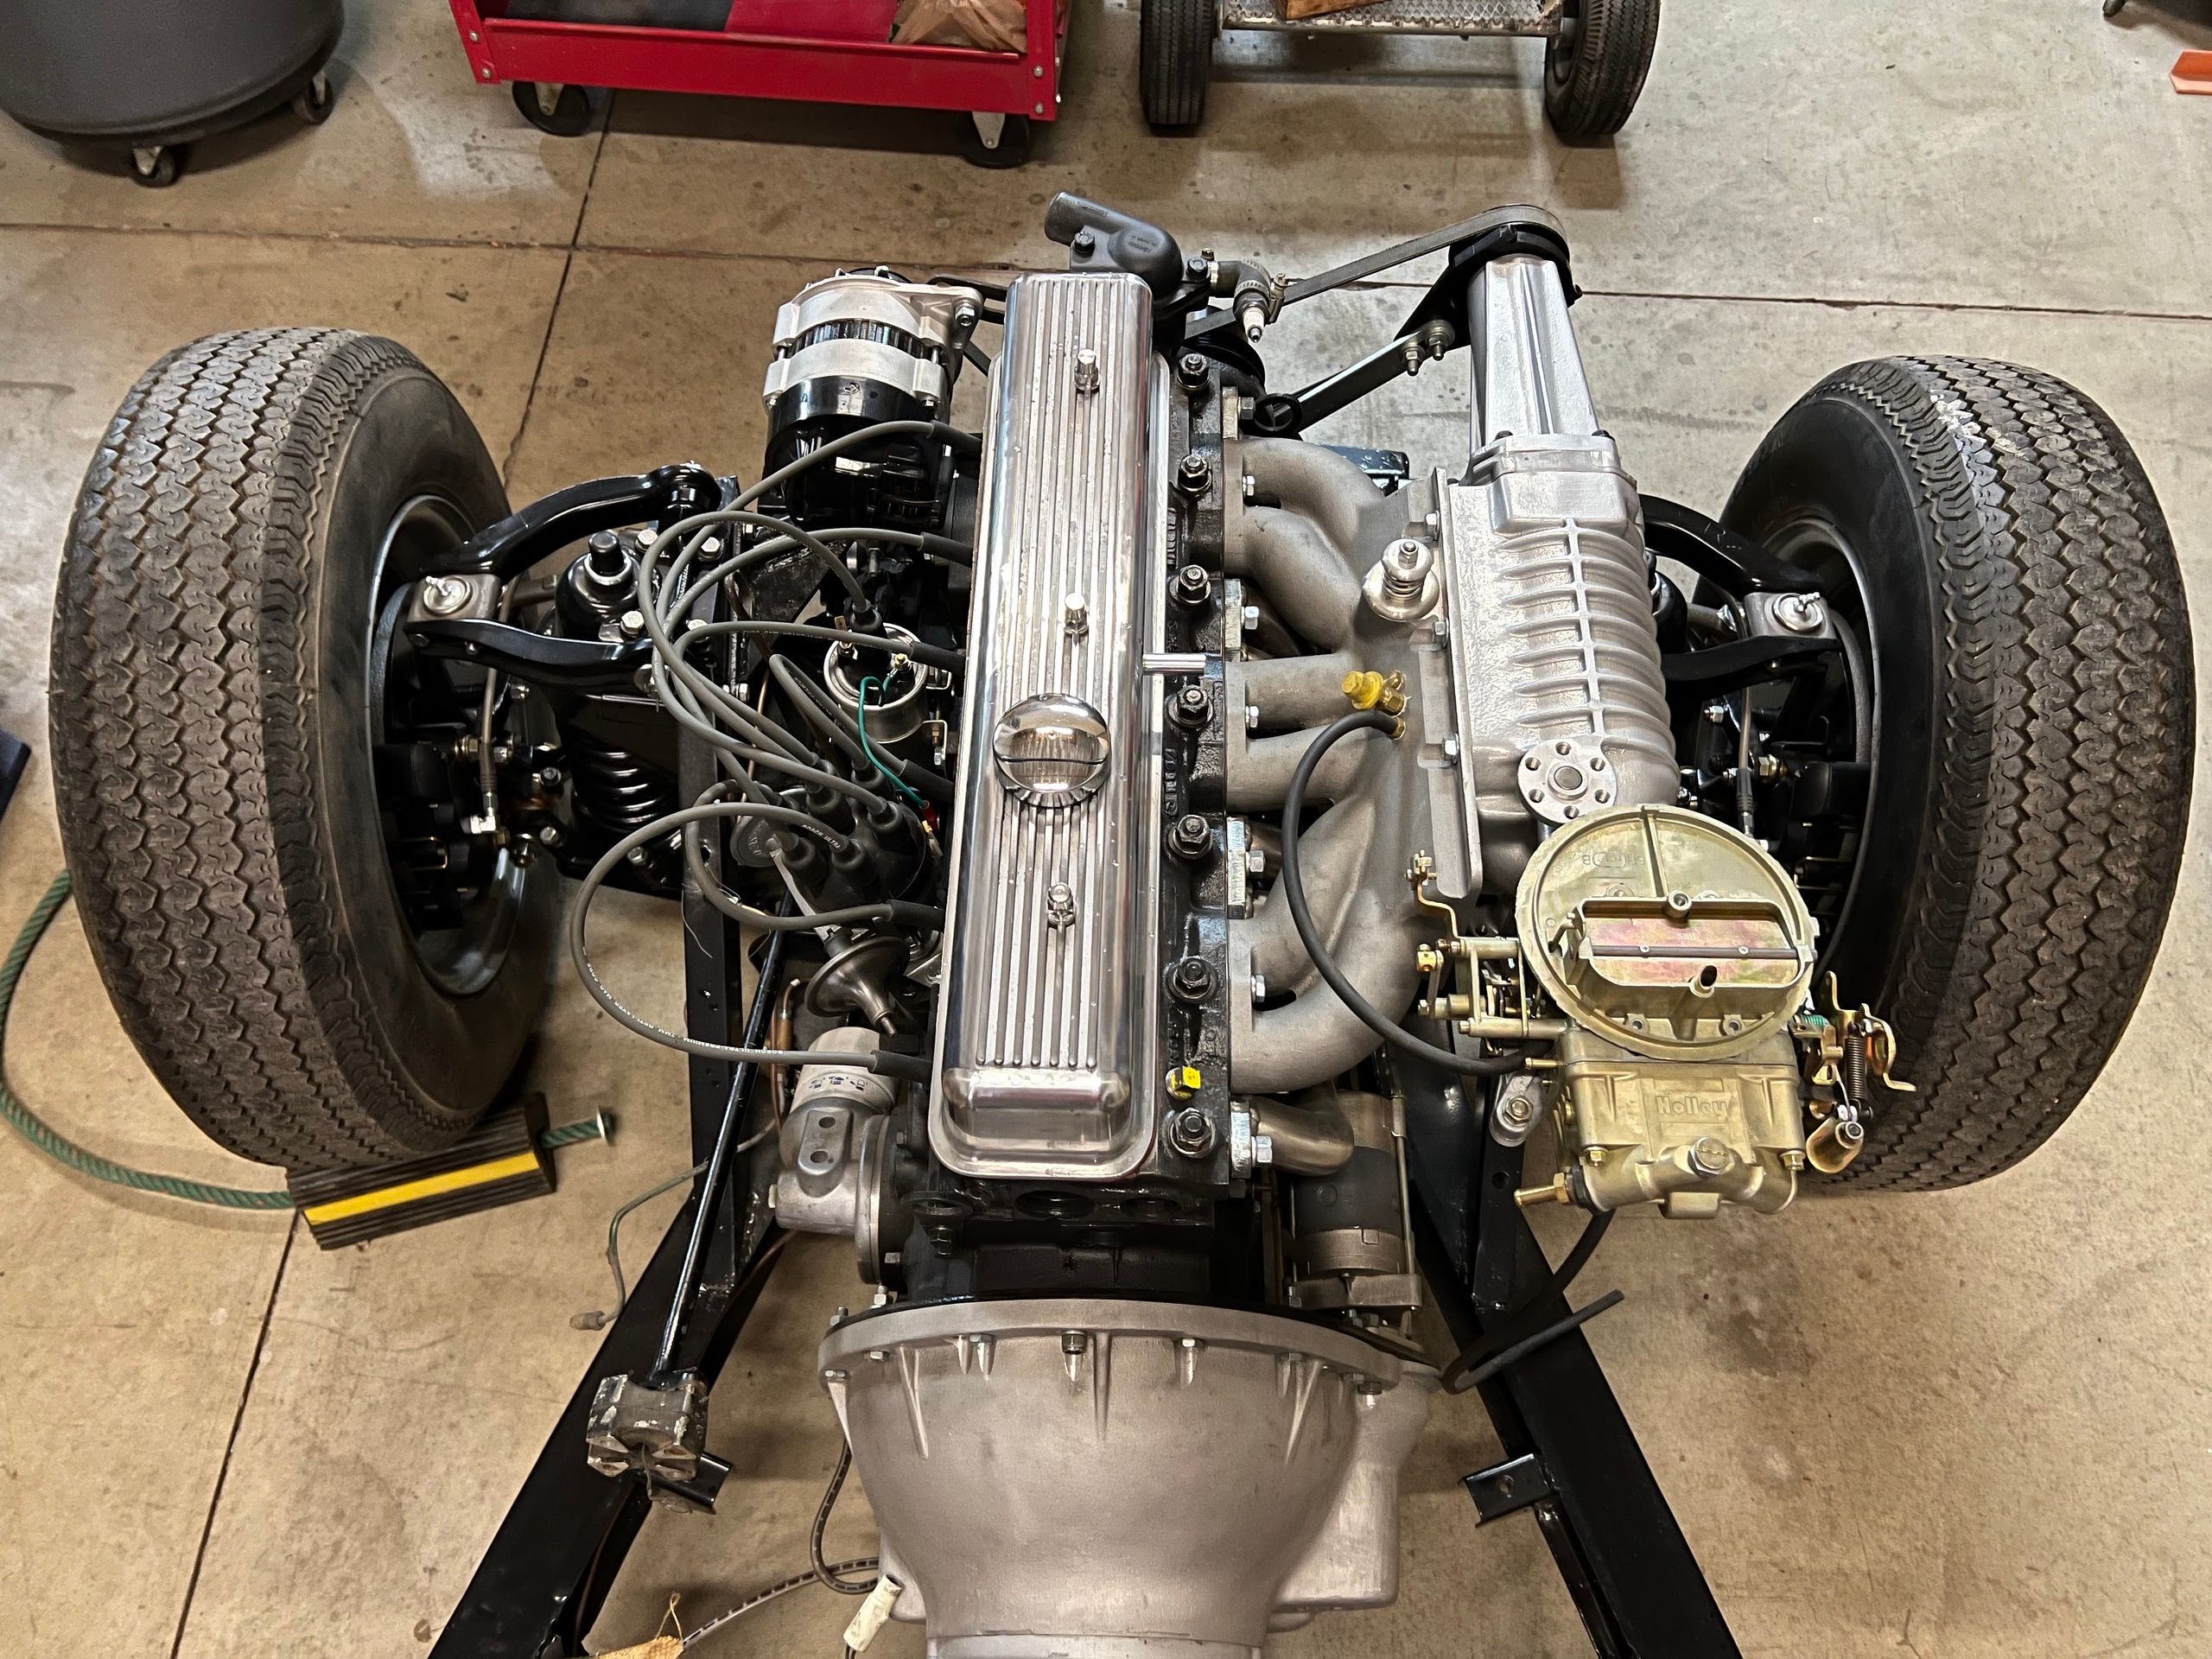
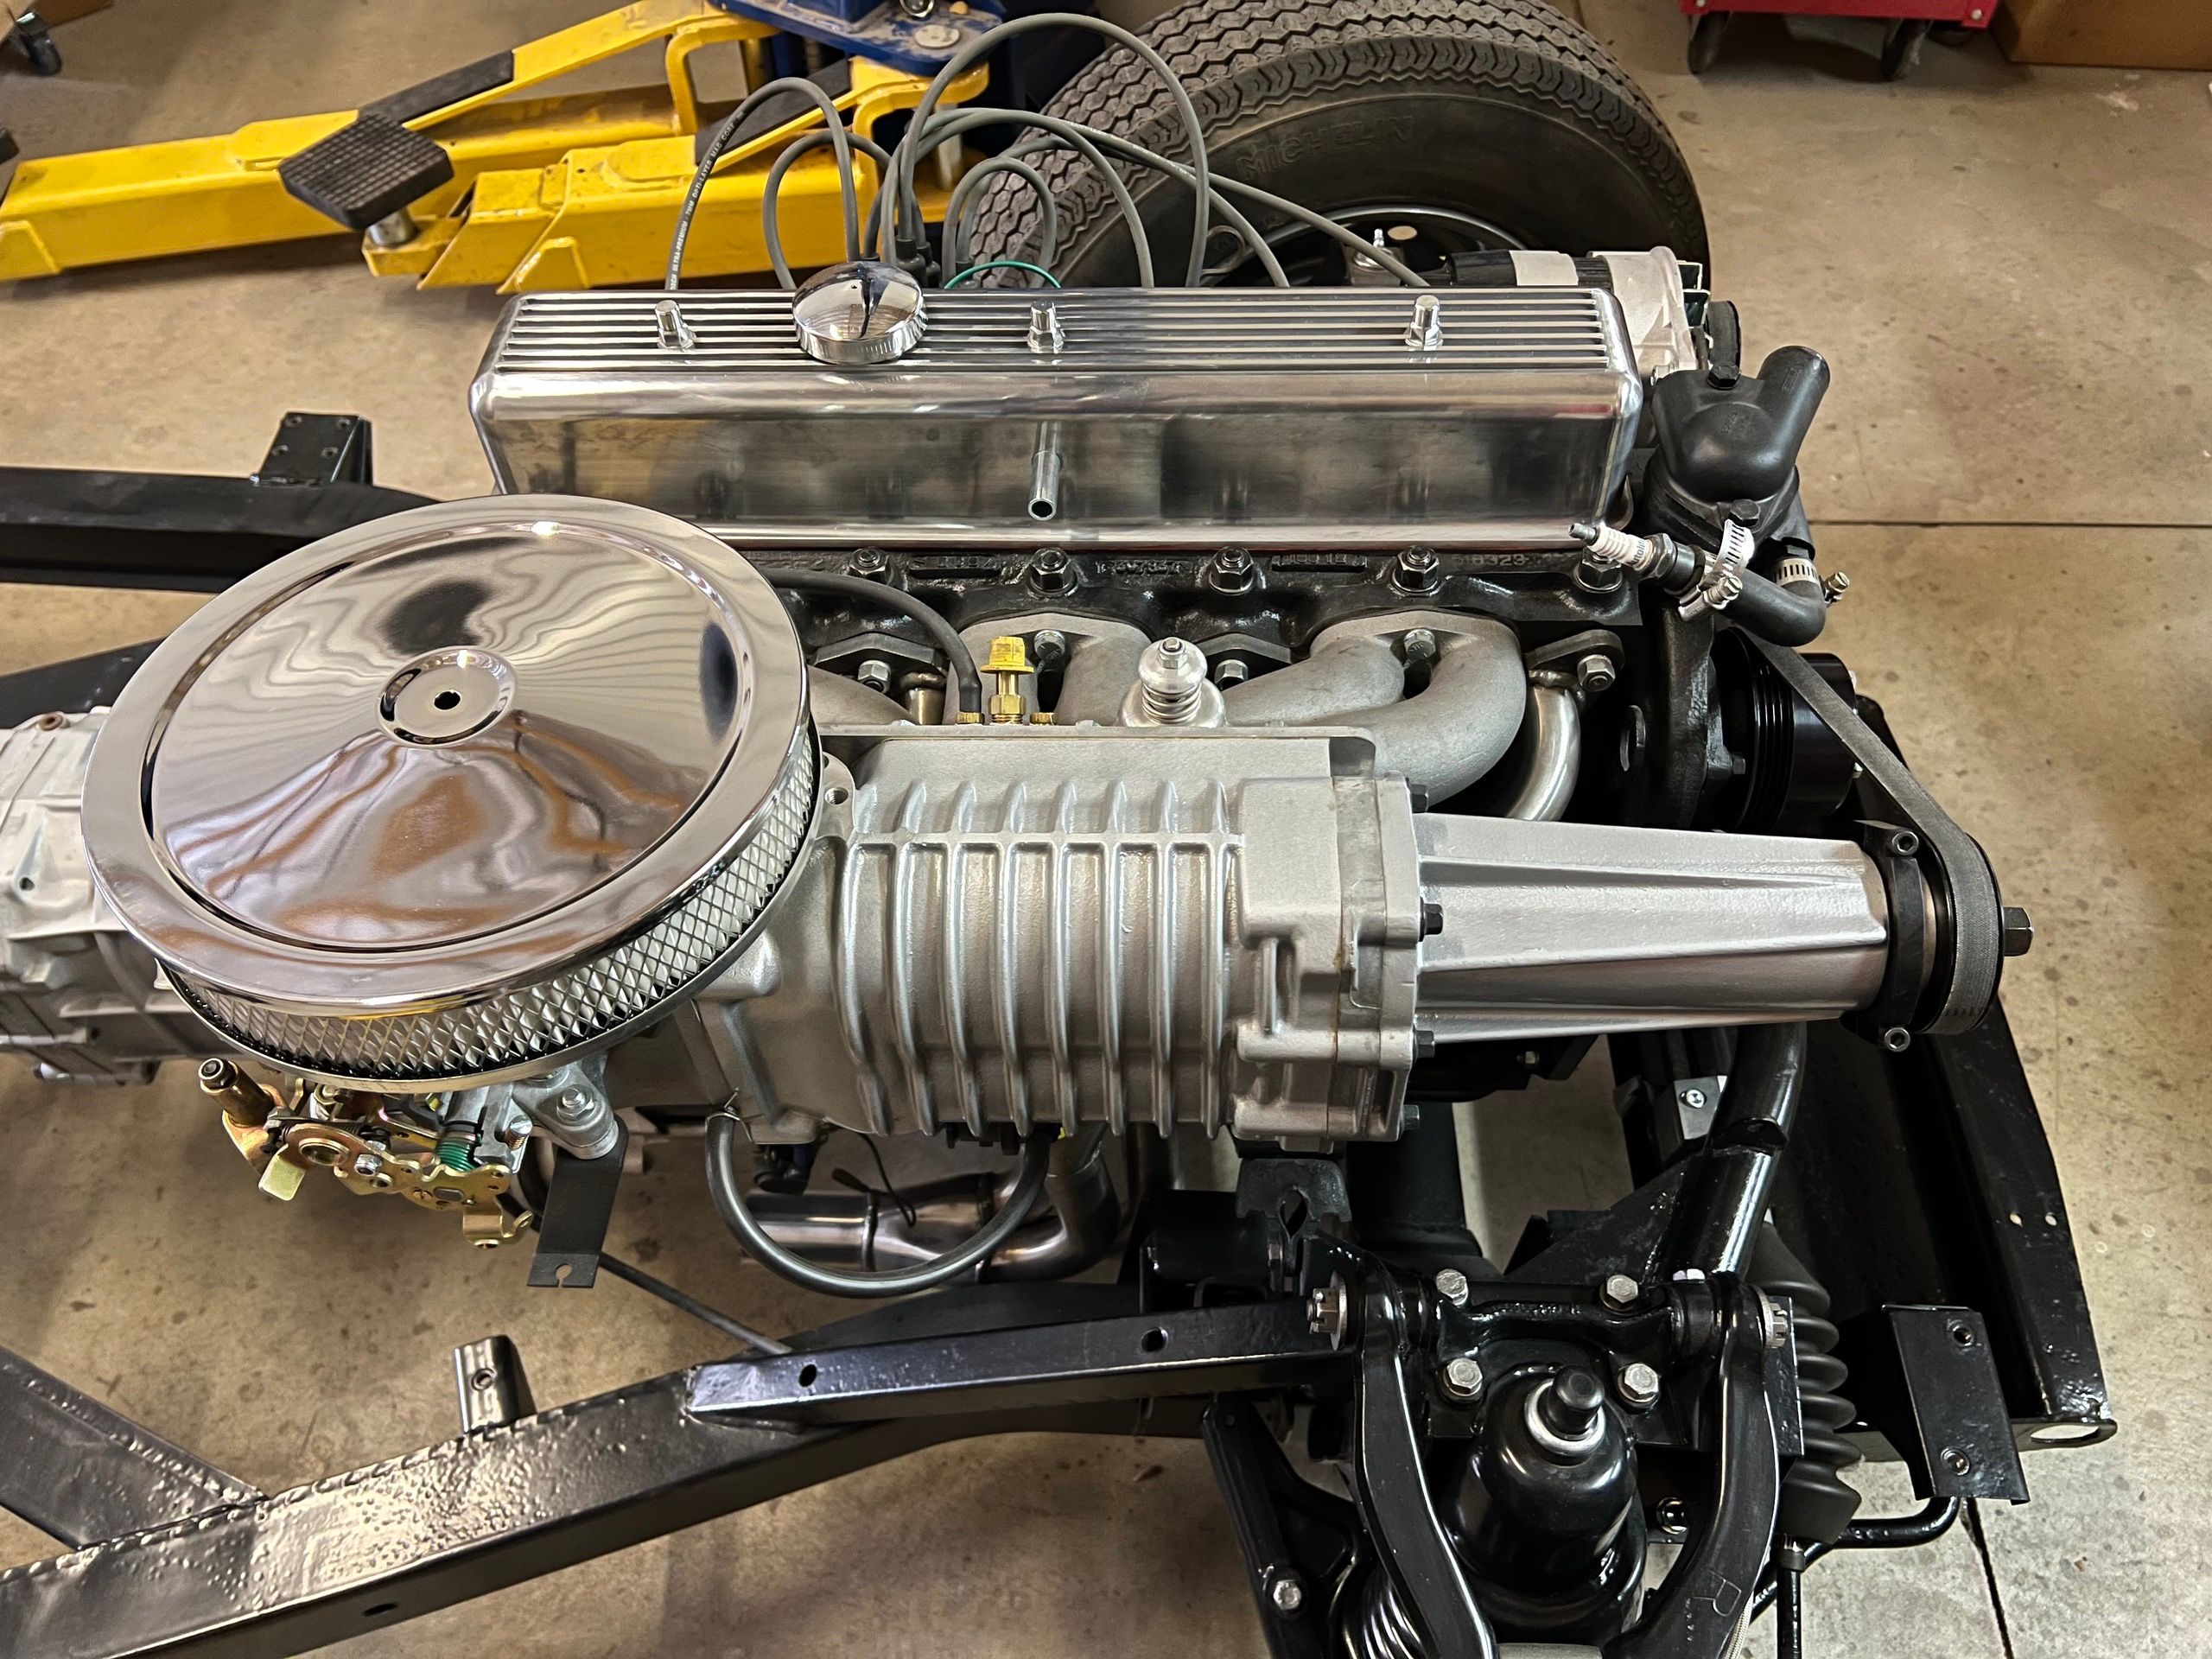
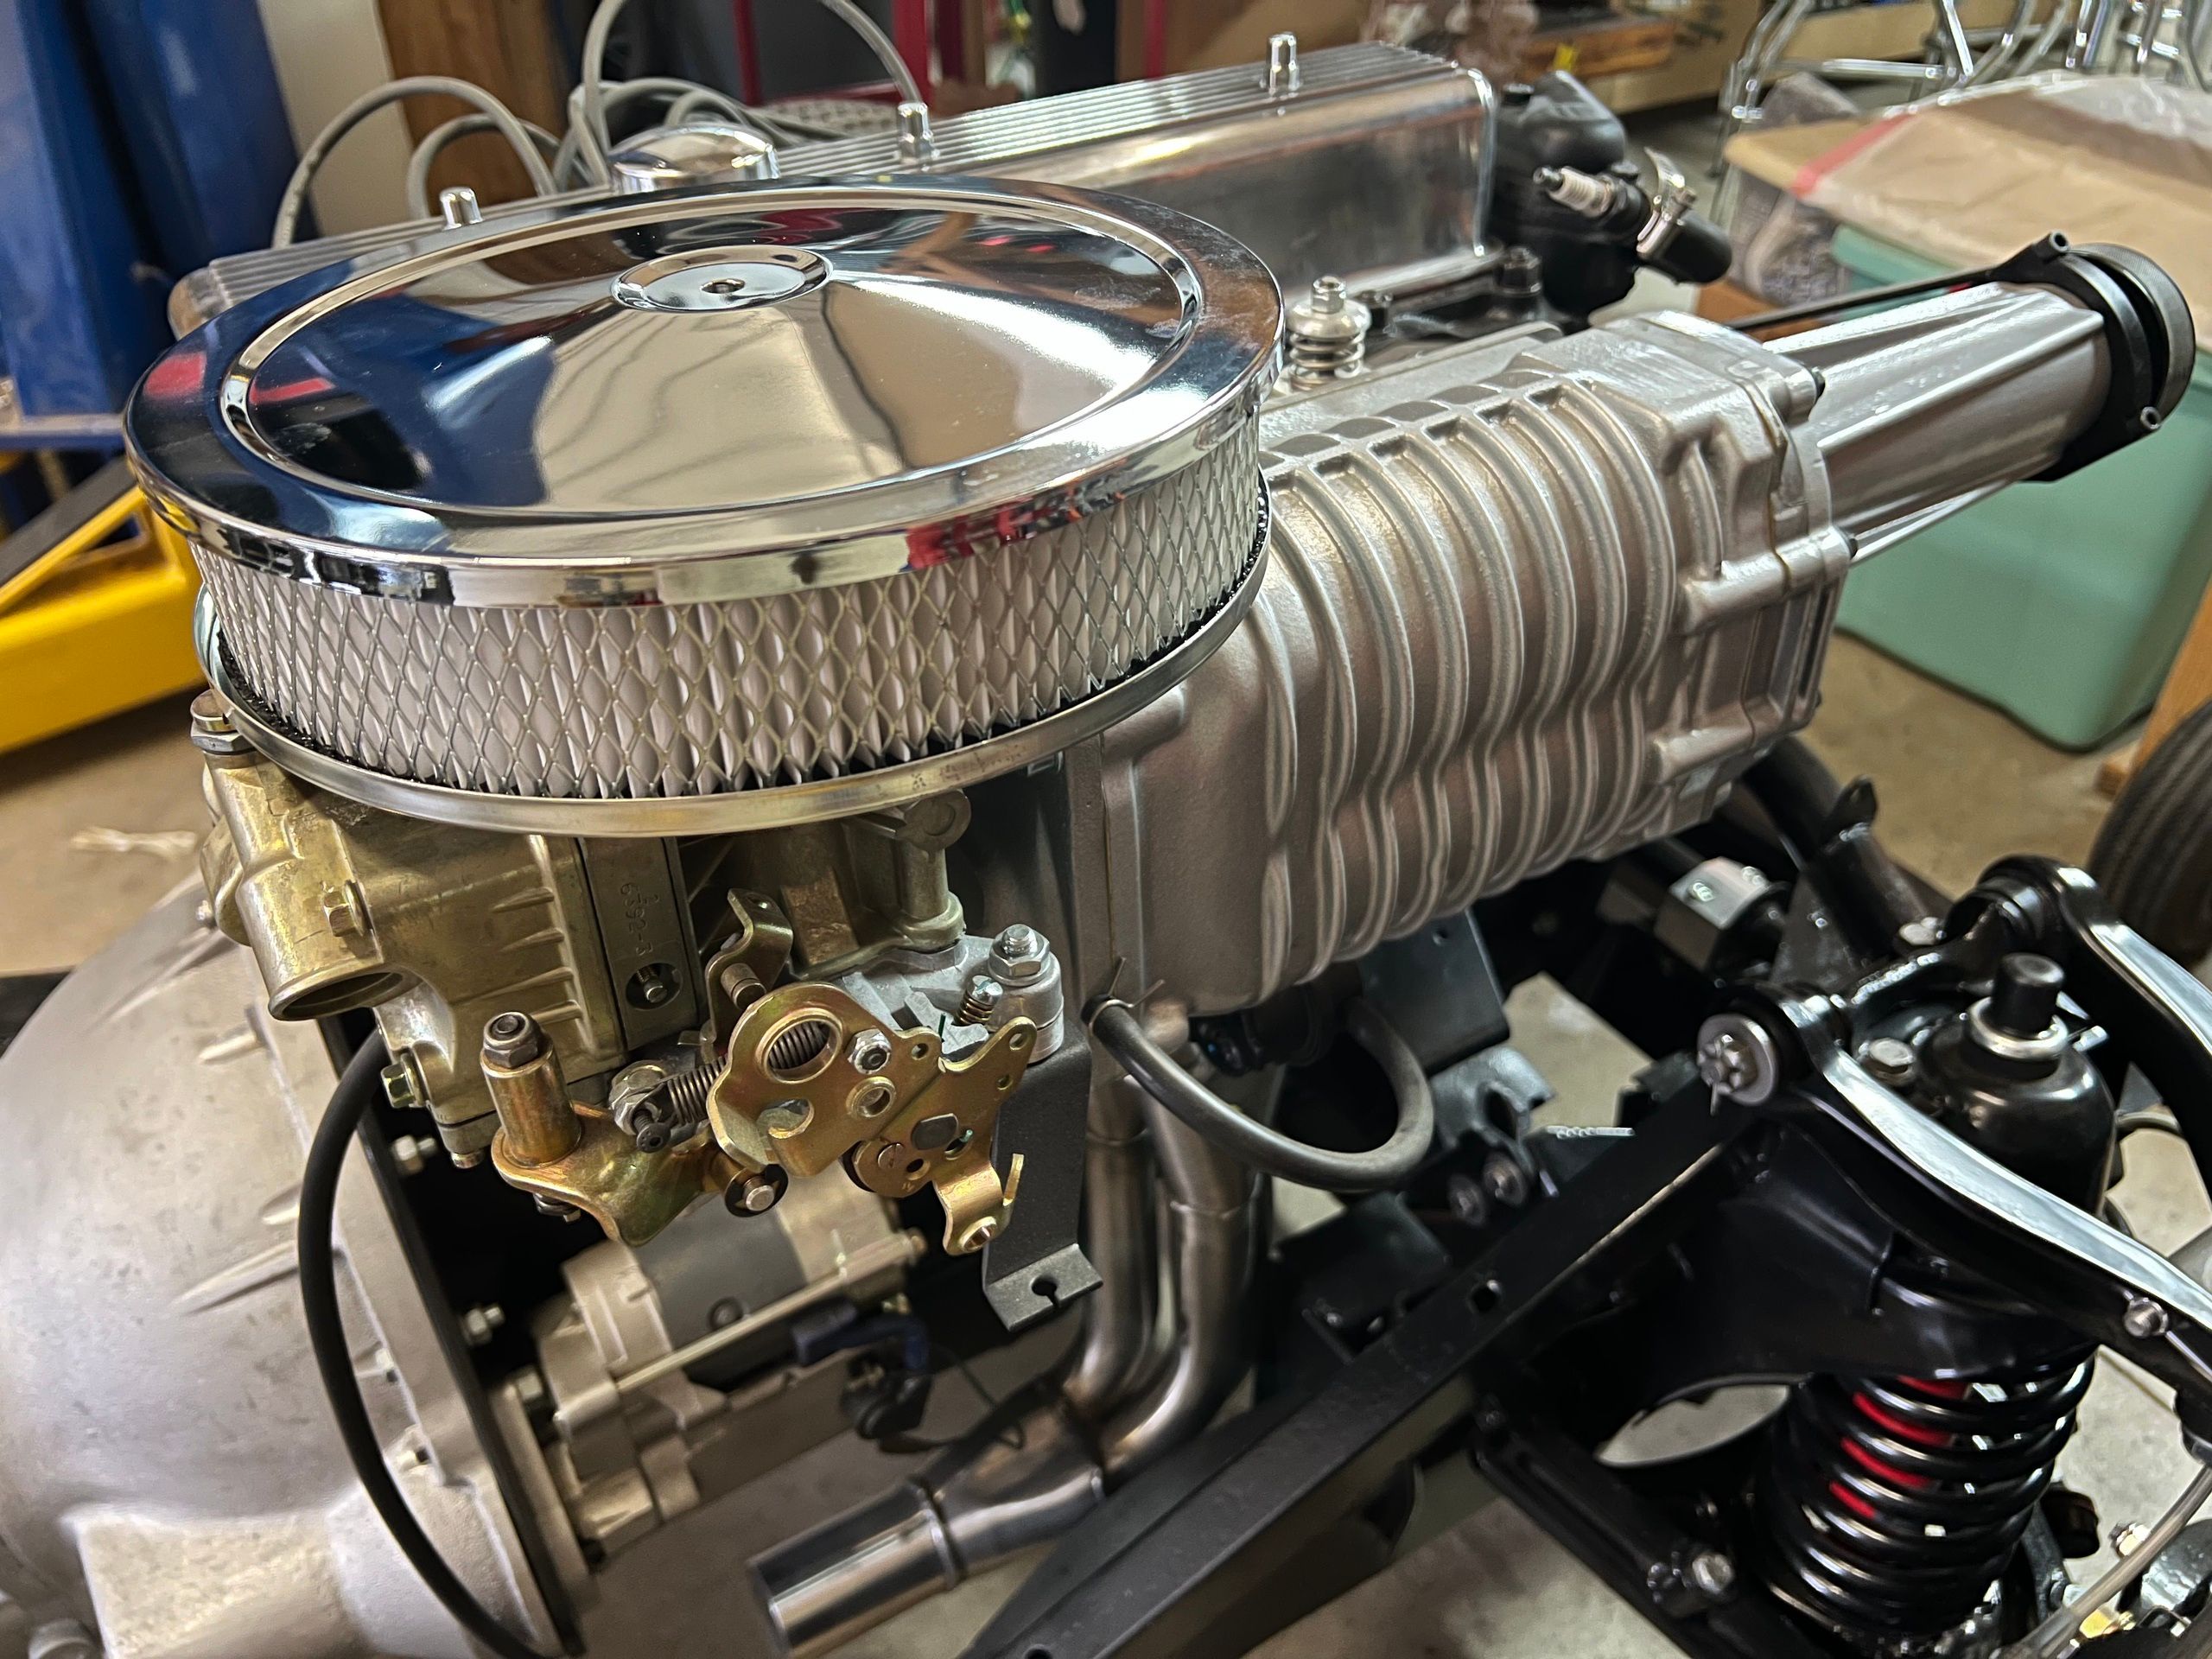
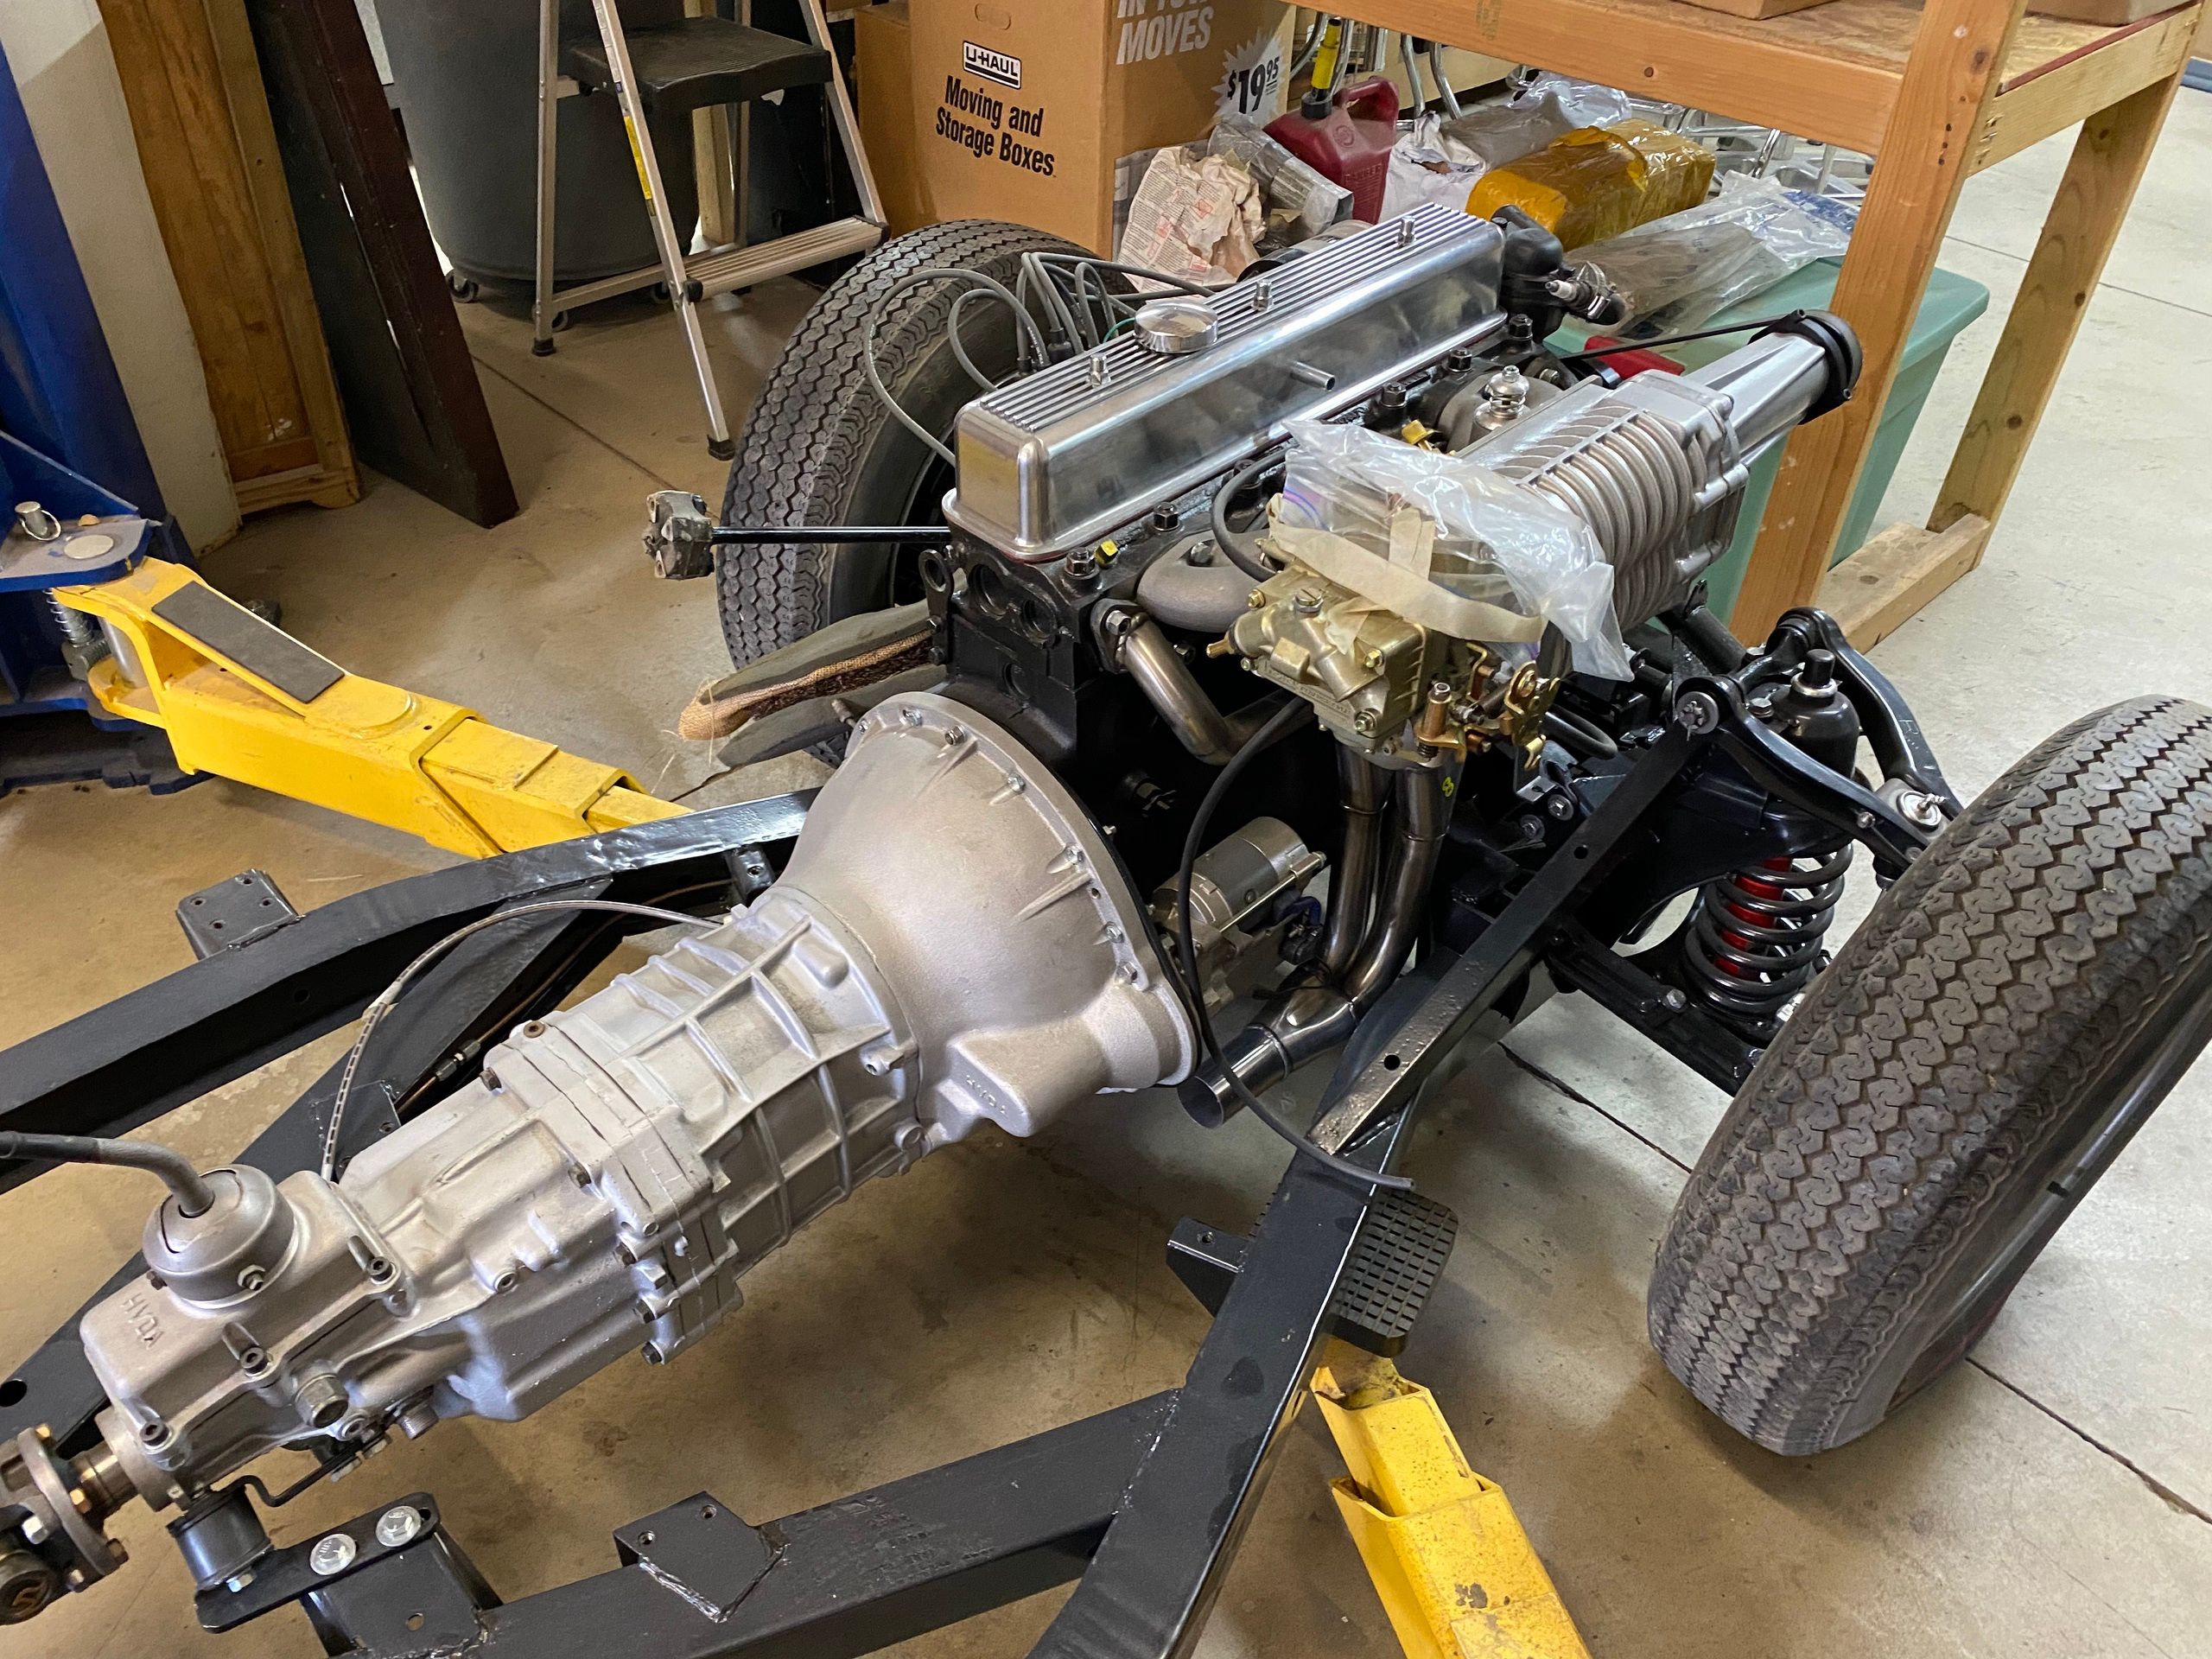
The stock engine was completely rebuilt by the guys at [Sports Car Craftsman][ports-car-craftsman] with many enhancements including a mild-performance cam, hardened valve seals to allow for modern unleaded gas, new piston rings, bearings, caskets, water pump, thermostat, etc. The cherry on the top, is of course the addition of an Eaton Roots-type Moss Motors Supercharger with a Holley 350 two-barrel carburetor which claims to add 40hp and 75ft-lbs of torque to a stock TR6 engine.
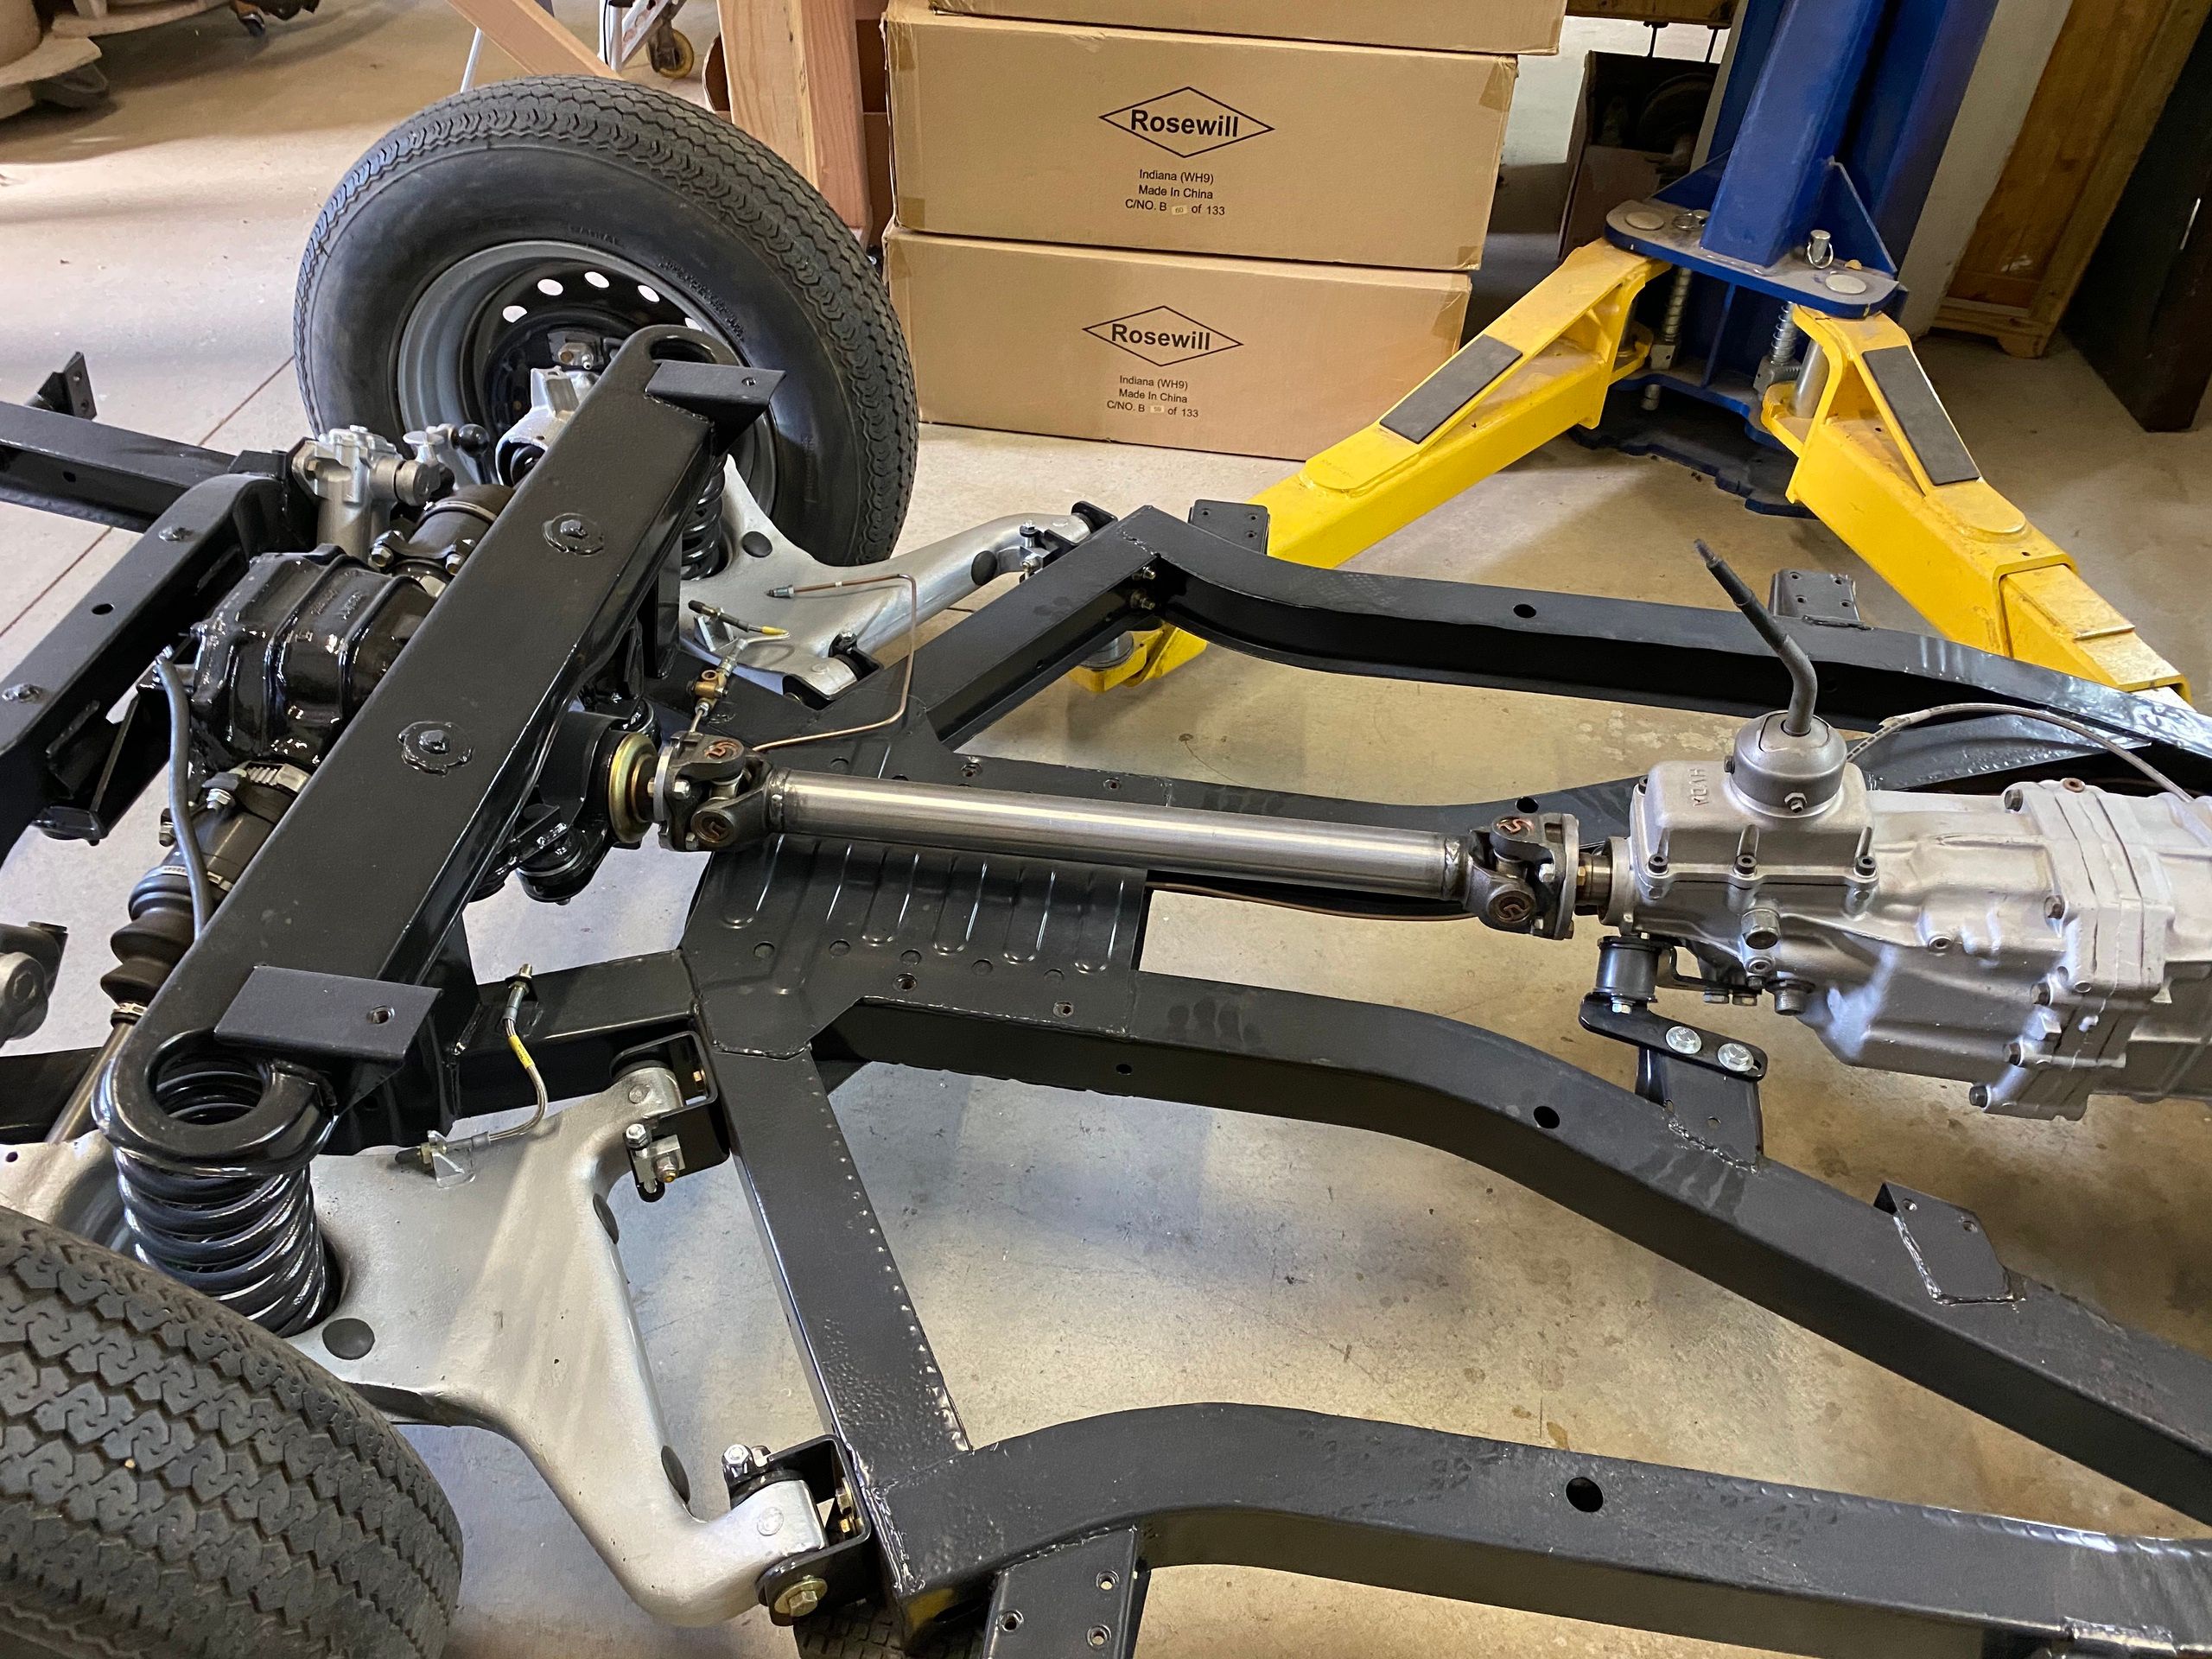
To tame this engine, I decided to replace the stock overdrive-enabled 4-speed transmission with an HVDA 5 speed conversion kit utilizing a refurbished 5-speed from an '1985 Toyota Celica. While I was at it, I also upgraded to an R200 limited-slip different from an Infinity Q45, and also upgraded the CV Joint Axle and Hubs using a kit from GoodParts again. I also had a custom driveshaft built by a specialty Denver shop as there were no off-the-shelf options for my R200 to Toyota 5-speed transmission.
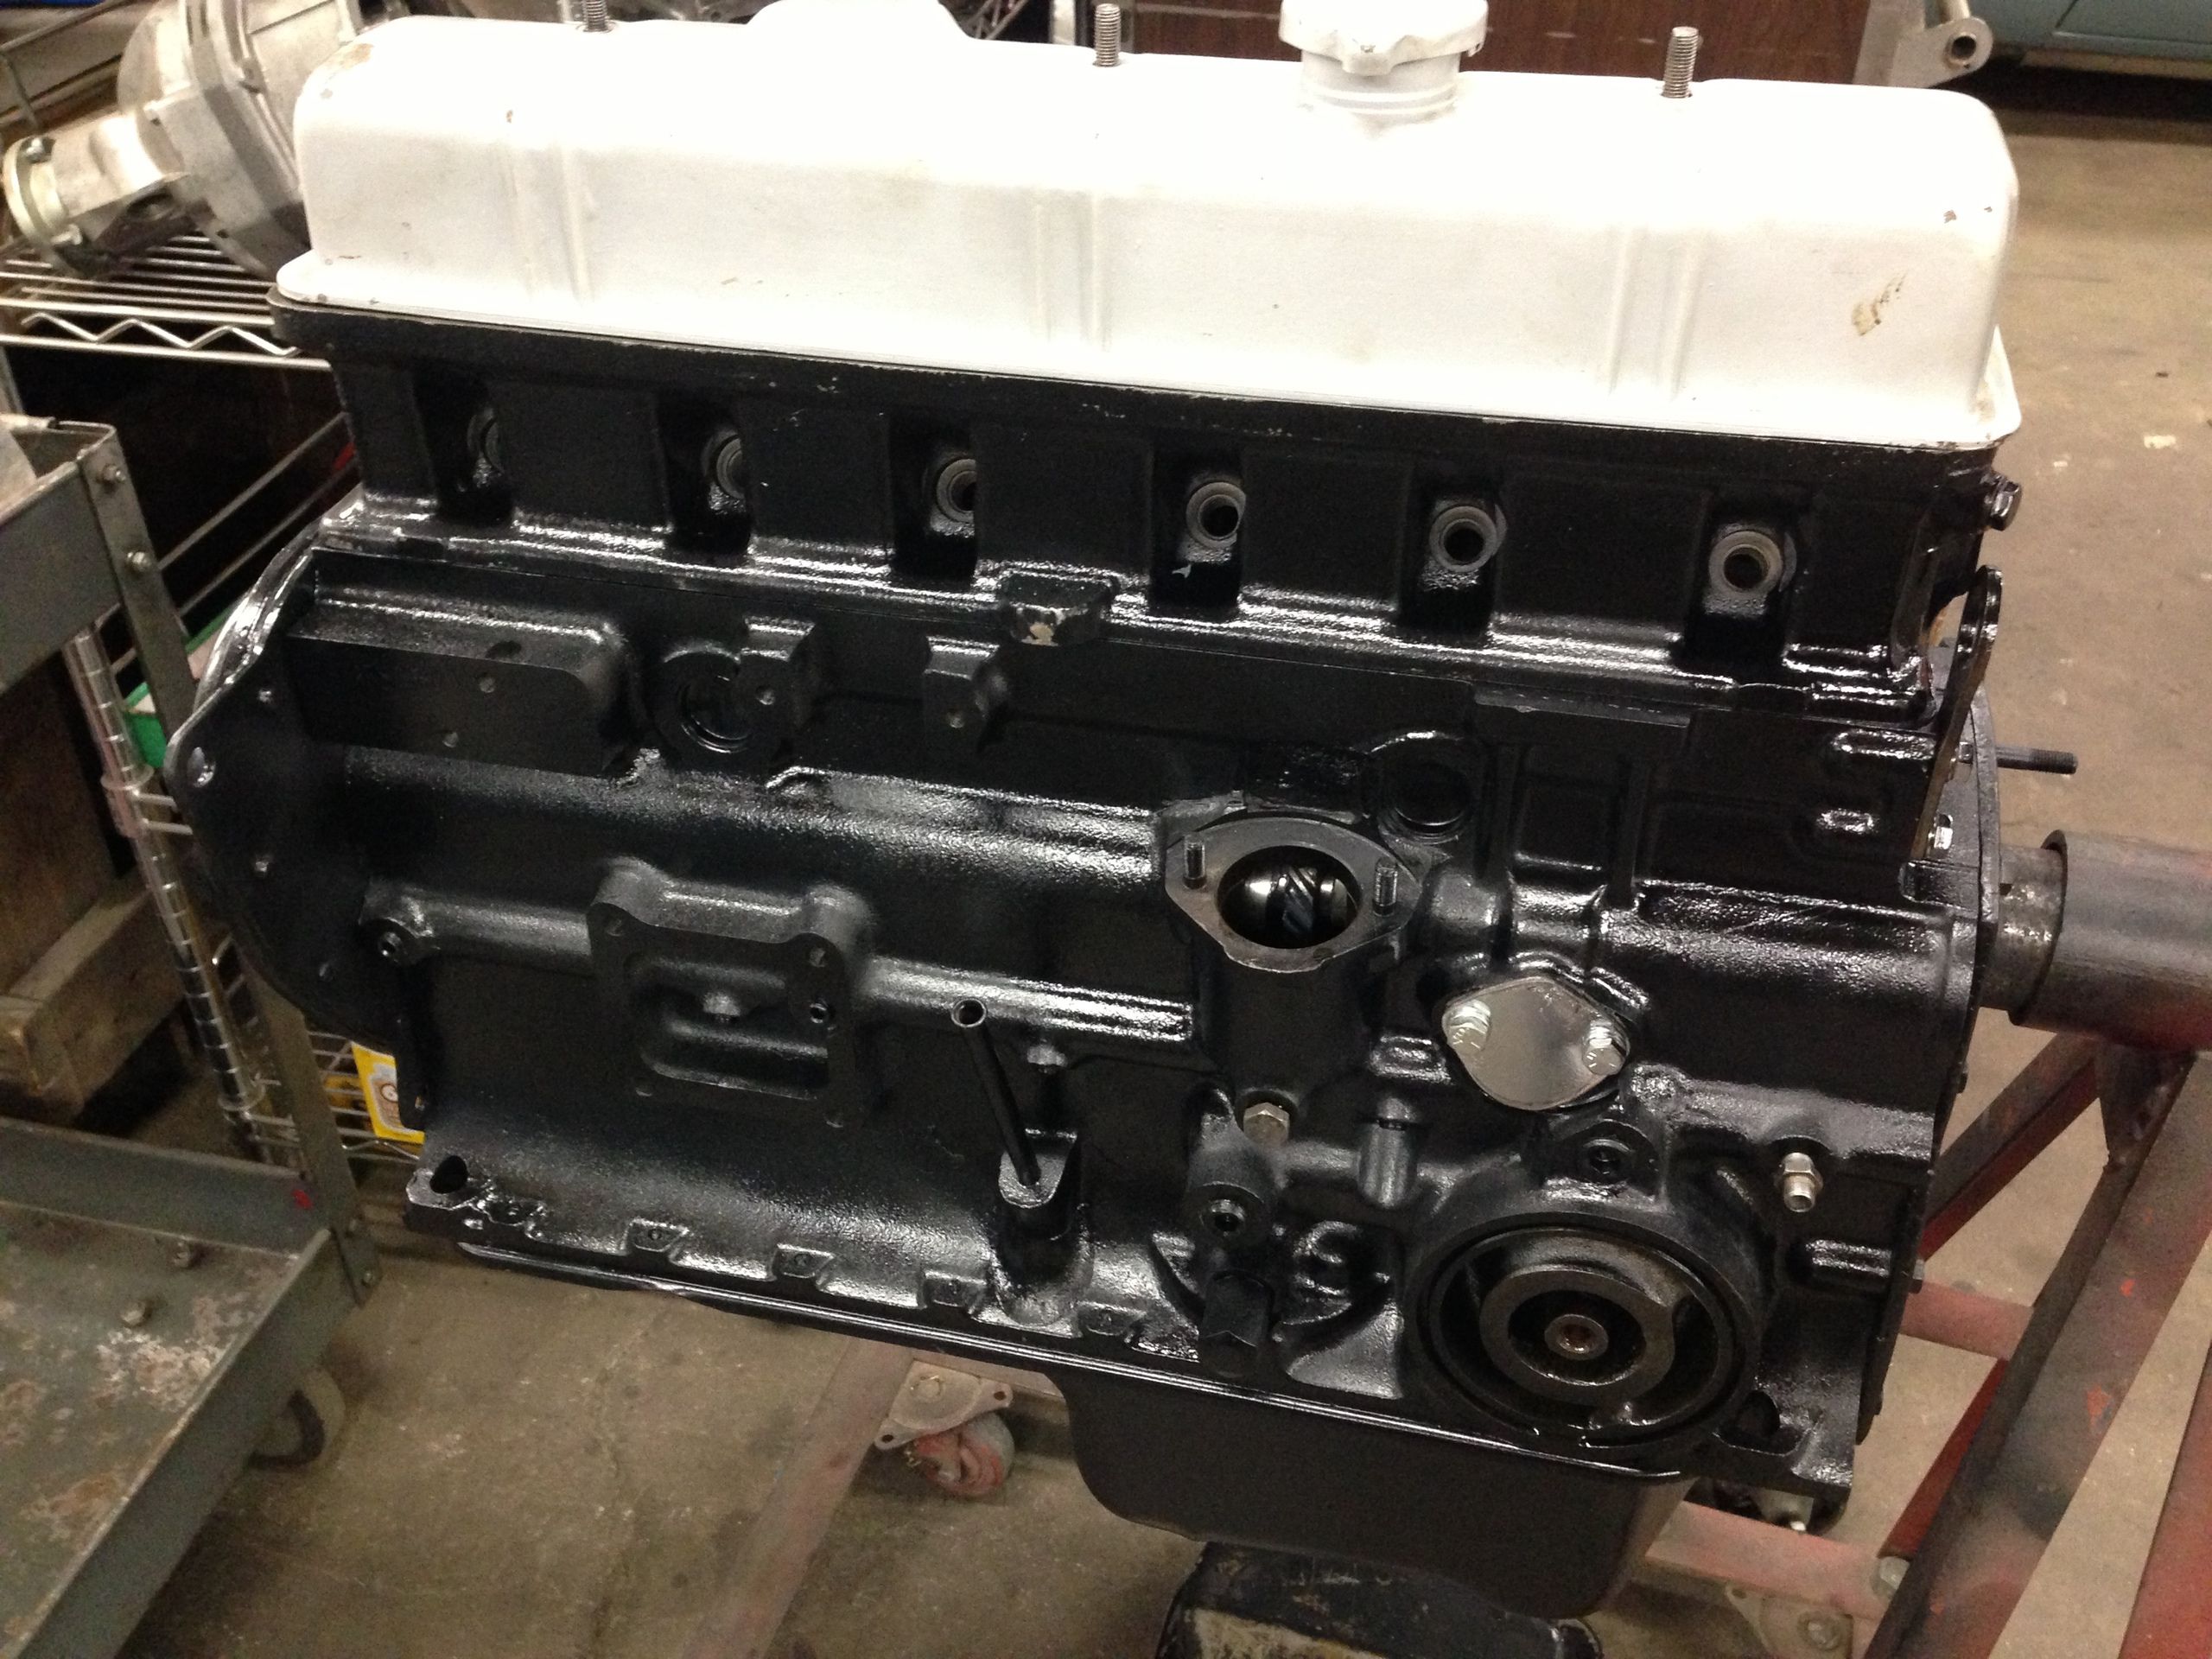


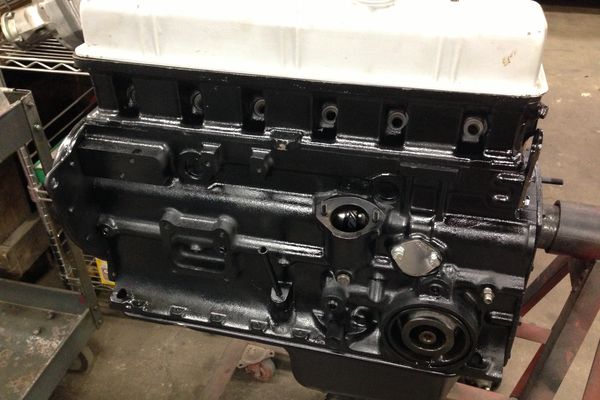
The engine it the first phase of rebuild
Video of the engine running with Moss supercharger after full rebuild. Sounds incredible!
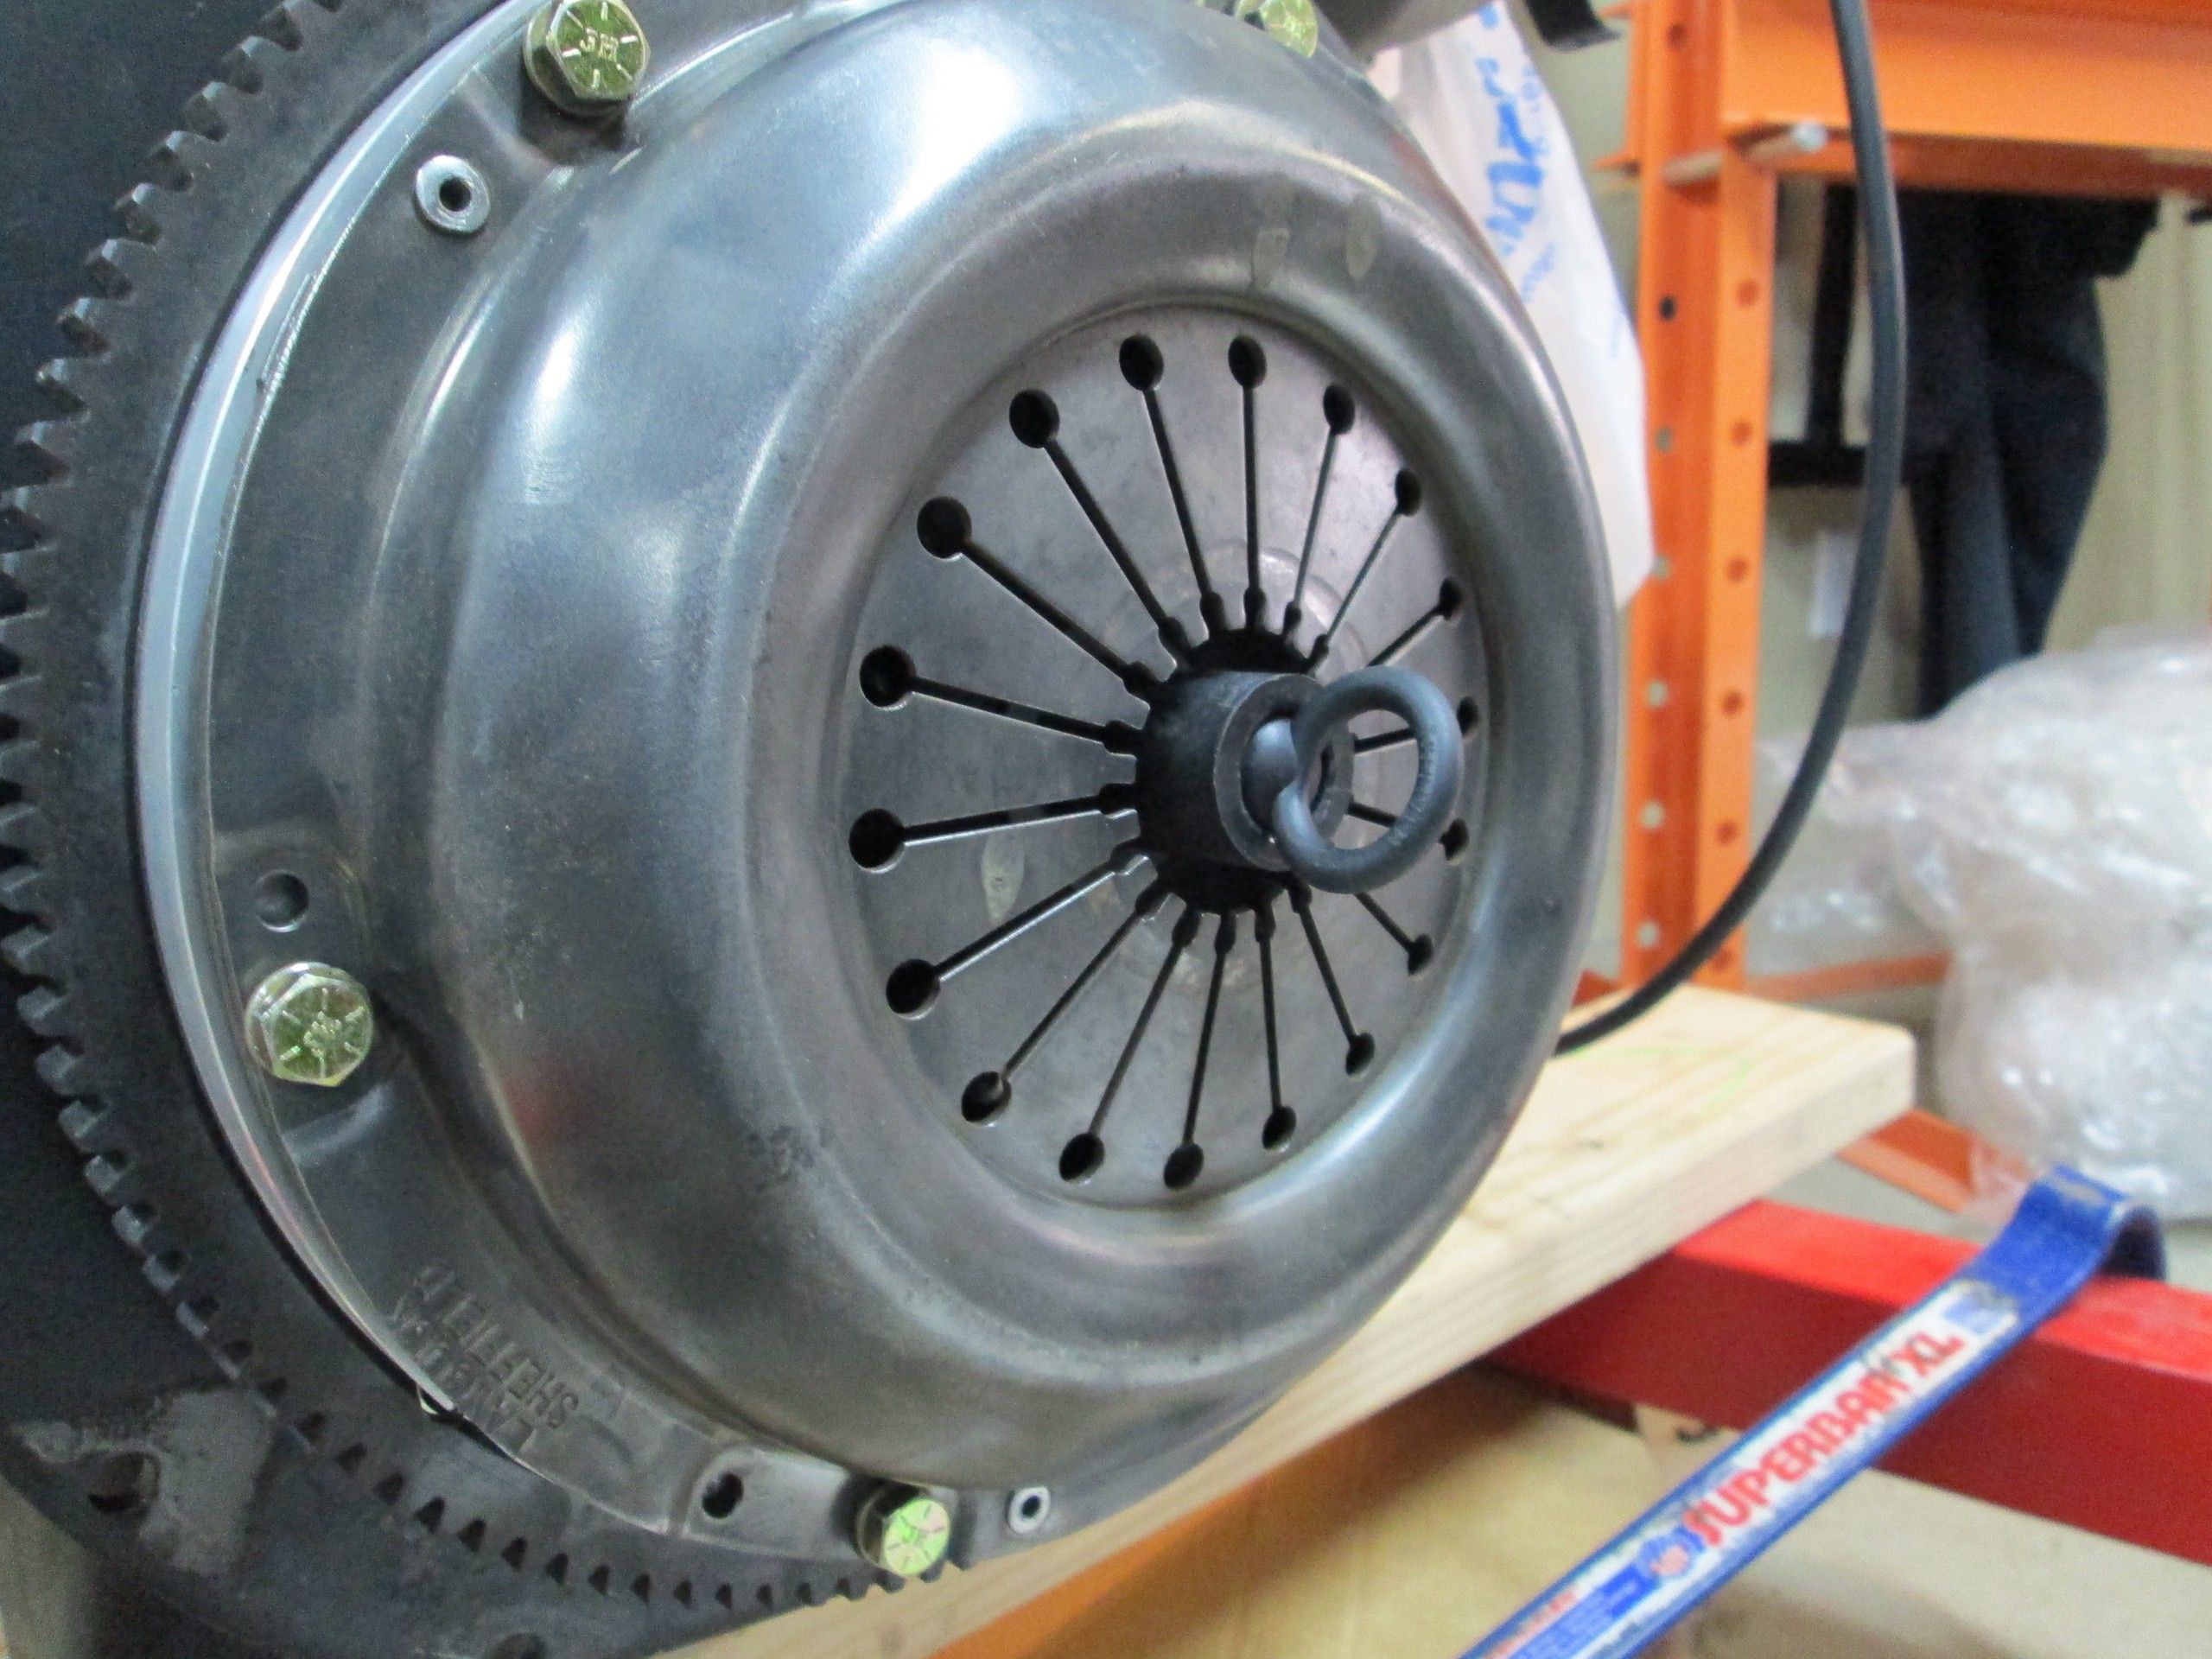
Clutch installed
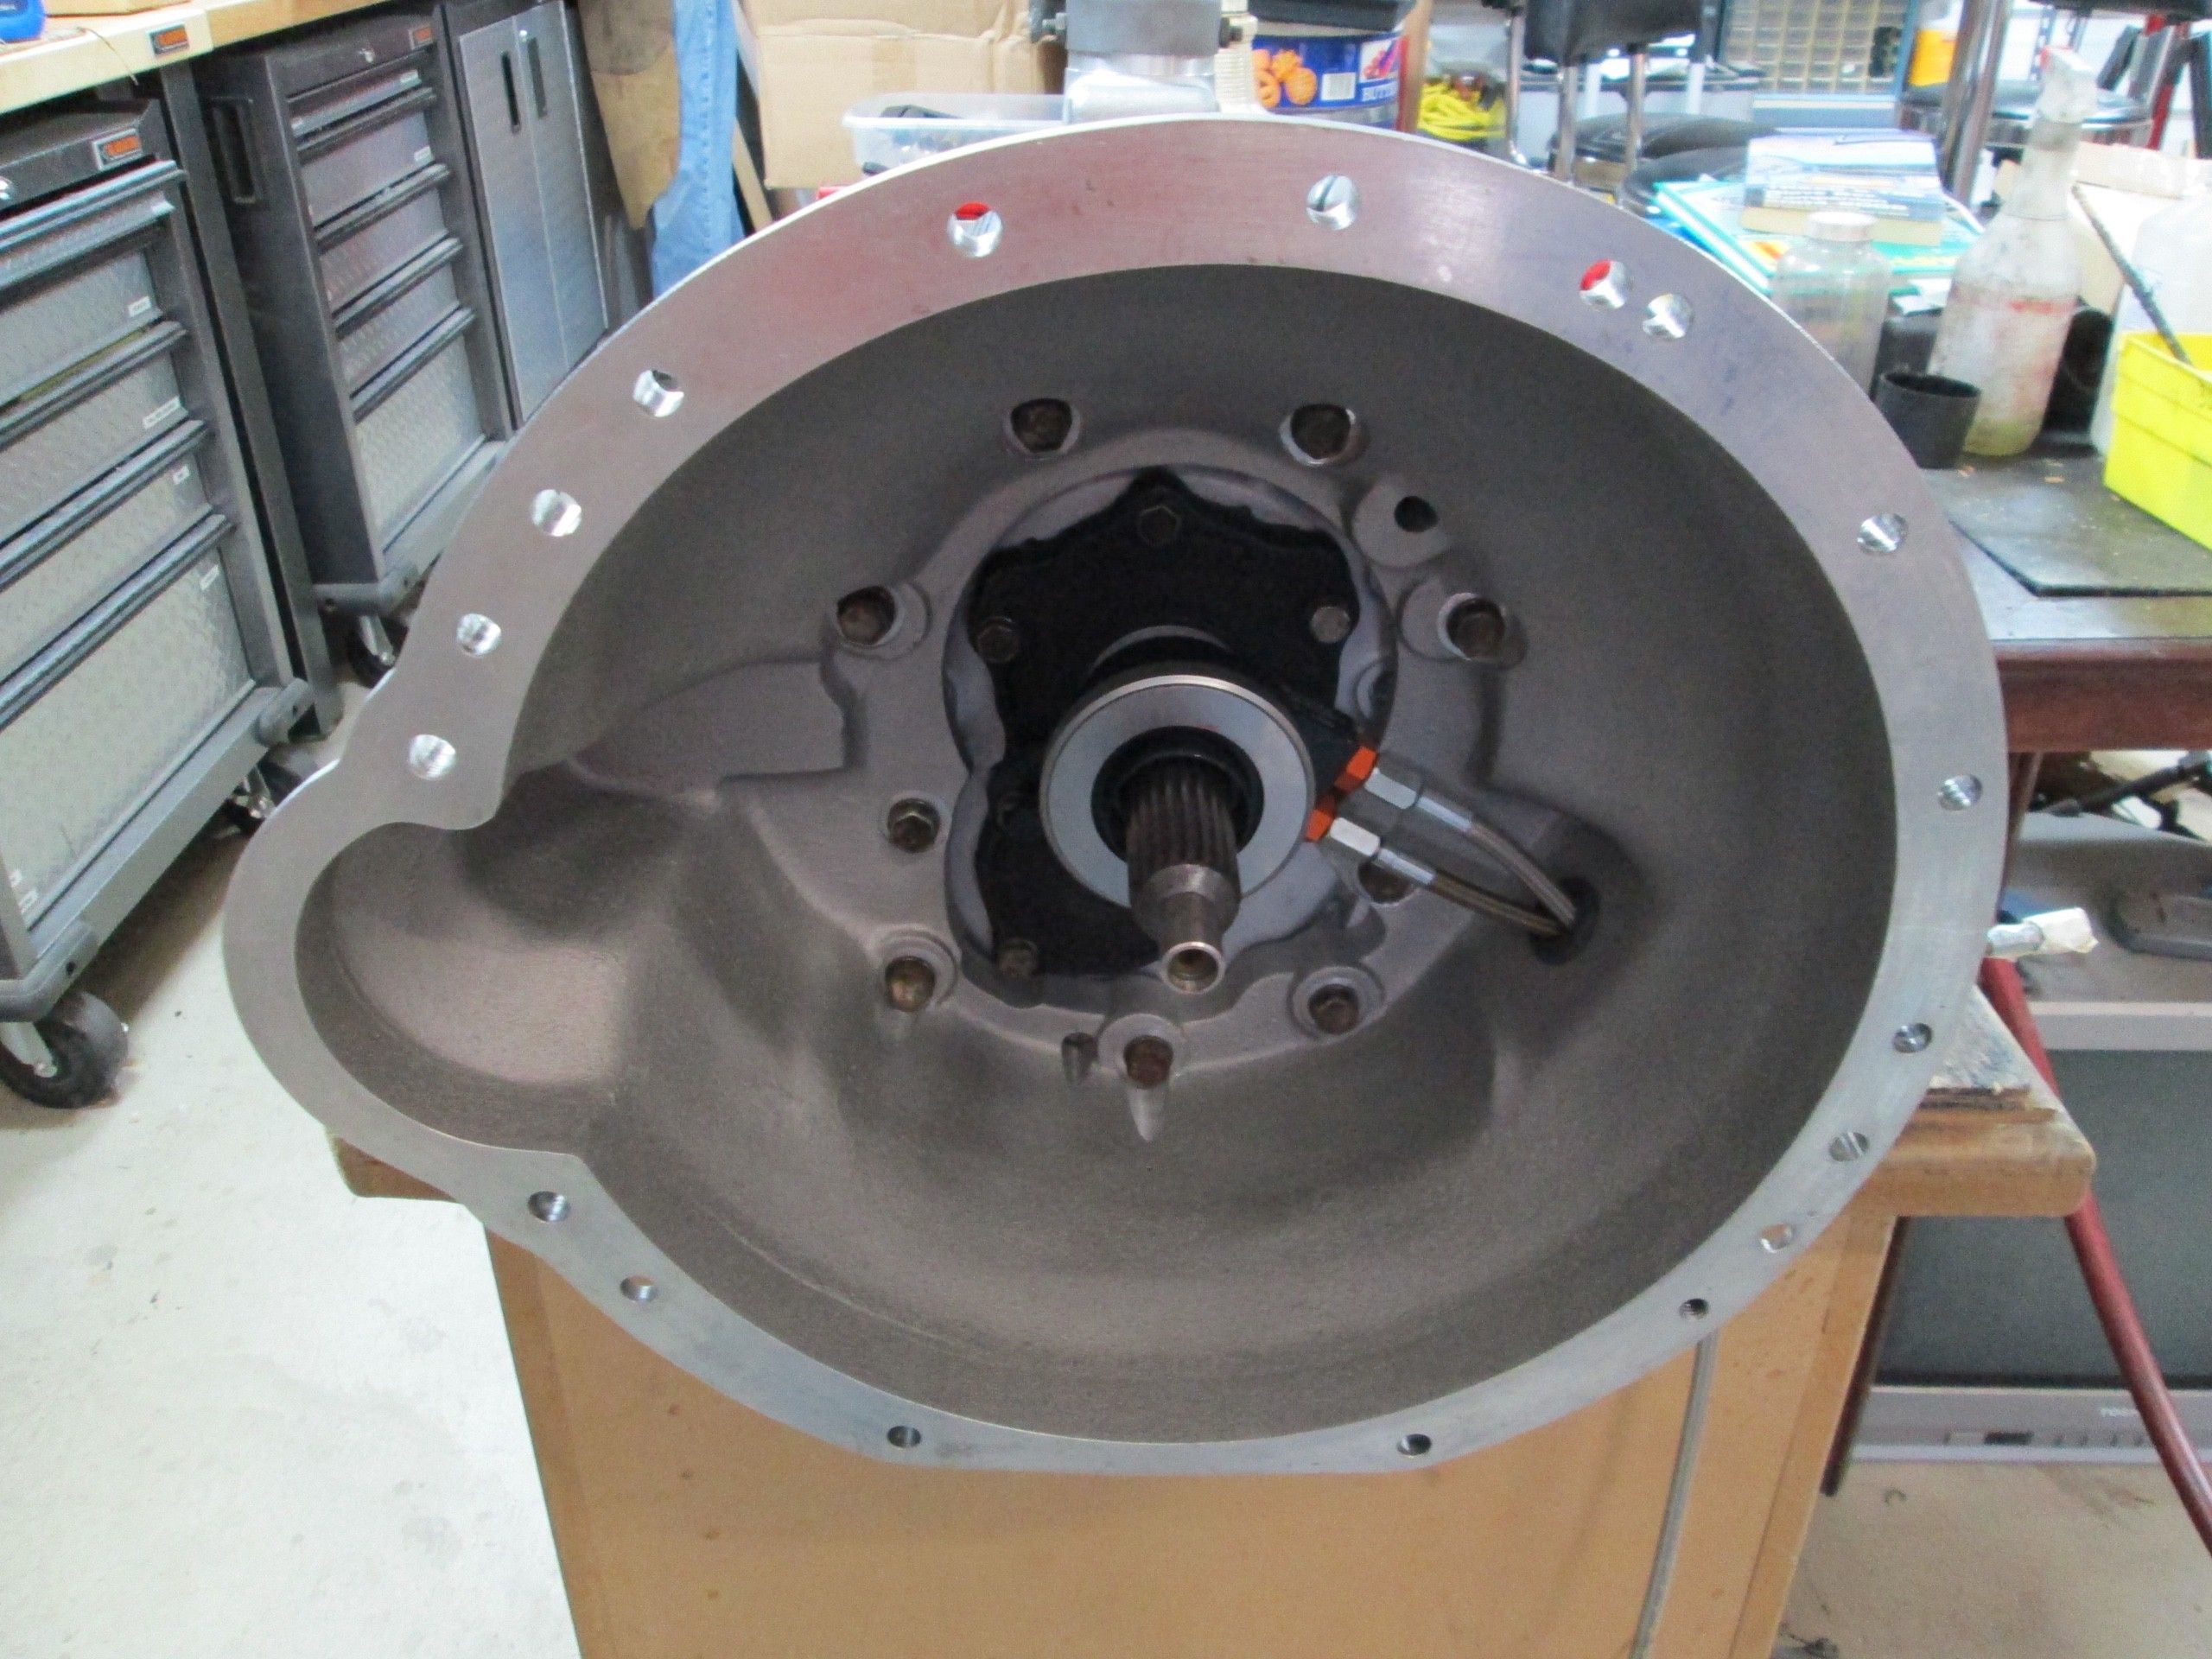
HVDA bell housing with Toyota 5-speed transmission ready to be mated to the engine
Holley 350cfm carburetor on the Moss supercharger
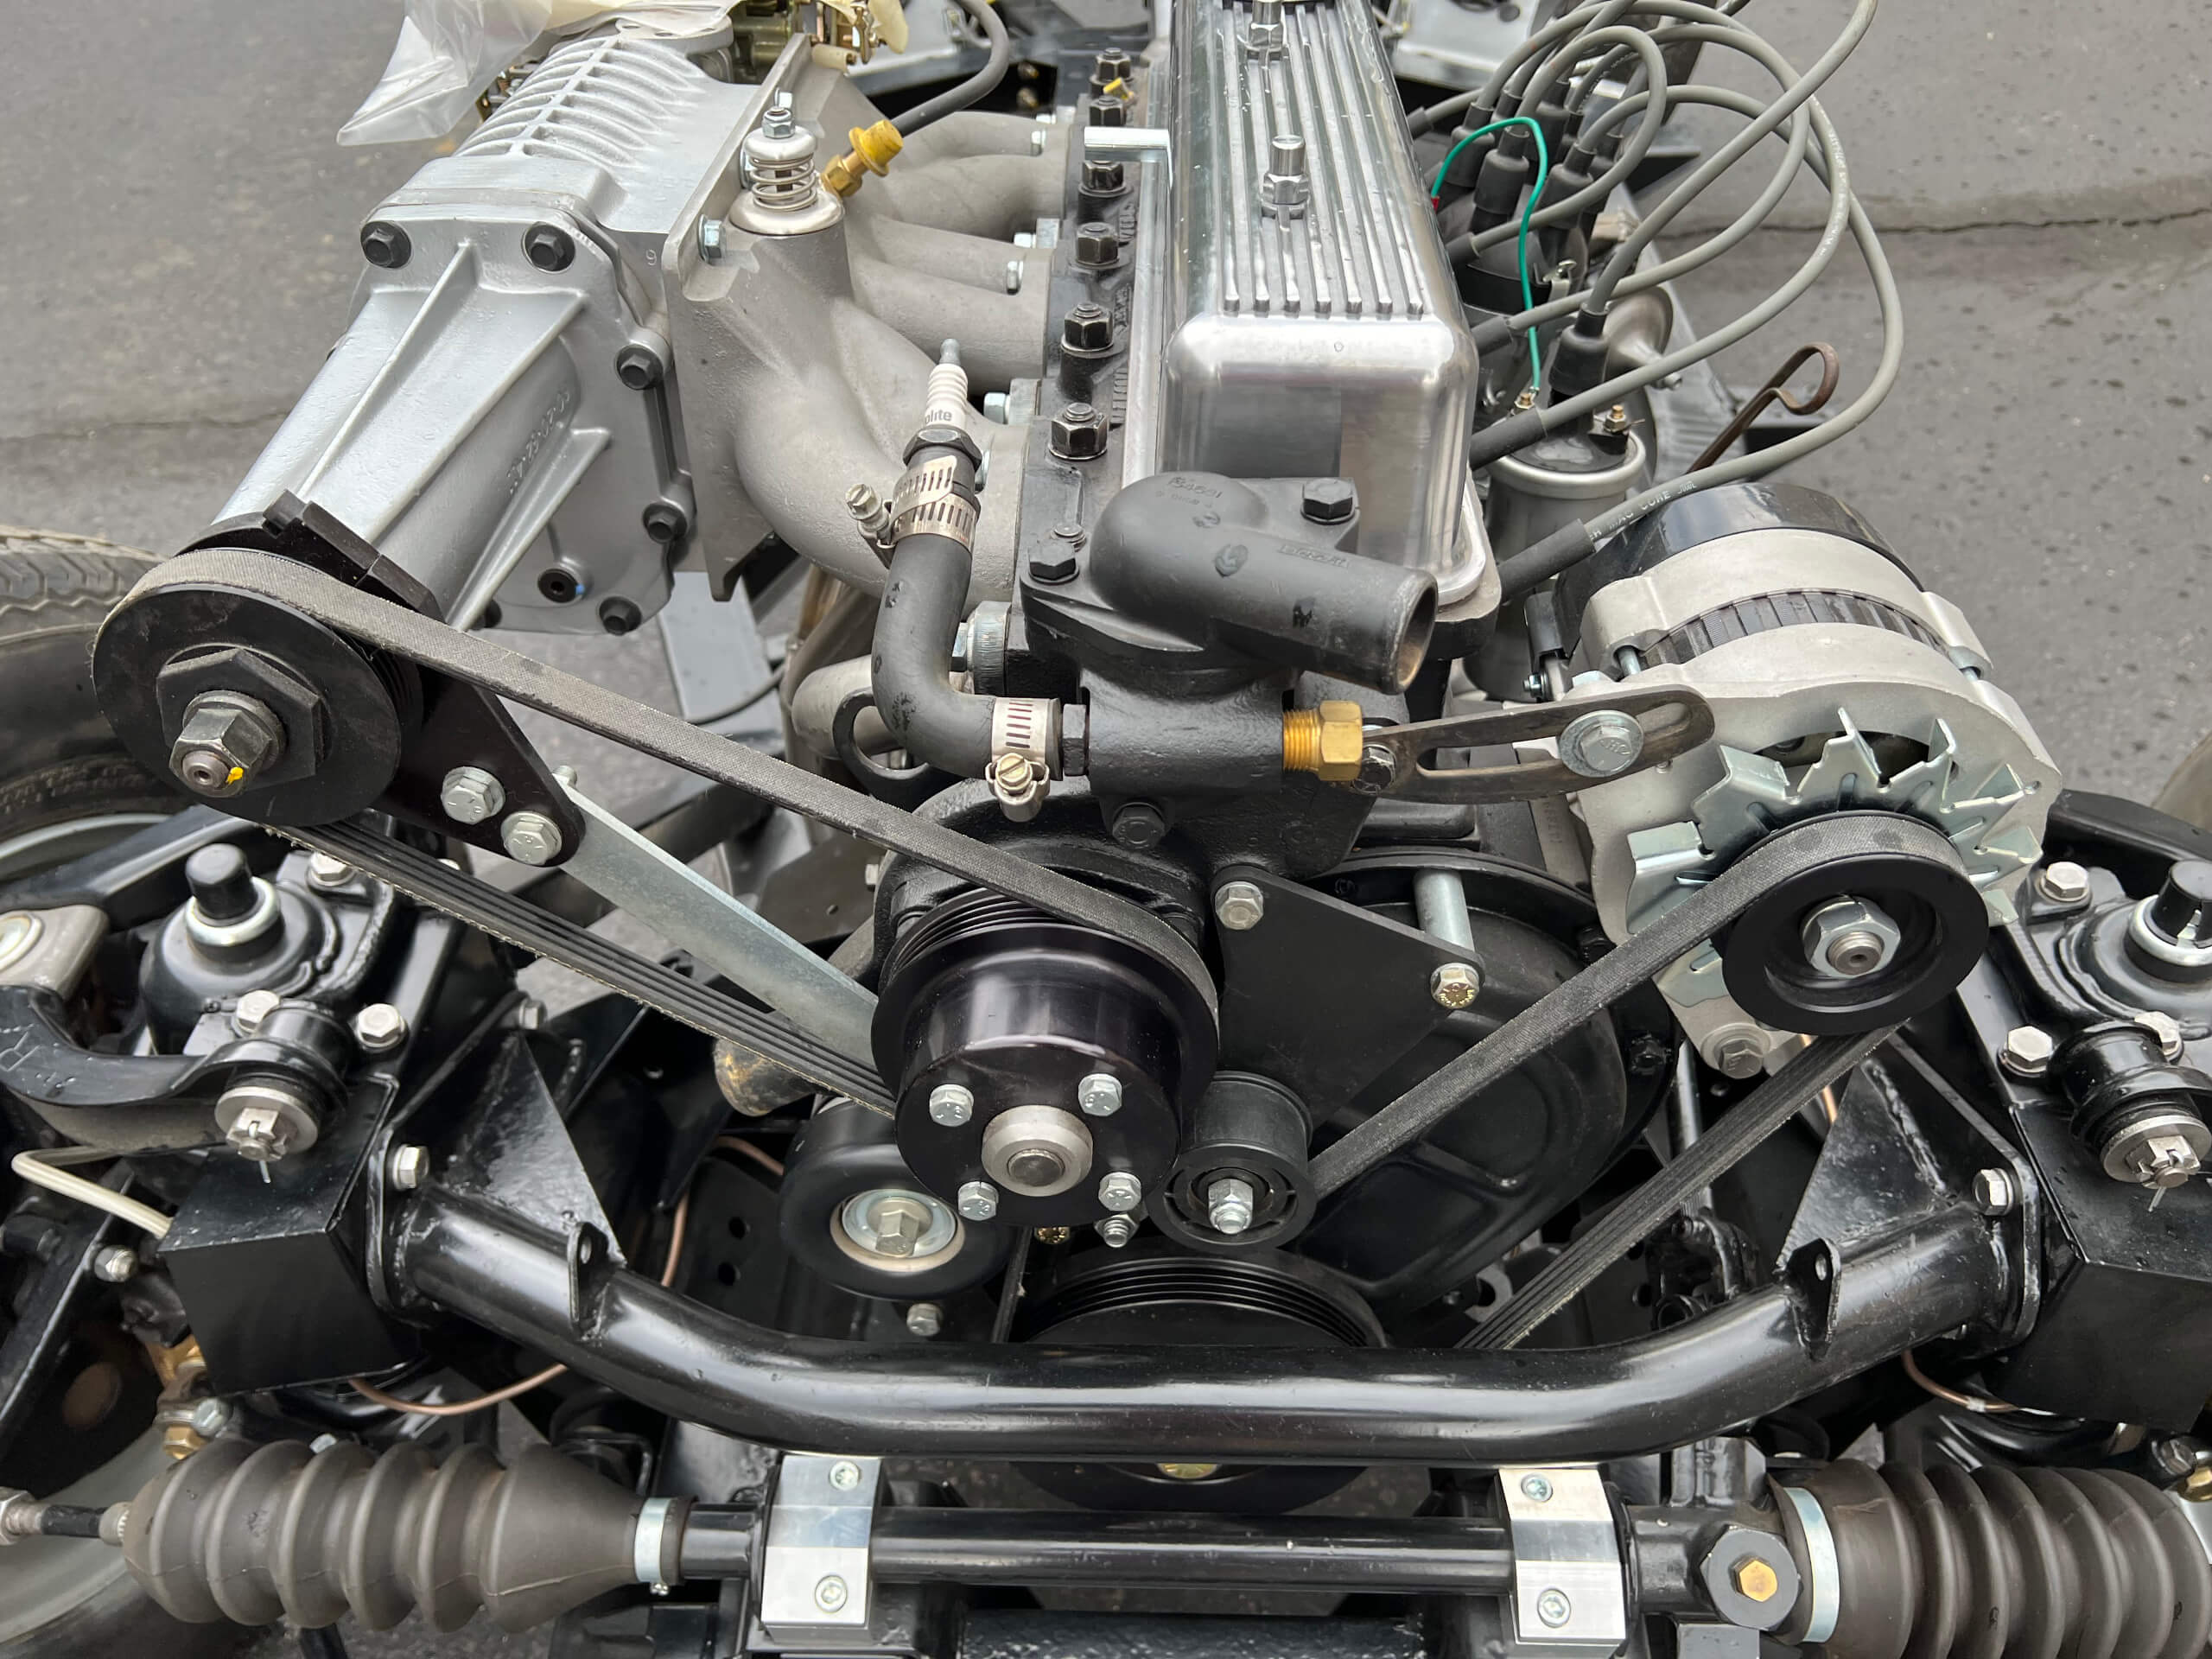
Top-down view of the engine mounted on the chassis
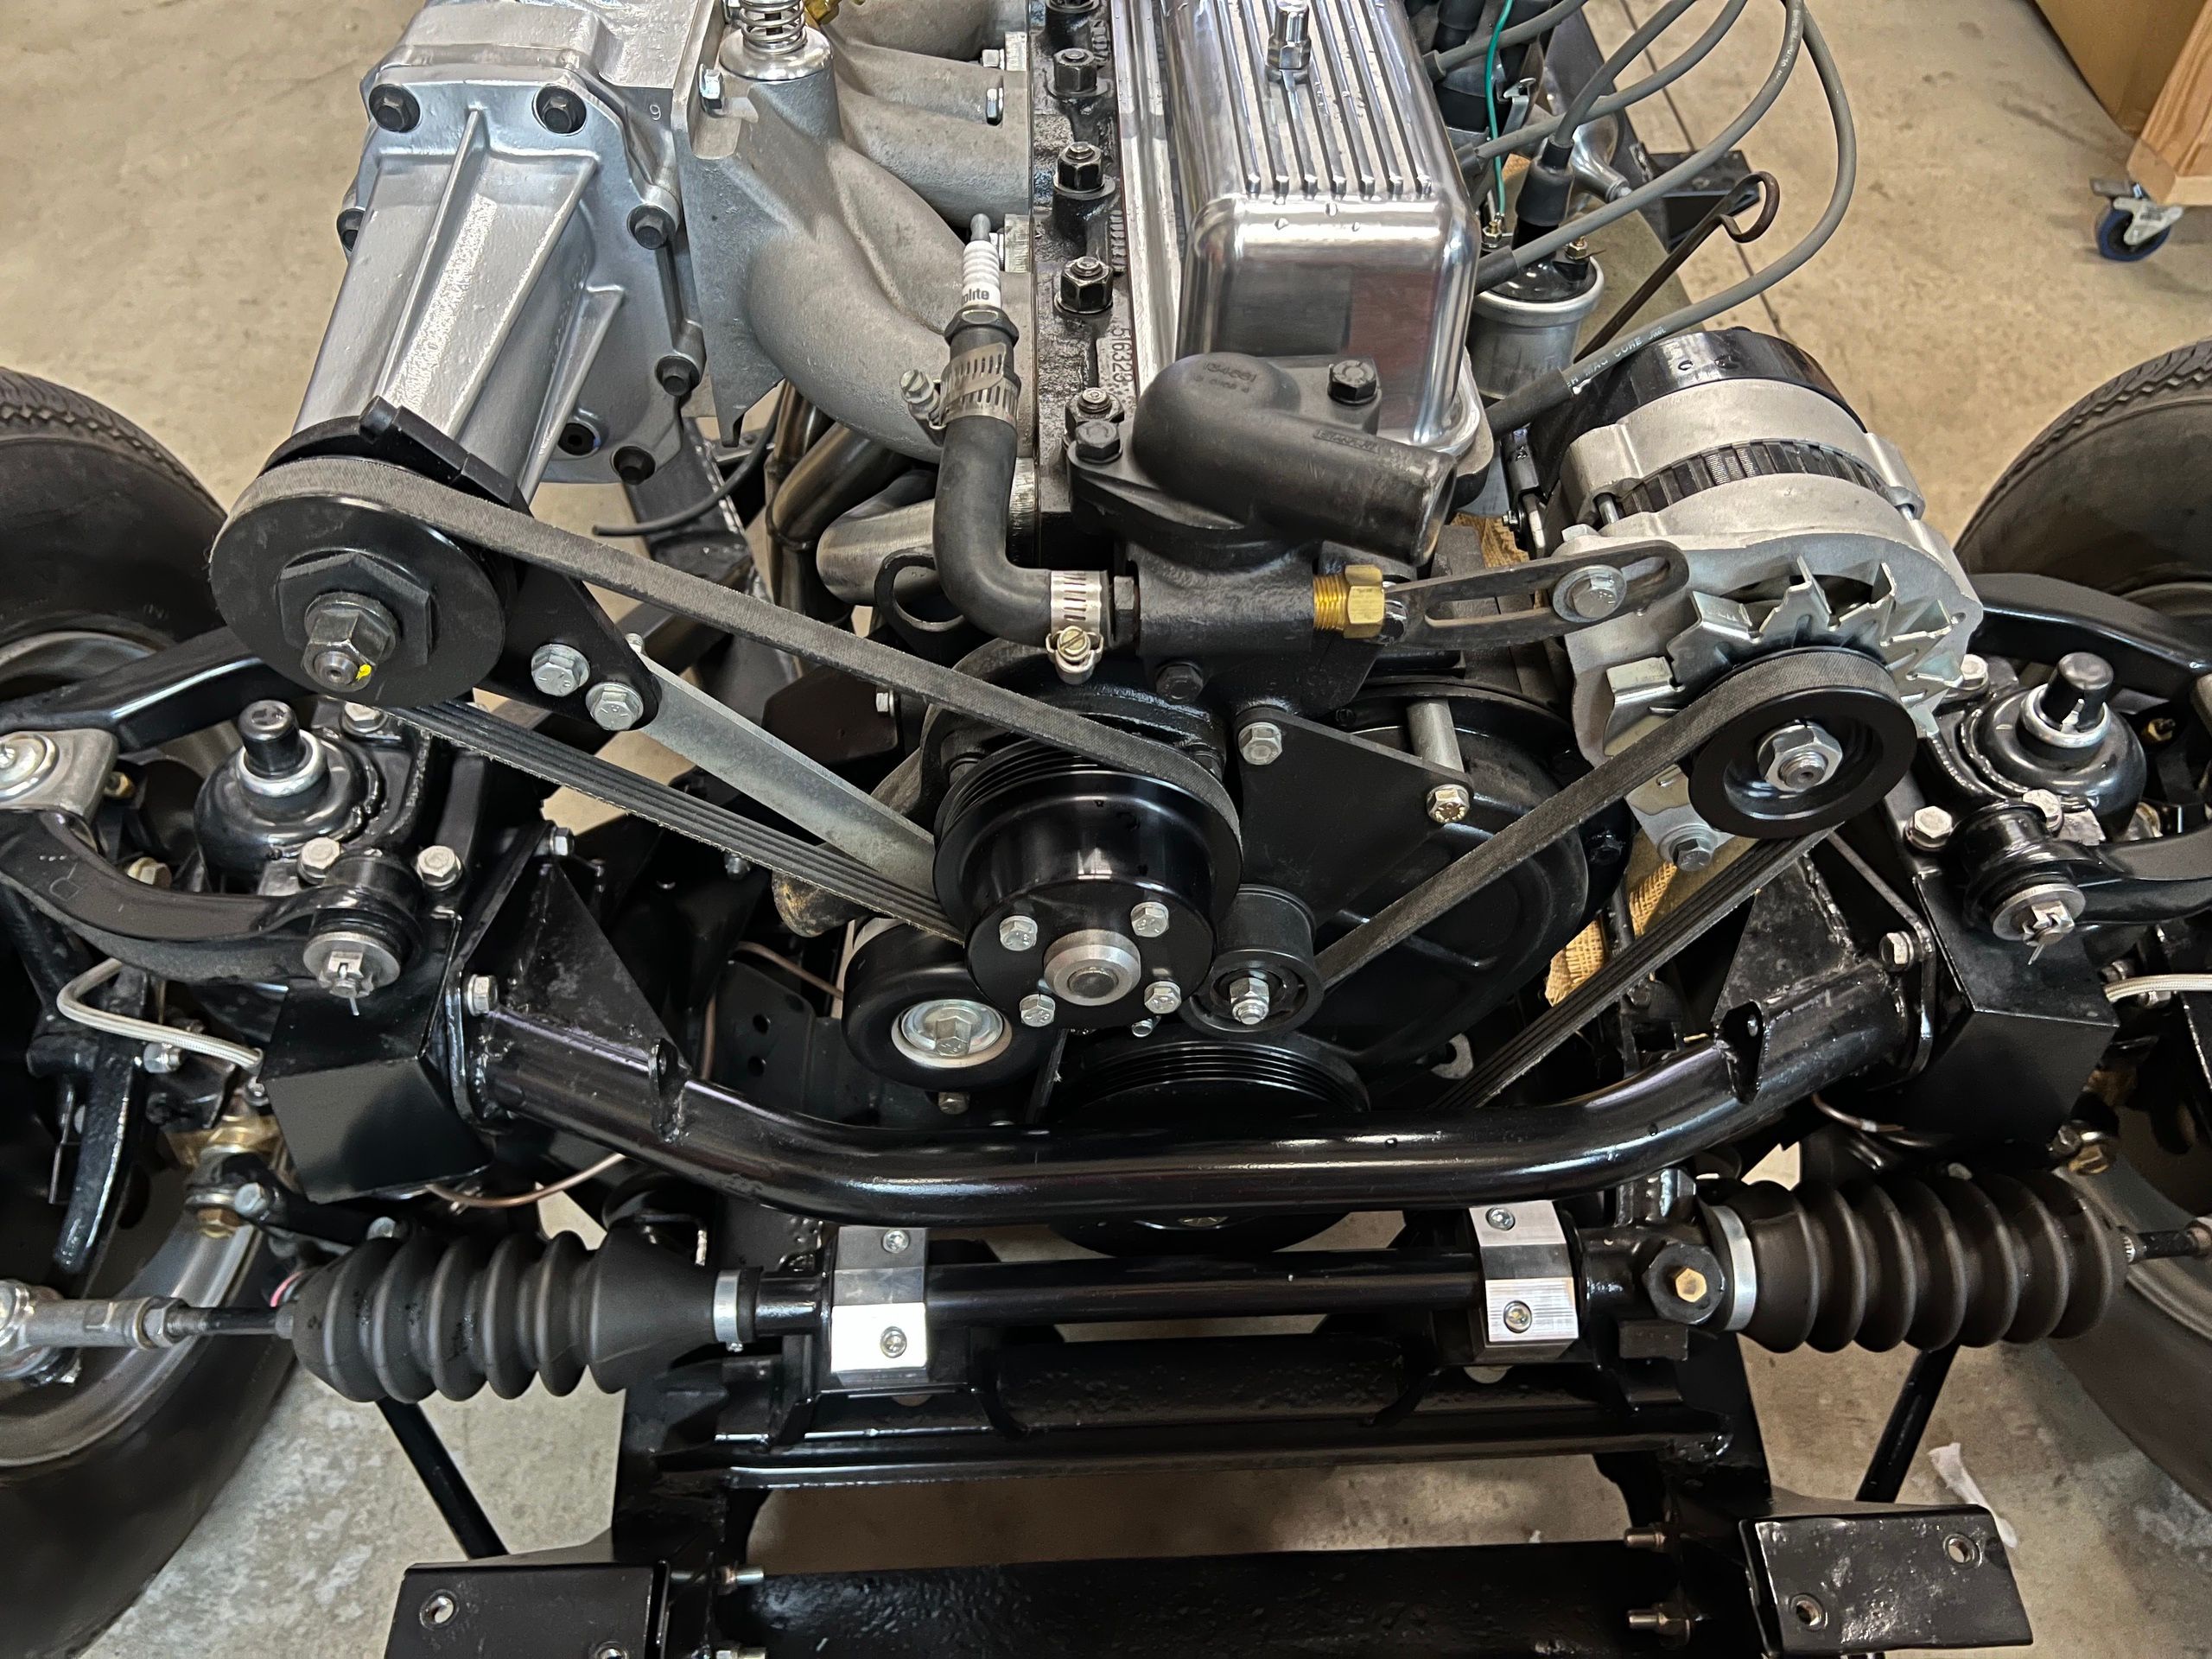
Nice frontal shot of the engine and belts
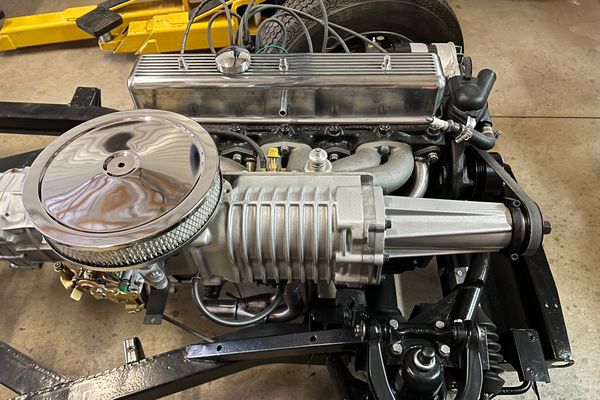
With air filter test fit
Another beauty shot of the supercharger with air filter
Shot of the 5-speed Toyota transmission
Transmission with drive shaft
Close up view of the R200 differential and upgraded CV joint axle and hubs
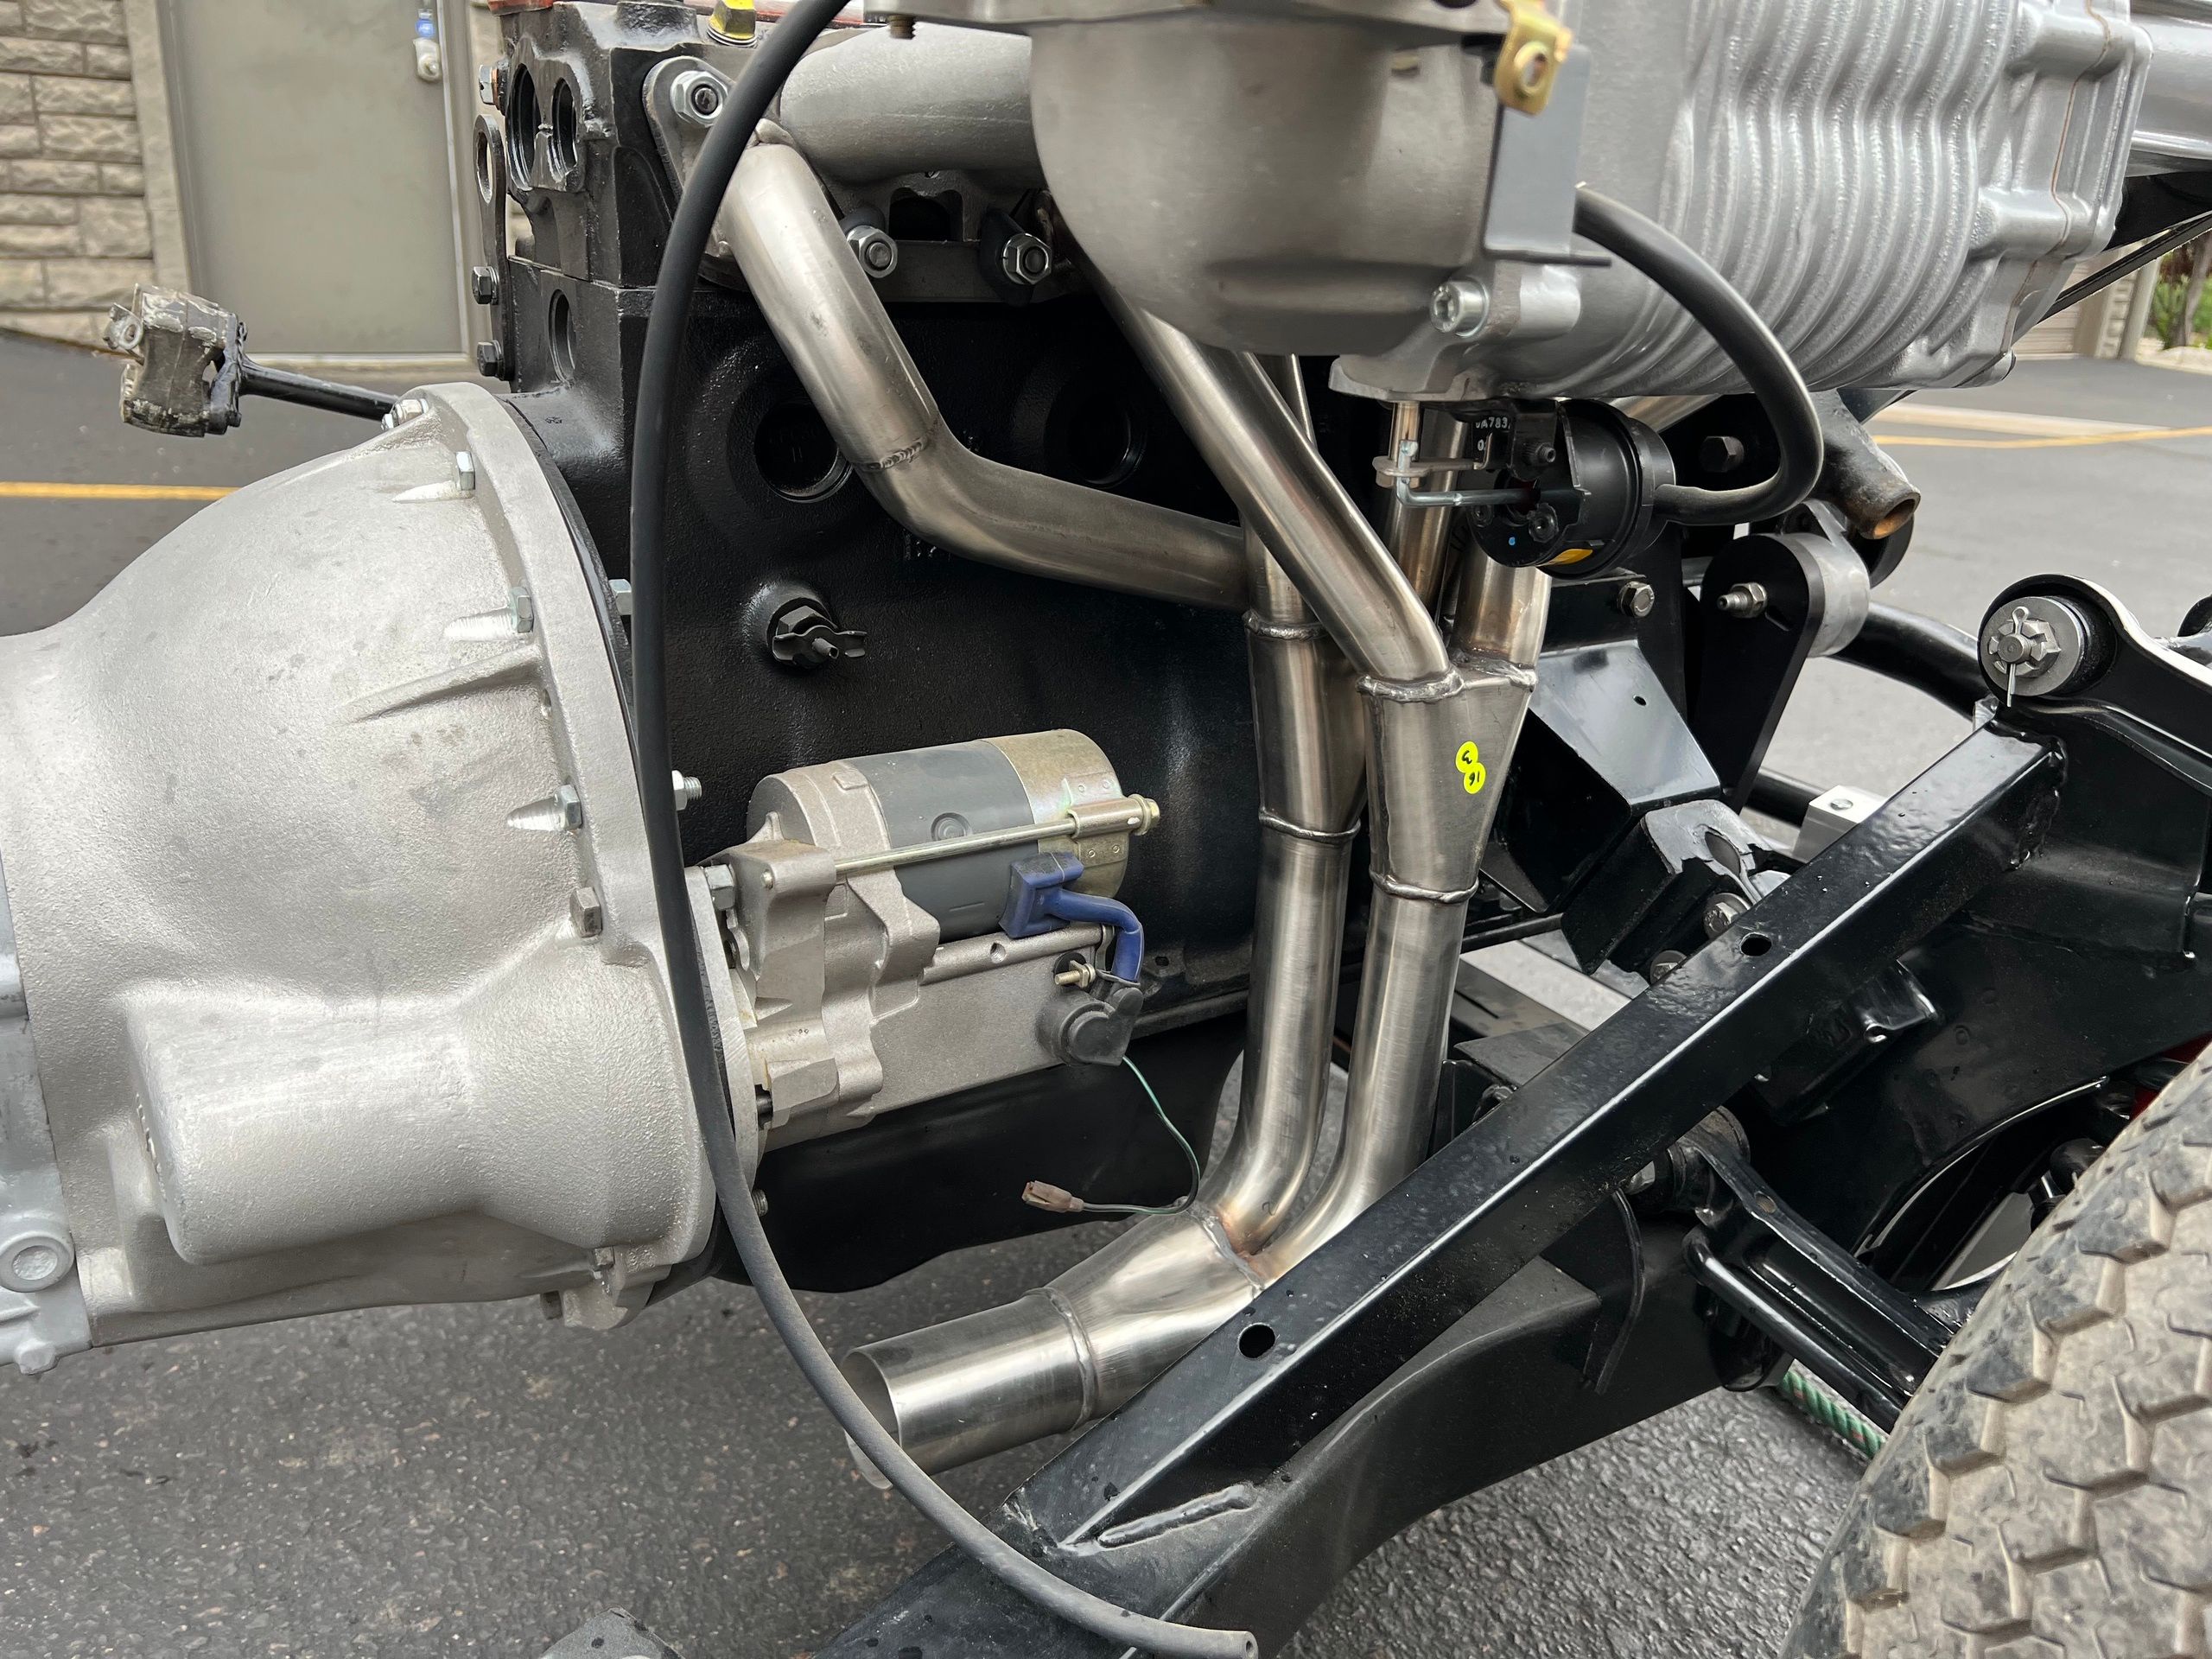
Exhaust
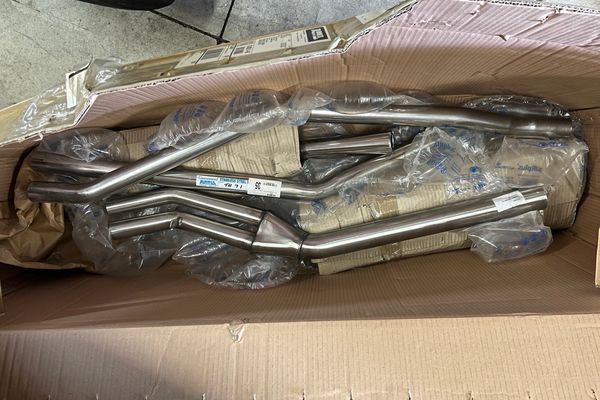
To full take advantage of the new super-charged engine and also create the look I was going for, I bought a new Stainless Steel Sports full exhaust system with Twin pipes from Rimmer Bros in the UK and had it shipped to me in Colorado. Currently on the exhaust manifold is fitted, and the rest of the exhaust system is still in the original box.
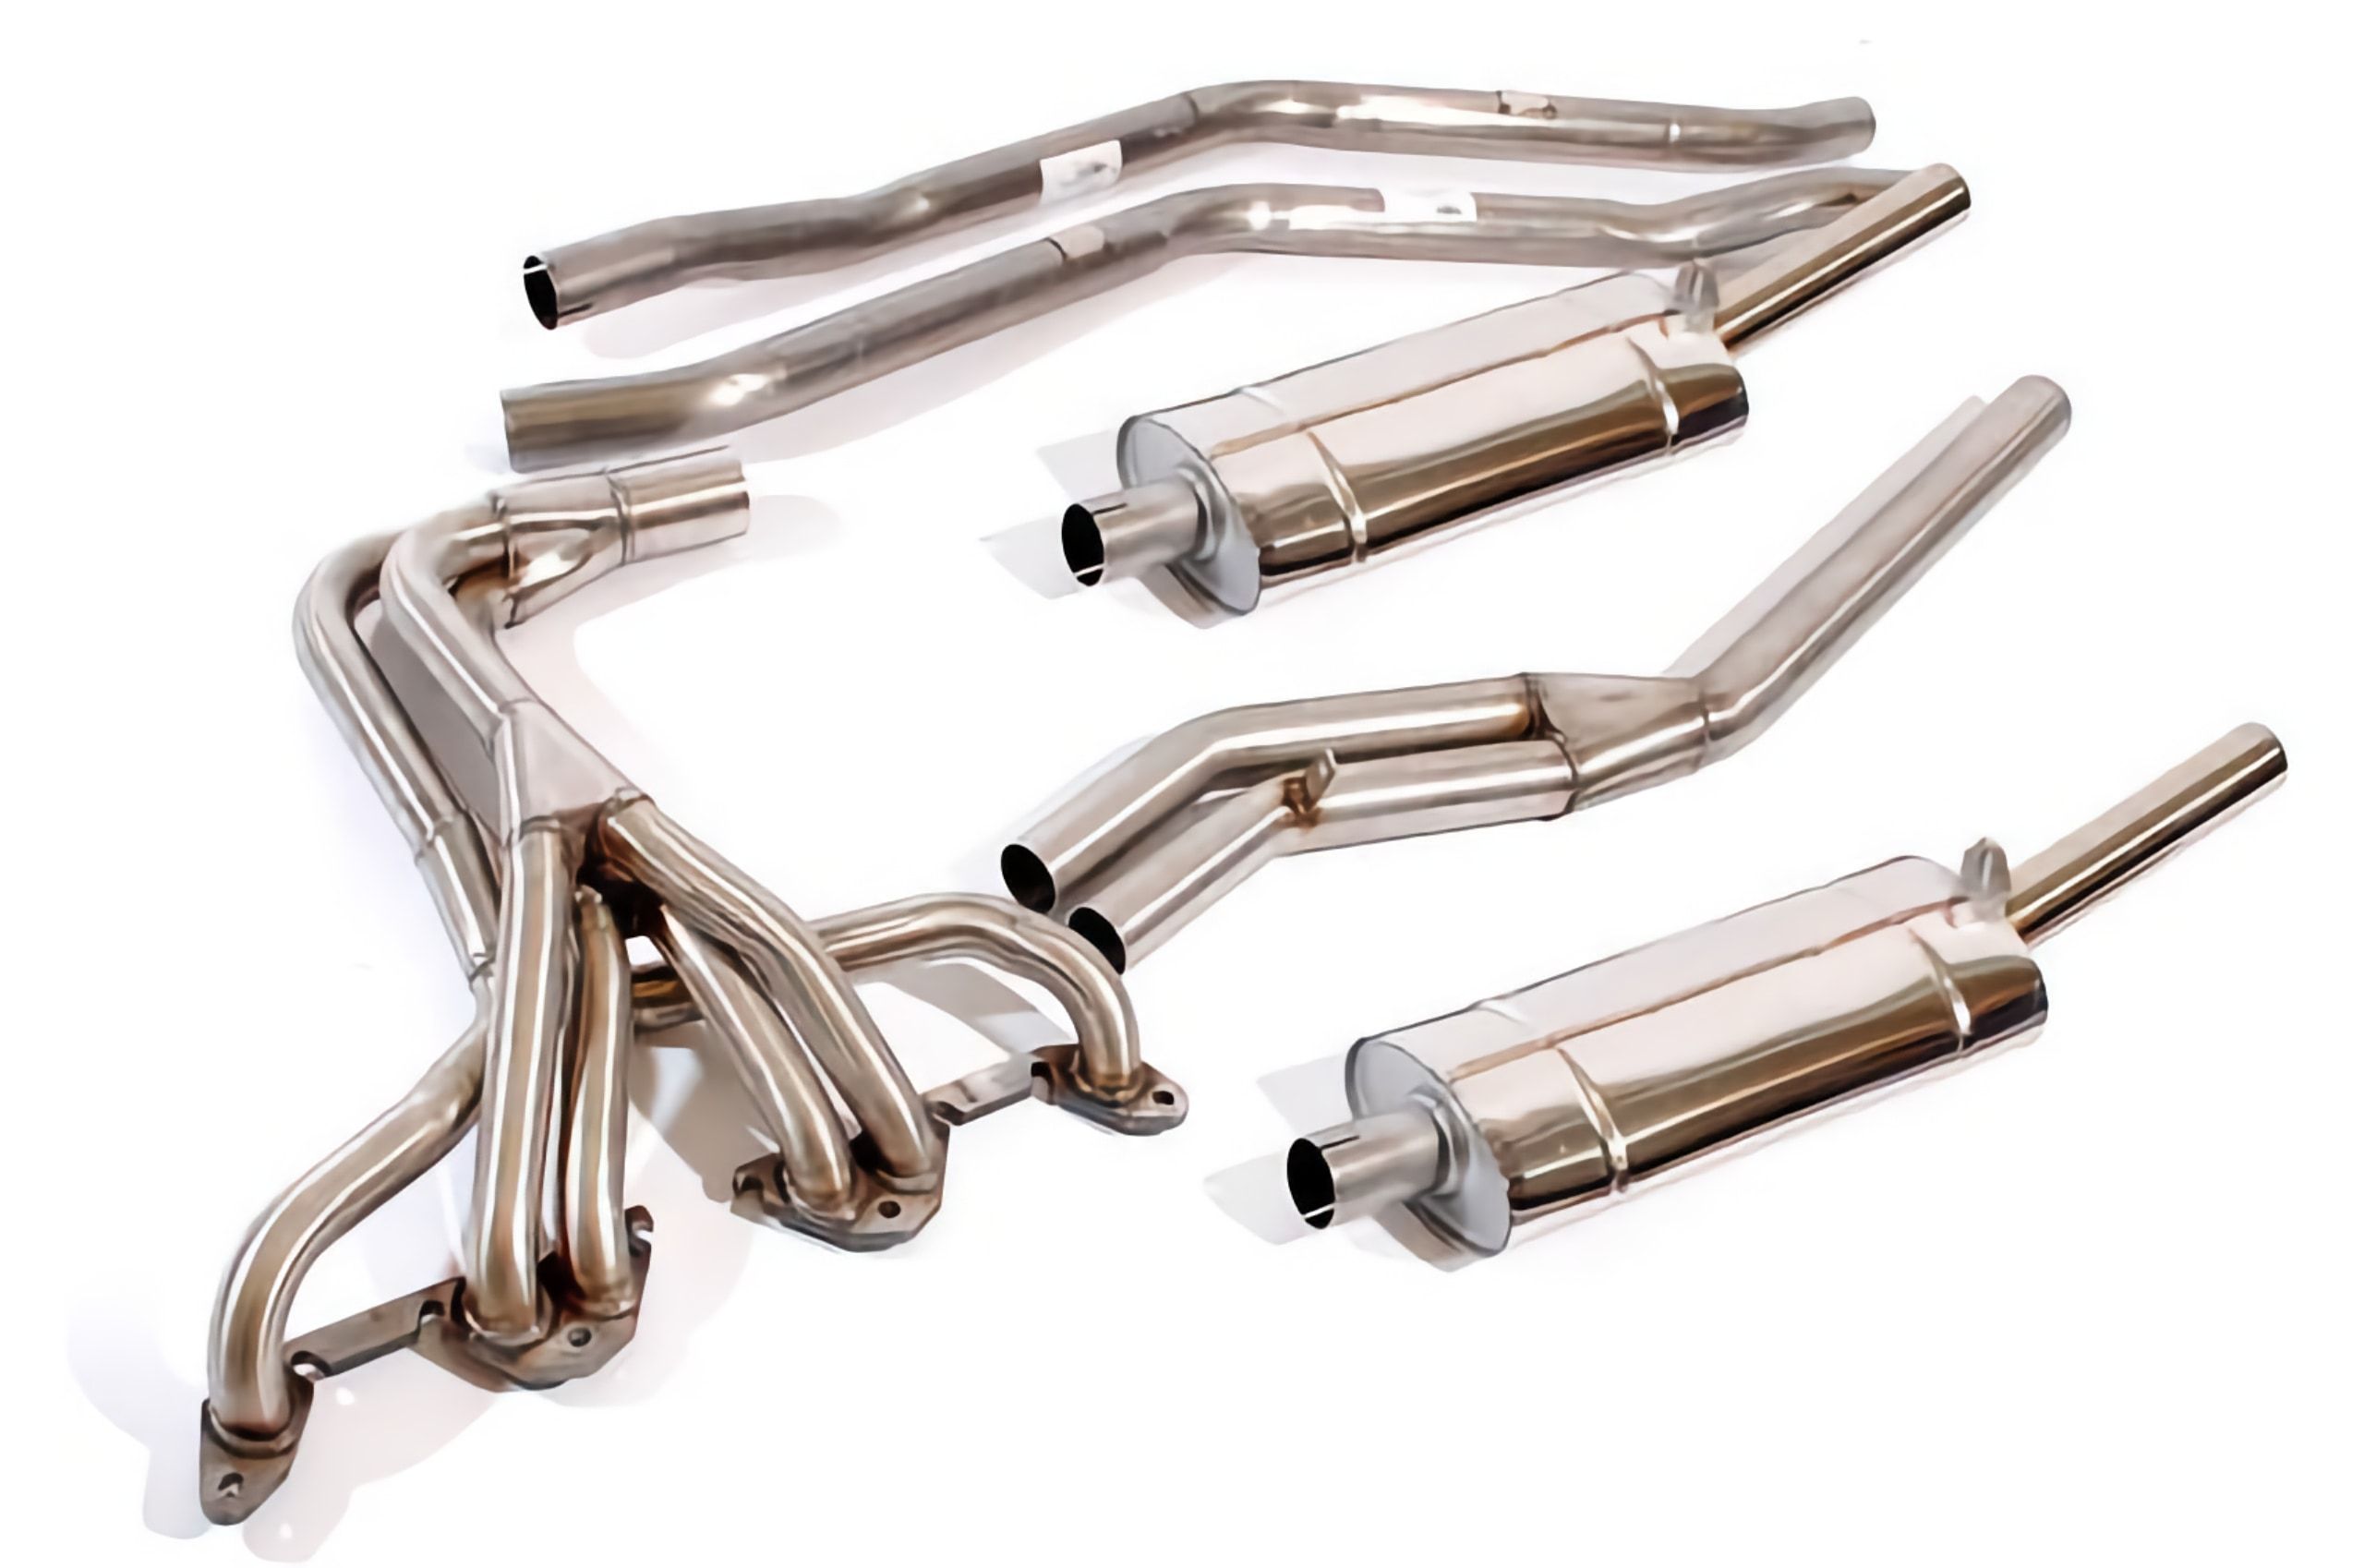
Catalog image of the exhaust system from Rimmer Bros
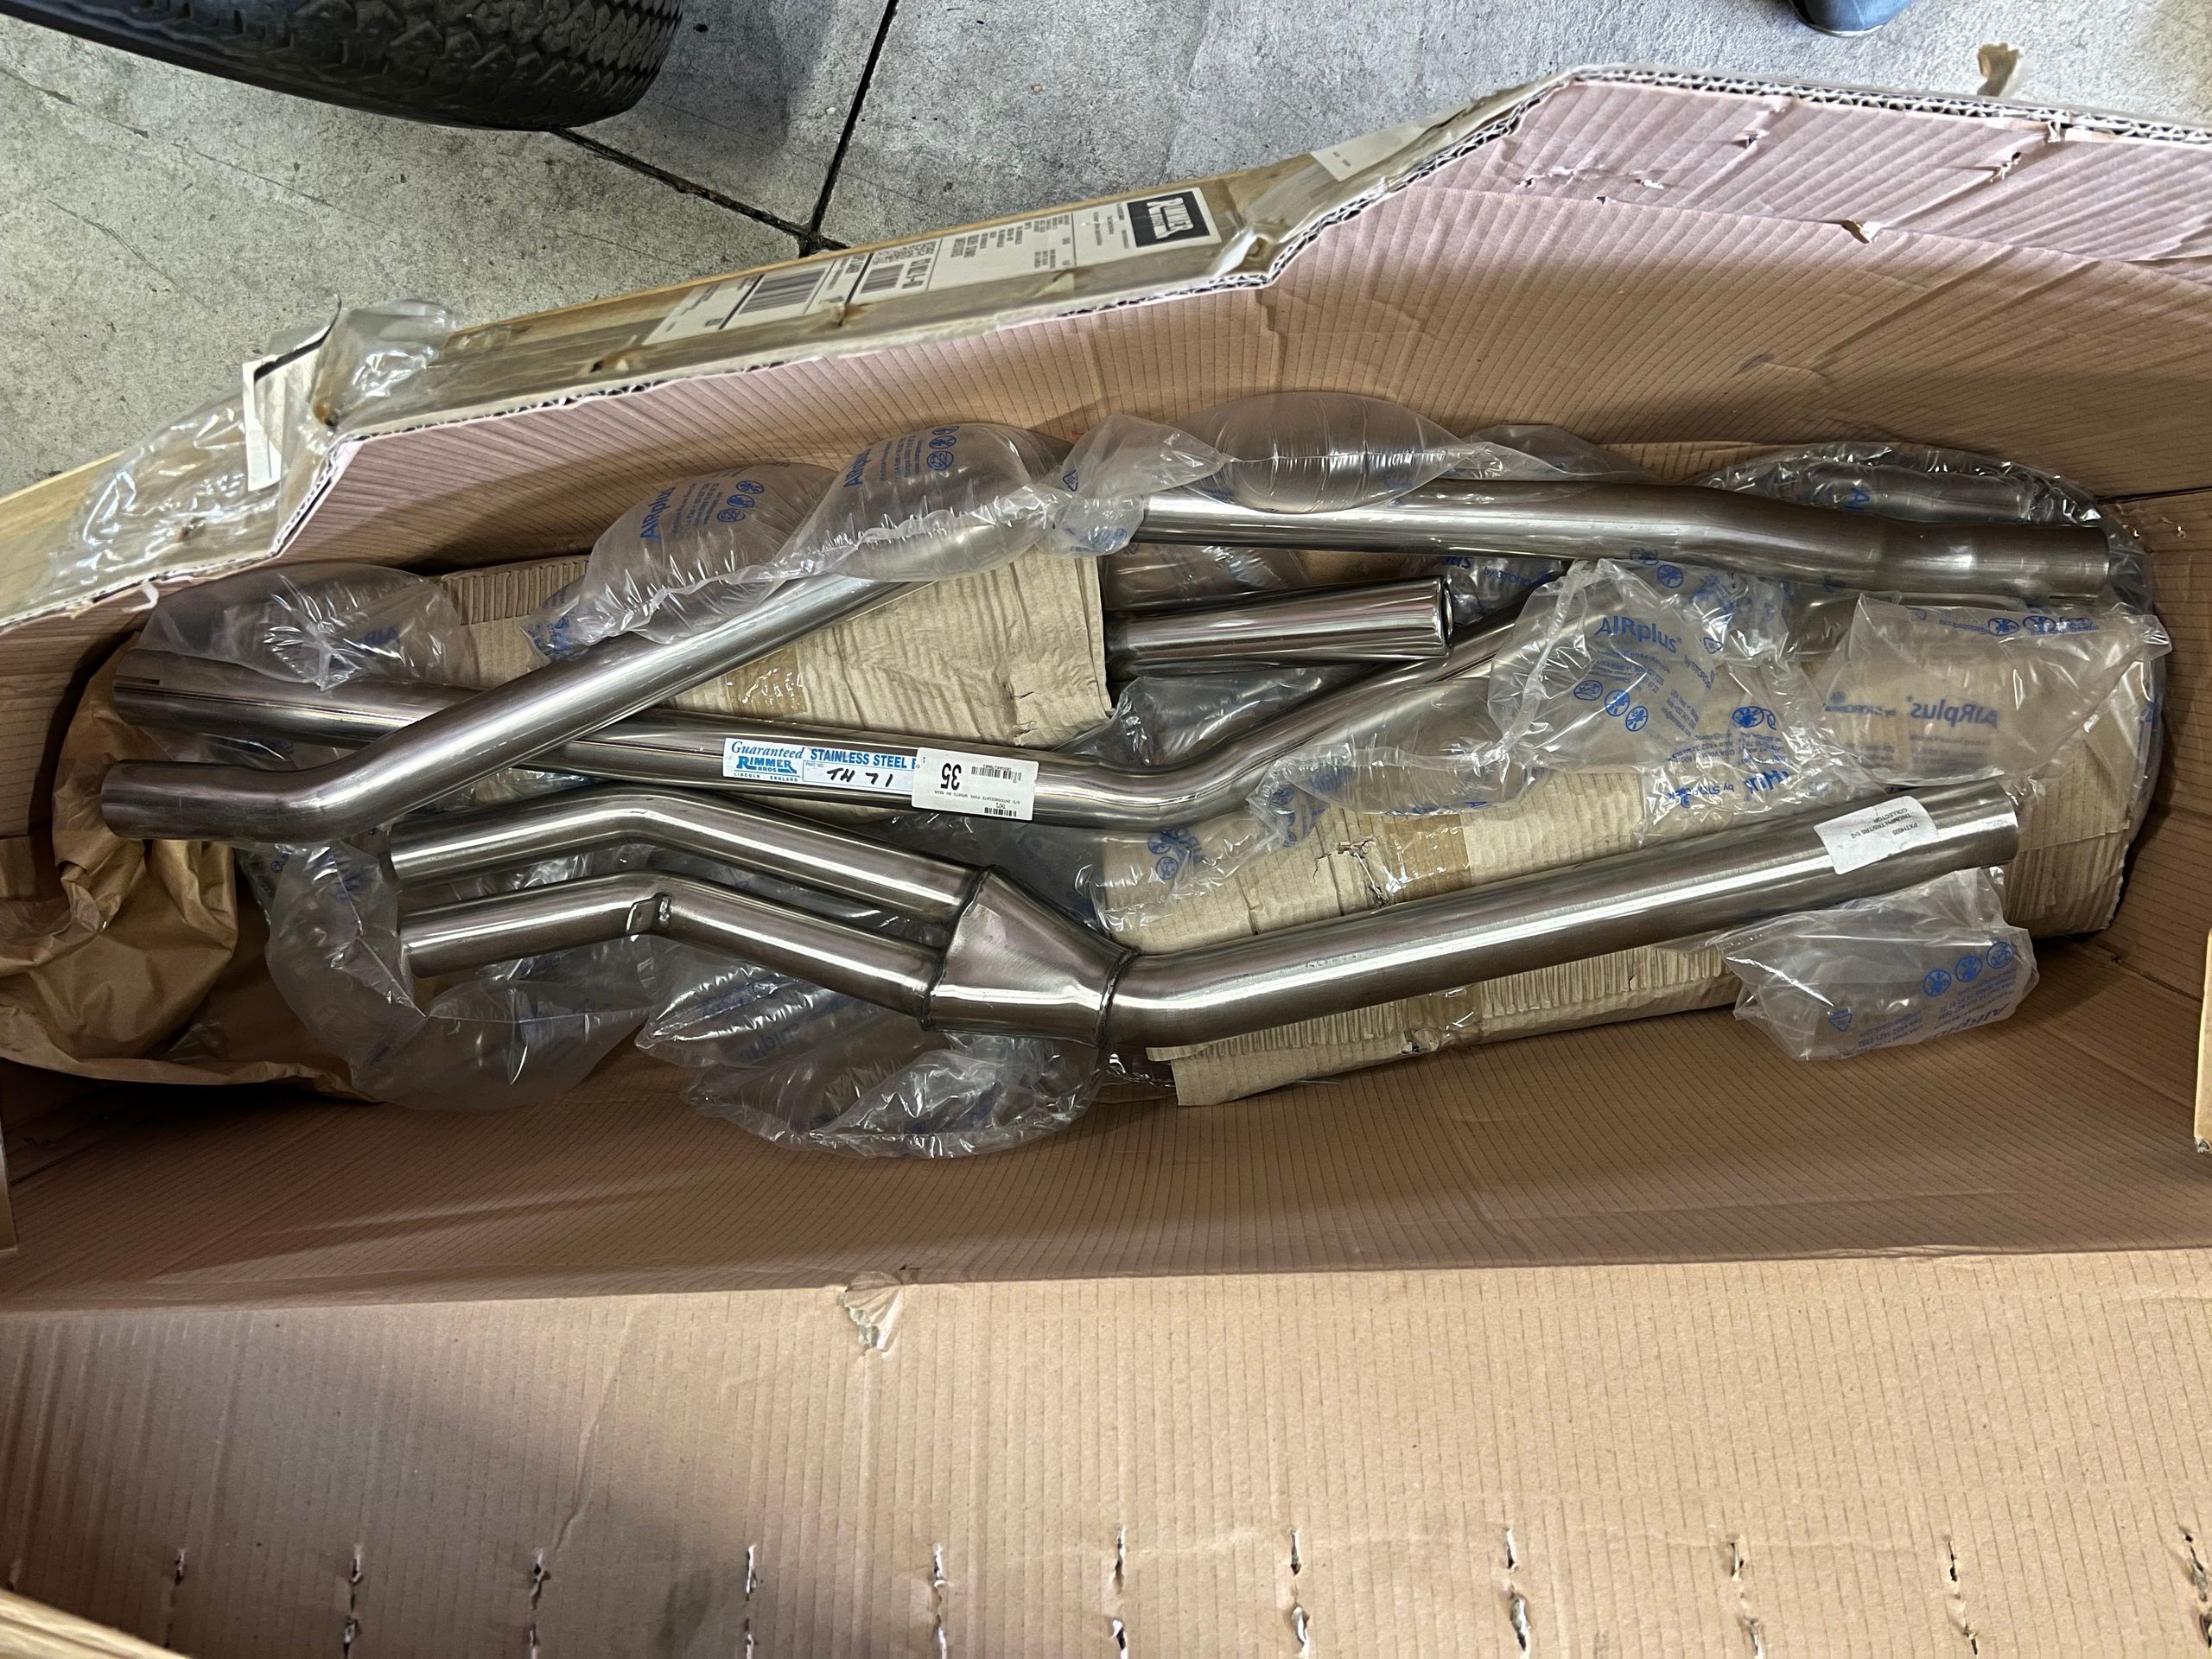
Picture of the box with the various exhaust components
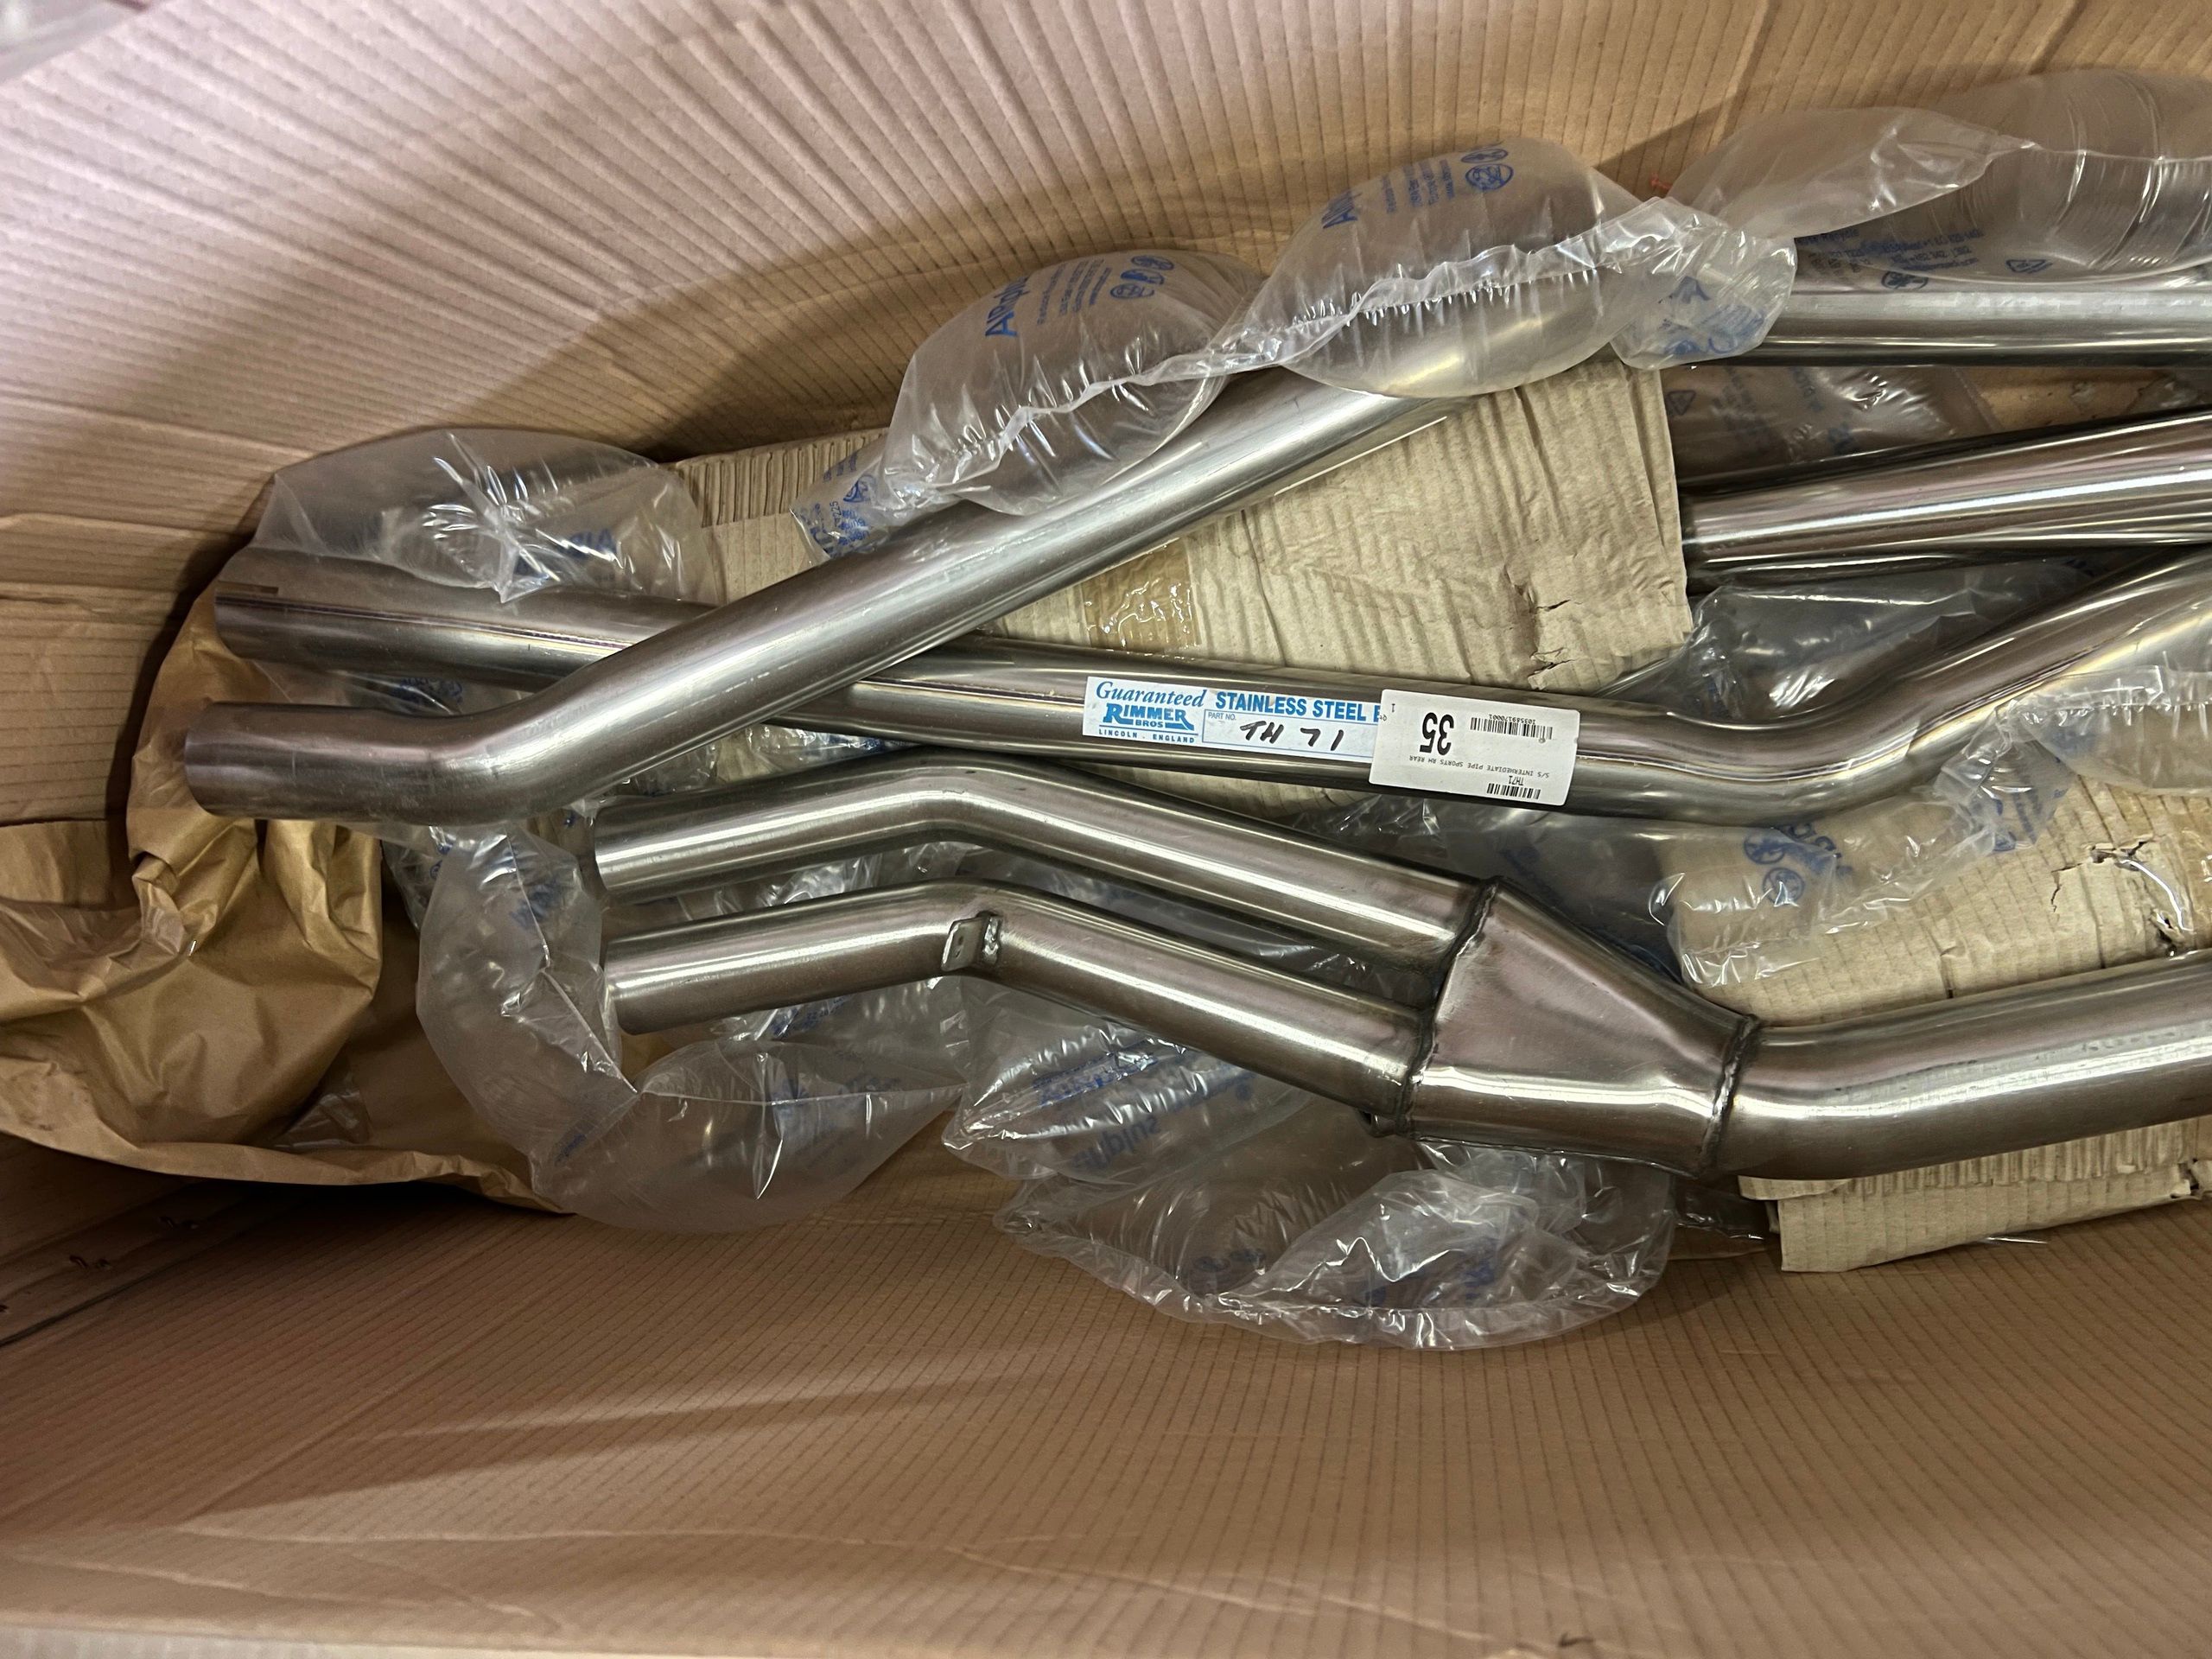
Close up view 1
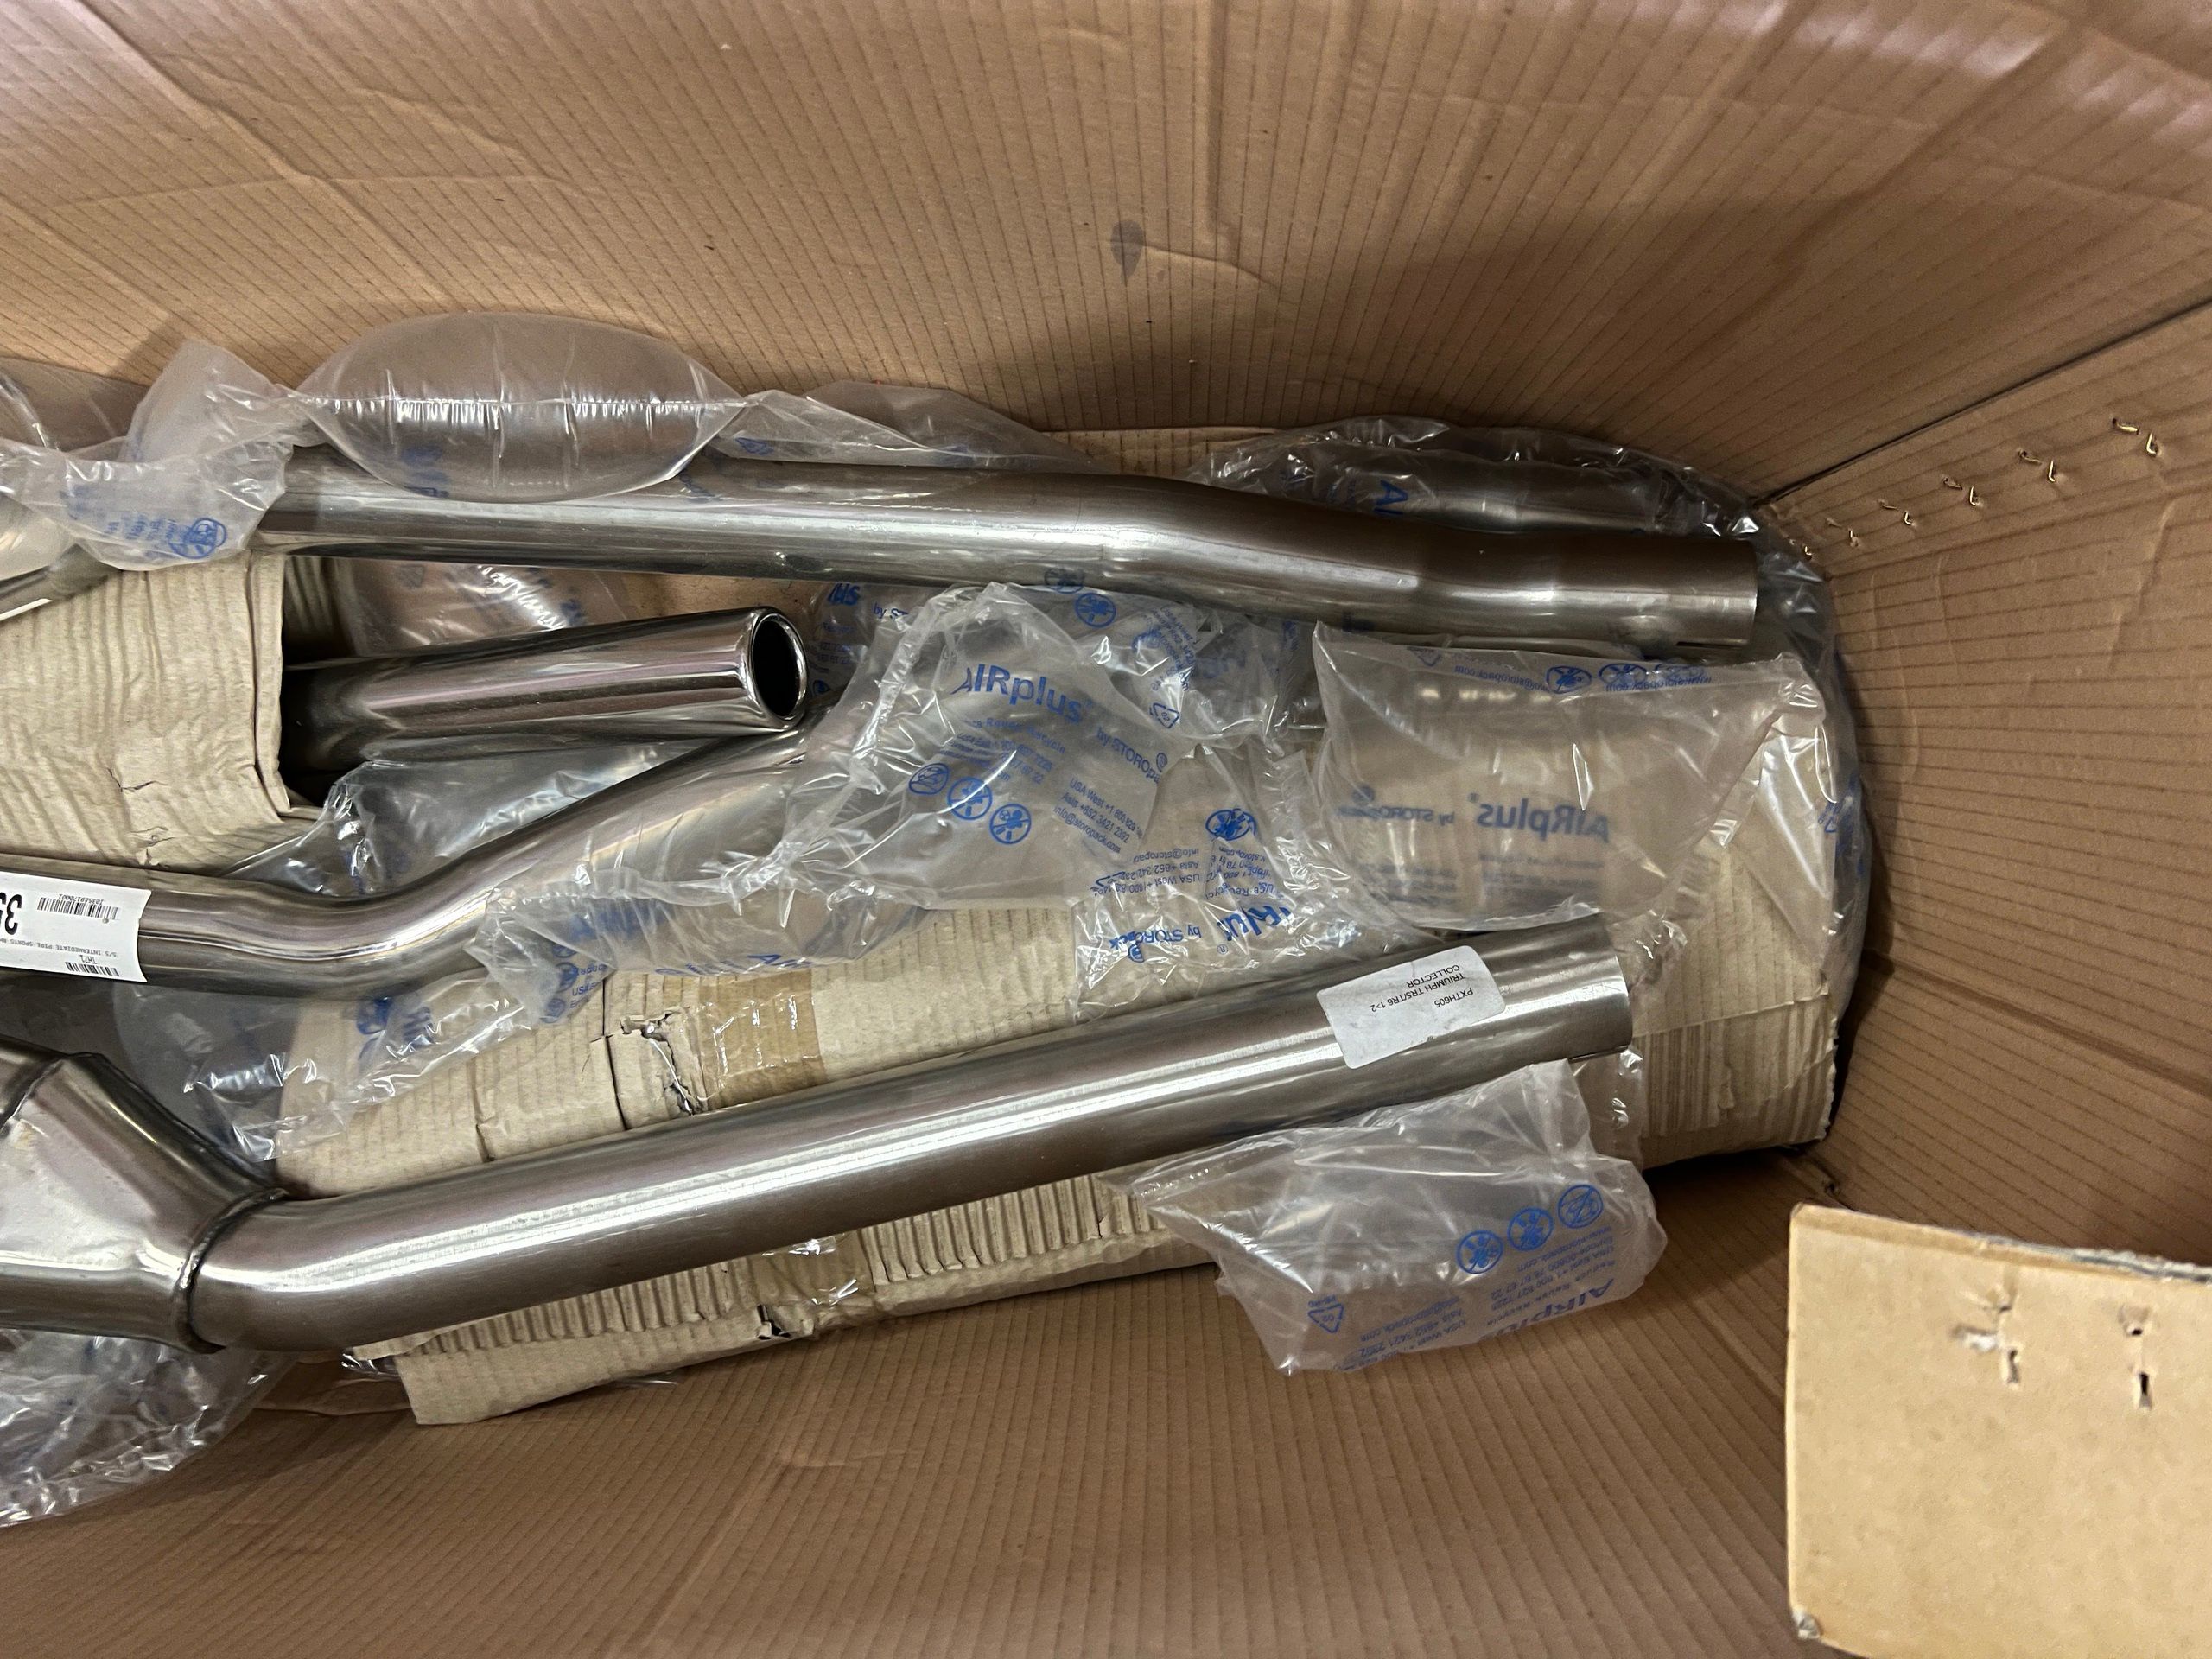
Close up view 2
Sports manifold installed to ensure fitment
Get in touch
If you are interested in this Triumph TR6 project, please feel free to contact me via this form. Also please let me know if you would like to see more photos, or if you have any specific questions.
Andy Miller
Colorado-Triumph.com
Evergreen CO 80439
USA